

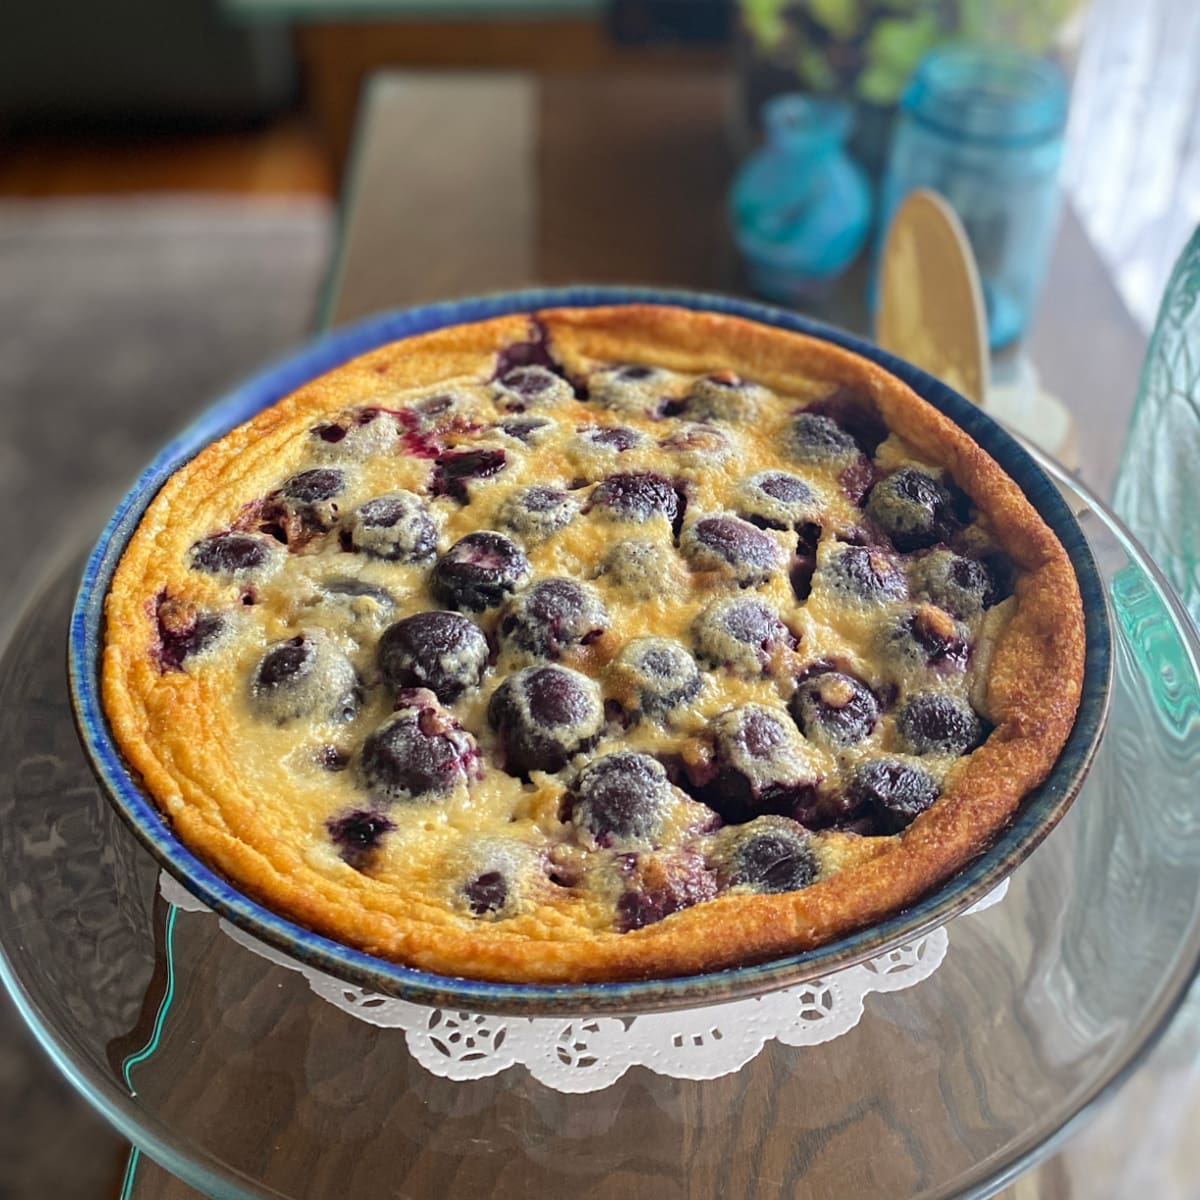
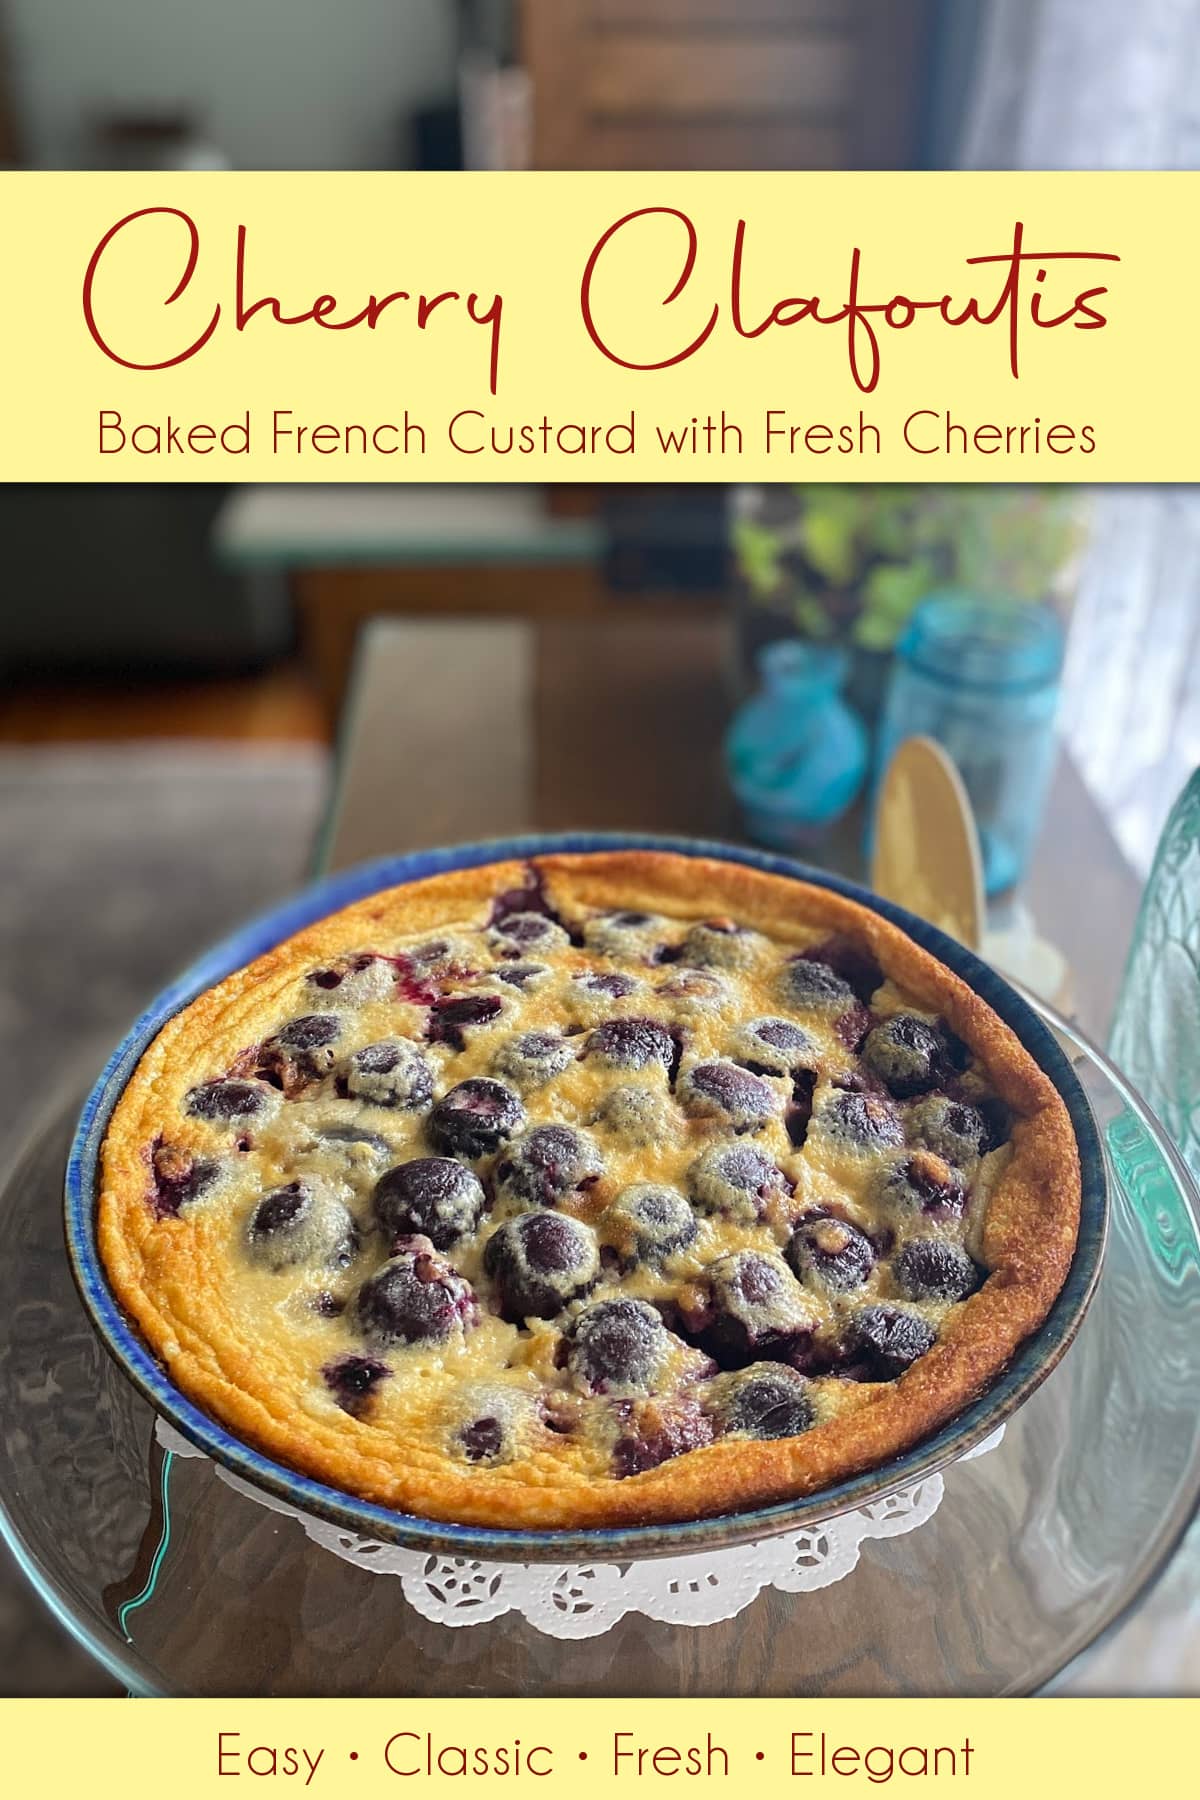
Cherry Clafoutis is a classic French dessert made with fresh cherries baked in a silky, custard-like batter. Rustic yet elegant, it's simple to prepare, delicious warm or at room temperature, and the perfect way to enjoy cherry season.
Jump to:
- What Is Clafoutis?
- Why Cherry Clafoutis Belongs on Your Brunch Table
- Ingredients You'll Need
- How to Make Clafoutis Ahead of Time
- Step-by-Step: How to Make Clafoutis with Cherries
- Tips for Baking & Serving
- Fruit Variations for Clafoutis
- How to Pit Cherries Quickly & Easily
- How to Store Leftovers (If There Are Any)
- More Elegant & Easy Breakfast Ideas
- Serving Ideas for Cherry Clafoutis
- Classic Cherry Clafoutis
What Is Clafoutis?
Clafoutis (pronounced klah-foo-TEE) is a rustic French dessert that lands somewhere between a custardy German pancake and a simple fruit tart. It's one of those recipes that feels fancy but comes from humble, country cooking roots.
In France, clafoutis is traditionally made with cherries - a farmhouse treat baked straight from the orchard - and over time it's become a true classic. It's elegant enough for brunch, cozy enough for breakfast, and honestly easy enough to whip up on a whim.
When cherry season hits, I get a little obsessed with making Cherry Clafoutis. Partly because I love fresh cherries but can't eat them, partly because it's so simple to make, and mostly because it's just that good. (Our bed and breakfast guests love it!)
The hardest part? Pitting the cherries. Everything else is simple - just mix up a quick batter, pour it over the fruit, and bake. That's it.
Why Cherry Clafoutis Belongs on Your Brunch Table
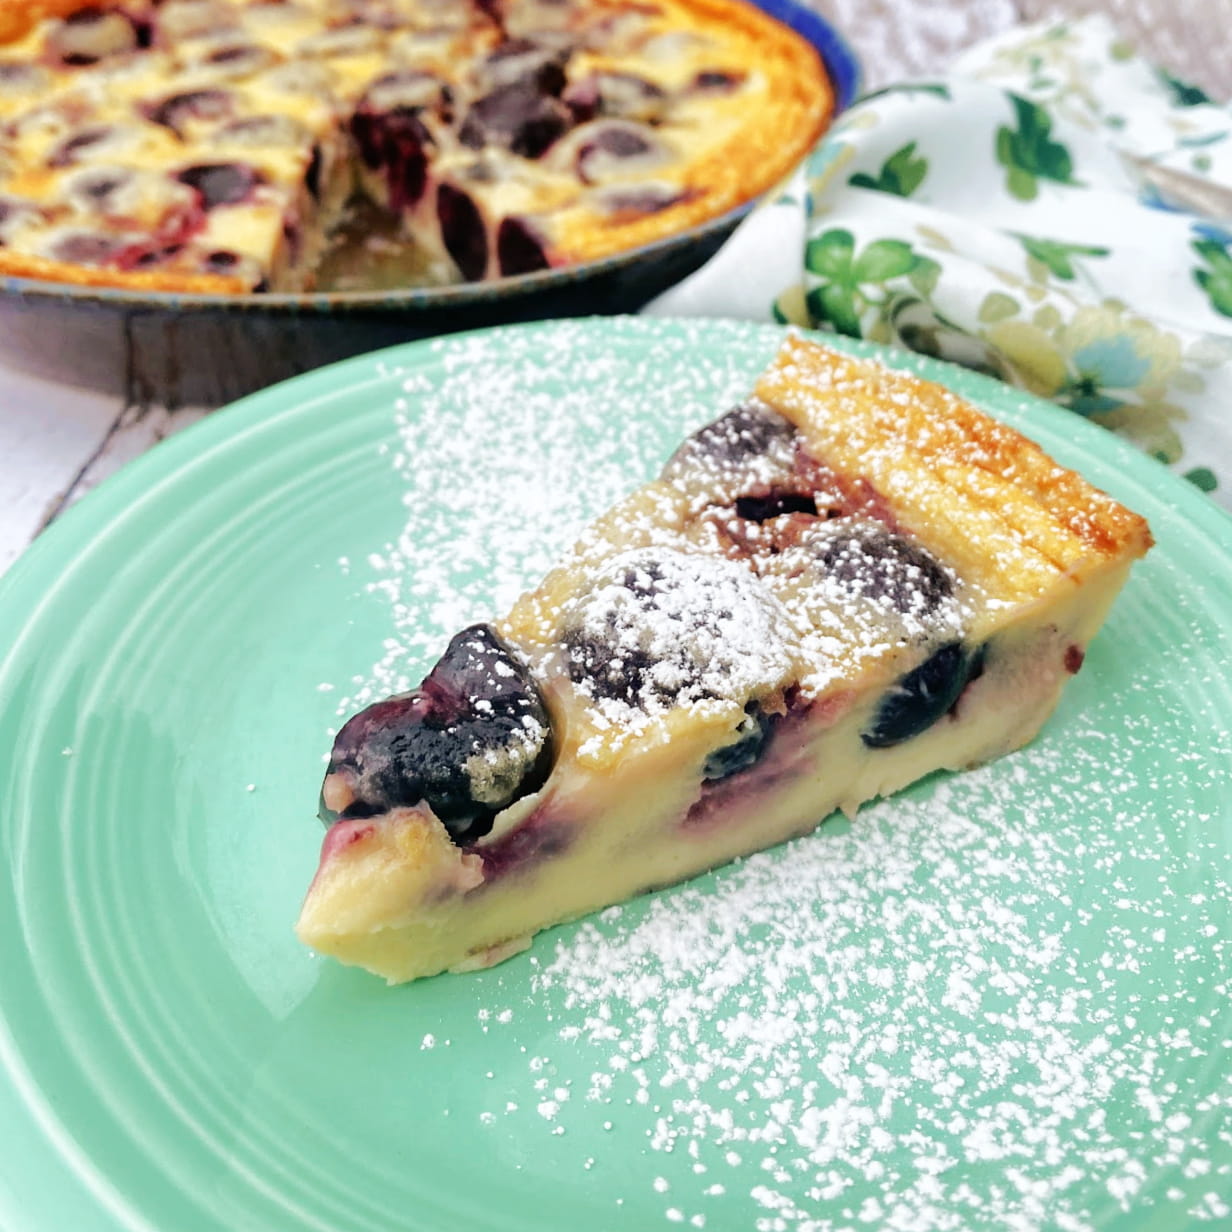
This rustic cherry clafoutis is a favorite at our table-not just for dessert, but as a standout brunch main dish, too. Think of it as a French twist on German pancakes: golden, custardy, and full of juicy cherries. Serve it warm from the oven with a dusting of powdered sugar, and it just might earn a regular spot at your table as well.
- Ridiculously easy to make-just blend, pour, and bake
- Captures the flavor of fresh cherries beautifully
- Requires no fancy equipment or techniques
- Just 5 minutes of prep if you pit and mix ahead
- Easily adapts to other fruits like peaches, plums, or berries
- Perfect for breakfast, brunch, or dessert
- Delicious warm, at room temperature, or cold
- Bakes beautifully in a single dish, ramekins, or mini cast iron pans
- Light, custardy texture that feels both rustic and elegant
- Made with naturally simple ingredients
- A lovely way to showcase seasonal fruit at its peak
Ingredients You'll Need
This easy Cherry Clafoutis recipe is made from fresh sweet cherries, along with a short list of simple kitchen staples.
- Cherries: Sweet, fresh cherries - traditionally left whole for a rustic French touch. Pitting is a personal choice. (I recommend doing it.)
- Eggs: Large, fresh eggs that give the custard its rich, silky structure. (EU medium)
- Milk: Whole milk for a creamy base and tender texture. 2% also works. Do not make this recipe with skimmed milk.
- Cream: Heavy cream gives the custard extra richness and a luscious mouthfeel.
- Vanilla Extract: My first choice for this is vanilla paste.
- Almond Extract: A rich, delicate nutty note that pairs beautifully with cherries.
- Pinch of salt
- Butter: Be generous when you grease the baking pan. Use room temperature butter, and apply liberally. Don't use cooking spray.
To Pit or Not to Pit
A traditional cherry clafoutis recipe often calls for unpitted cherries - a nod to its rustic French origins. Bakers claim the pits release a delicate almond essence as the dessert bakes, subtly enhancing the flavor. The trade-off, of course, is navigating around the pits while eating, which can be a bit of a challenge. (Also, my mother taught me never to give people a reason to spit at the table, so there's that, too.)
For a smoother eating experience, I prefer to pit the cherries before baking. To keep that gentle almond note, I add a splash of almond extract to the custard mix - just as flavorful, if not more so.
One small caveat: even with careful pitting, the occasional stray pit can sneak through. When serving, it's wise to let guests know that a hidden pit may still be lurking.
How to Make Clafoutis Ahead of Time
You can easily prepare this clafoutis a day in advance, whether you want to prep ahead, bake ahead, or both:
Prep Ahead: The batter can be made up to 24 hours in advance and stored in the refrigerator. You can also pit the cherries ahead of time if you prefer. Store both the batter and cherries separately in the fridge until you're ready to bake. When you're ready, butter your baking dish and fill it with cherries, and proceed to Step 4 of the instructions.
Bake Ahead: This clafoutis can also be fully baked in advance. Once baked, let it cool completely, then cover and refrigerate. You can serve it chilled, at room temperature, or gently reheat it in a 300°F (150°C) oven for 10-15 minutes before serving.
This flexibility makes it a great option for entertaining or prepping dessert the night before.
Step-by-Step: How to Make Clafoutis with Cherries
This cherry clafoutis recipe comes together with just a few simple ingredients and a bowl of fresh cherries. (Shades of Mary Englebright!) It bakes into a custardy, puffed-up dish that feels fancy without any fuss. Here's how to make it, step by step:
Step 1: Prep Your Baking Dish
Preheat your oven to 360°F (185C)-a touch lower than usual, which helps the custard cook gently.
Generously butter a pie plate, tart pan, or oven-safe baking dish. (Room-temperature butter works best so you can get into all the corners.)
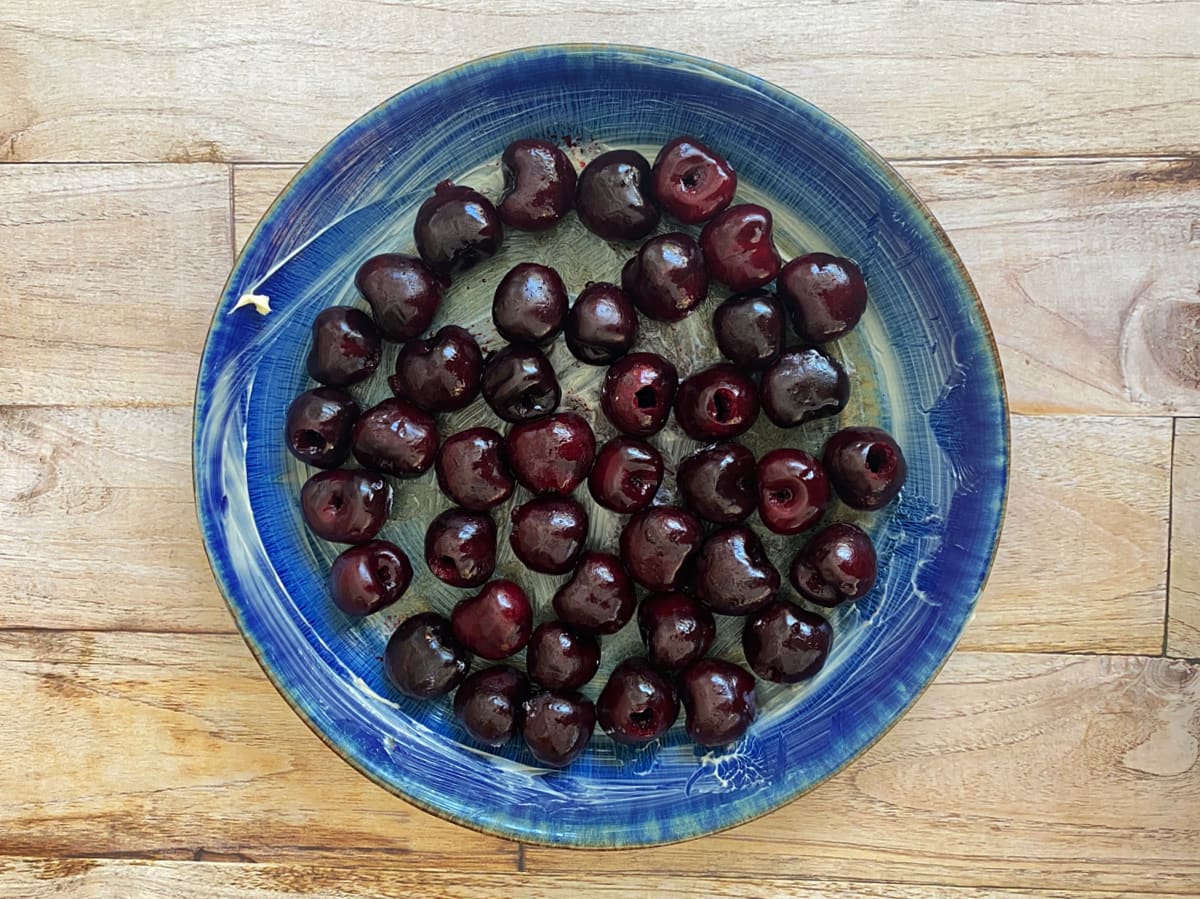
Scatter your pitted cherries across the bottom of the greased dish. You want to fill the base loosely, giving the fruit a little space to float and rise as the batter sets.
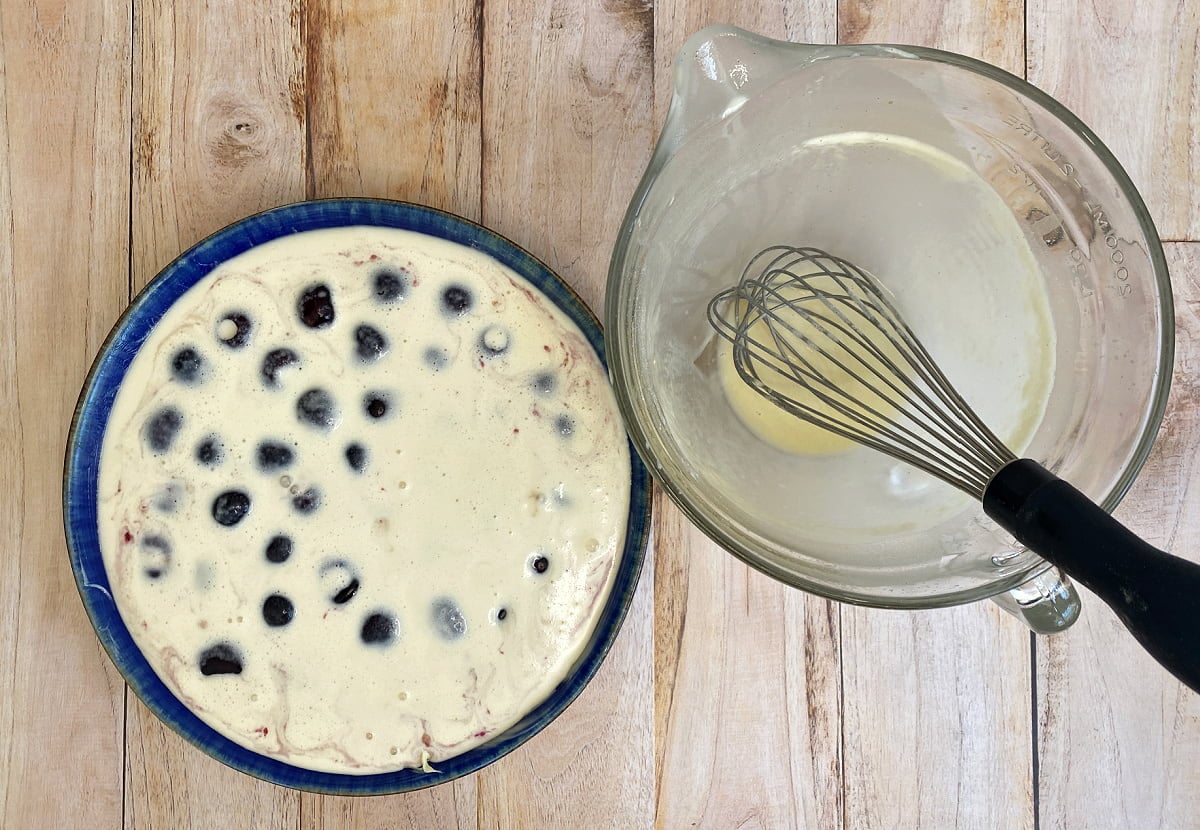
Step 2: Mix the Batter
In a mixing bowl or large measuring cup, whisk together the remaining ingredients until smooth. You can use a wire whisk for a traditional feel or an immersion blender for a silky finish. The batter will be thinner than pancake batter-more like crepe batter or heavy cream.
Allow the batter to rest at least 15 minutes, or refrigerate for up to 24 hours. This helps hydrate the flour and gives the batter a smoother texture once baked.
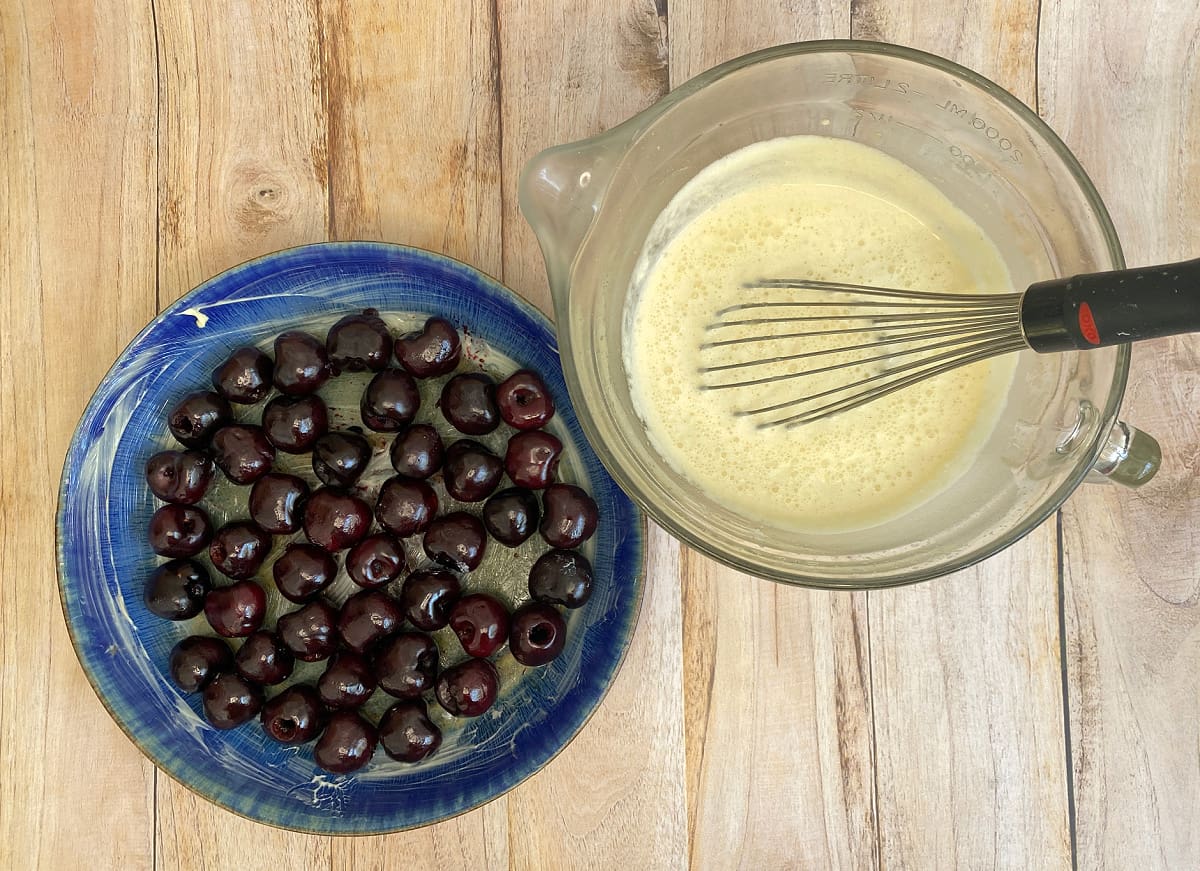
Step 3: Pour & Bake
Gently pour the batter over the cherries, aiming for an even distribution.
Bake for 30 to 35 minutes, or until the edges are puffed and golden, and the center is set but still gives a gentle jiggle when nudged. Ovens can vary, so check it at the 30-minute mark.
Optional Tip: For a lightly caramelized crust, sprinkle 1-2 teaspoons of granulated sugar over the top about 20 minutes into baking.
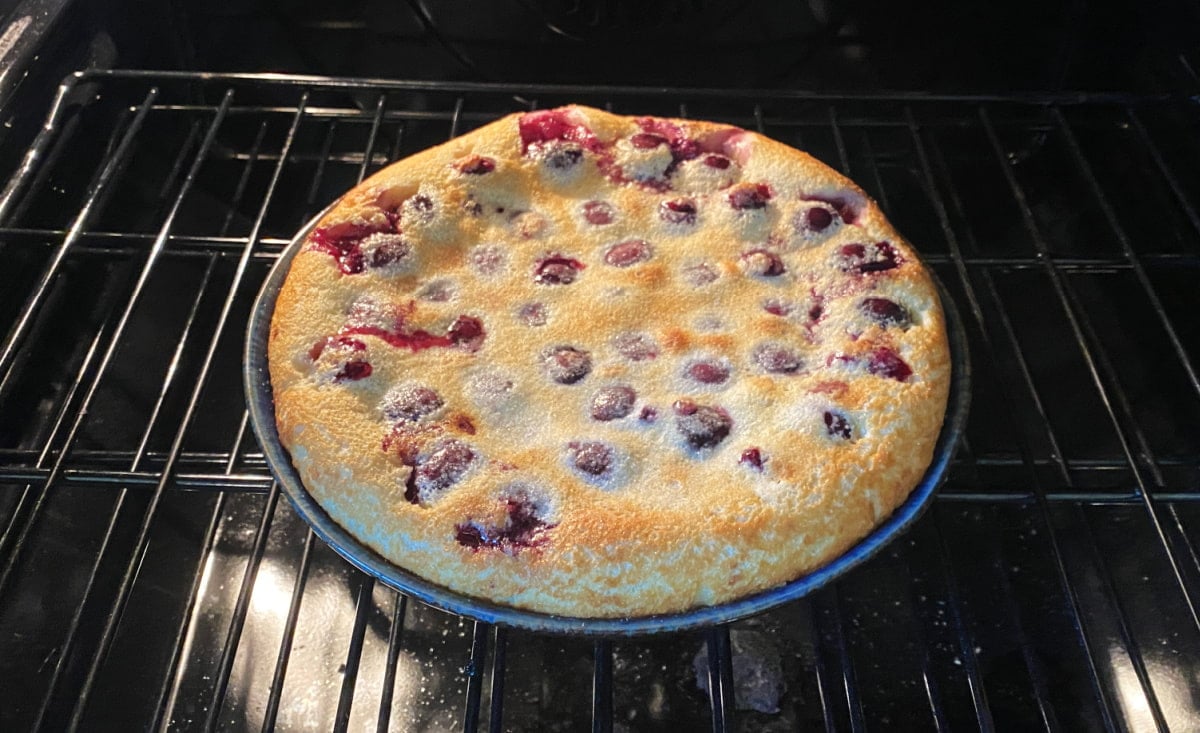
Clafoutis, like souffles, look fabulous immediately after baking! Once removed from the oven, it will completely fall in a matter of minutes. This is totally normal.
Step 4: Finish & Serve
Let your clafoutis cool for at least 10-15 minutes. Just before serving, you can dust the top with powdered sugar if you like.
Tips for Baking & Serving
Use the right dish: A traditional clafoutis is baked in a shallow, wide dish-ceramic or glass works best. This allows the custard to set evenly without overbaking the edges before the center is done. A 9-inch pie plate is perfect.
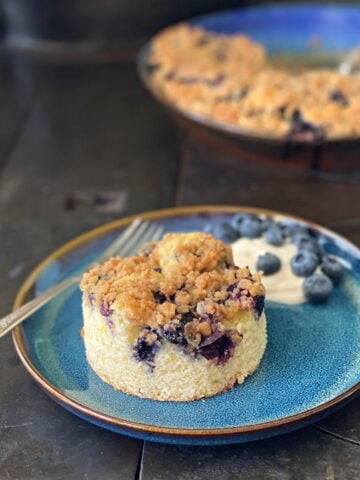
That said, I love baking individual clafoutis in these mini cast iron skillets-they're just the right size for brunch portions and add a charming, rustic touch to the table. ⬇️
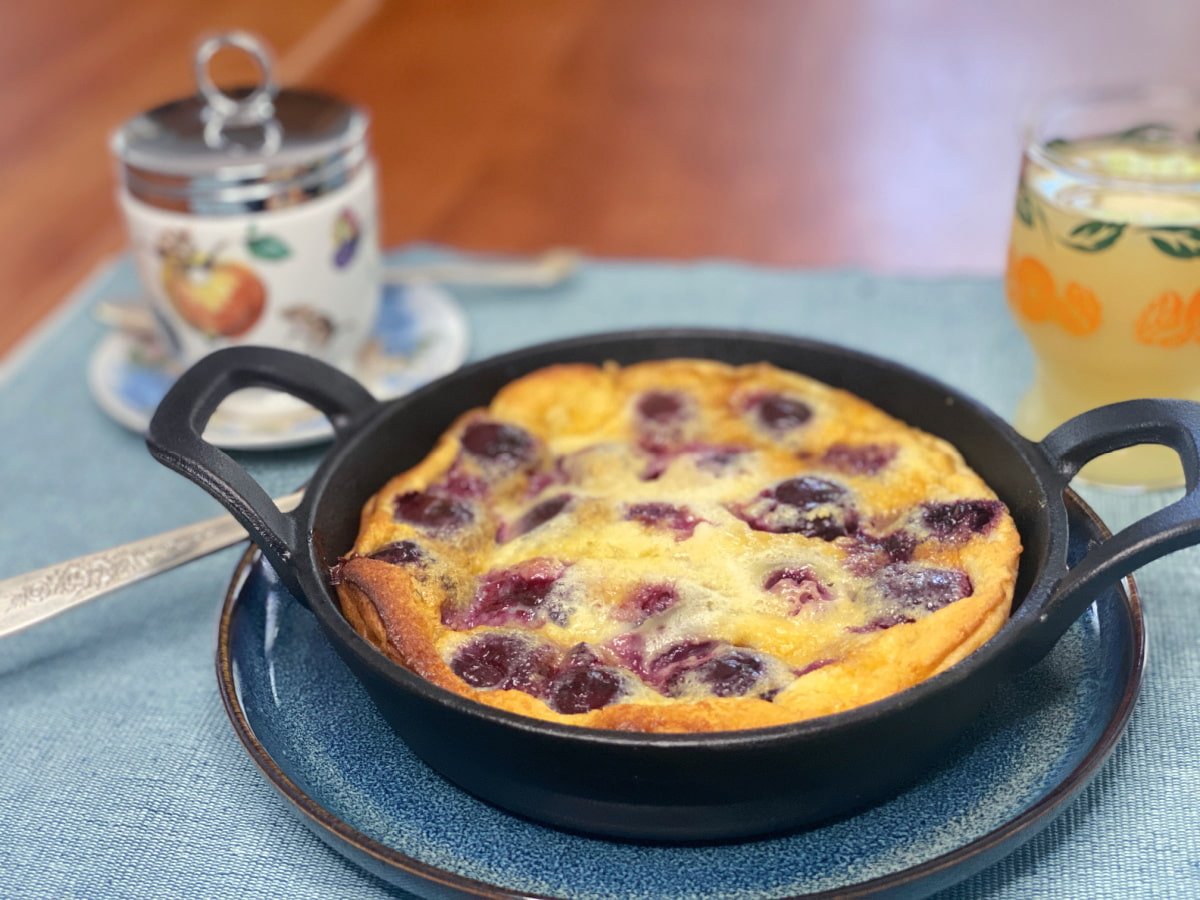
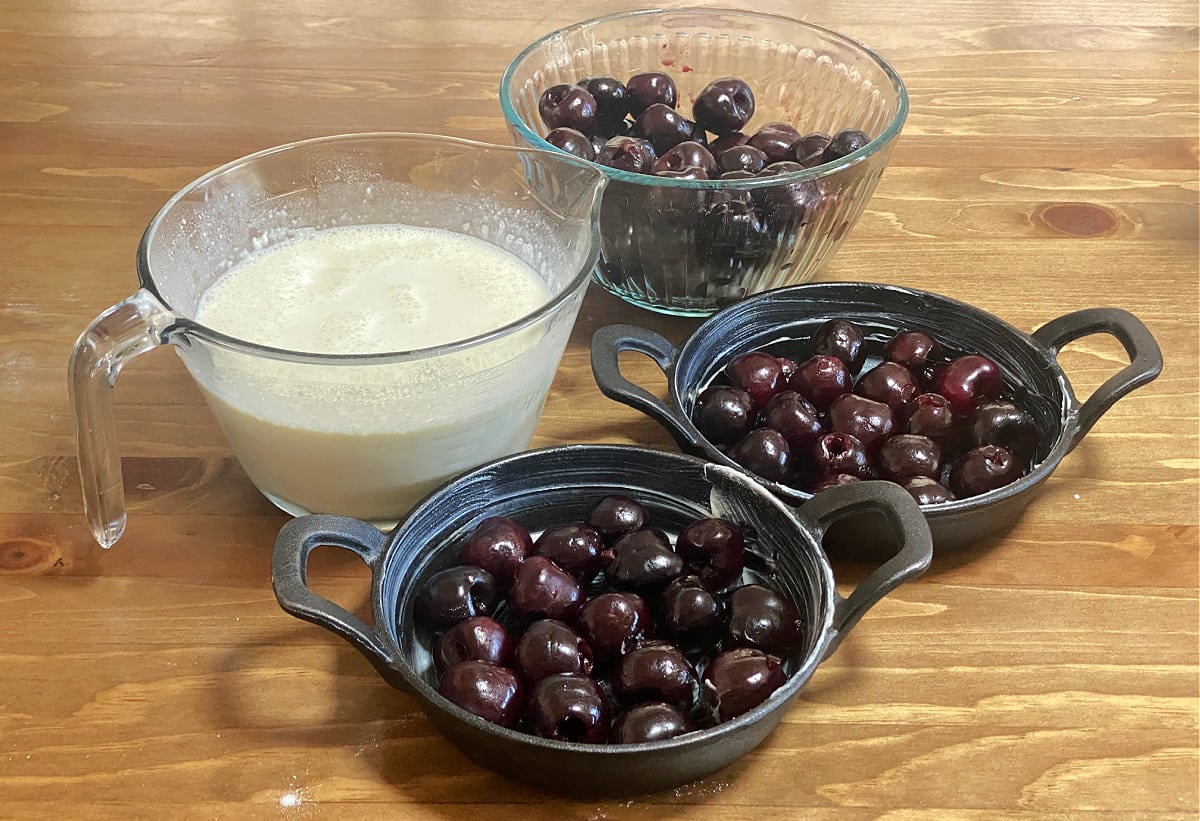
This recipe will make one large pie plate (8 dessert servings), three full 6-inch mini-skillet brunch-size servings, or six 4-inch ramekin servings.
Don't skip the rest time: After pouring the batter over the cherries, let it sit for 10-15 minutes before baking. This helps hydrate the flour and gives the batter a smoother texture once baked.
One of the things I really like about making clafoutis for breakfast is that the batter can be made up to a day ahead of time. In fact, it's better if you do.
Watch for the jiggle: The clafoutis is done when the edges are puffed and golden, and the center is just set with a slight jiggle. It'll firm up a bit more as it cools-don't overbake or it'll lose that silky, custardy texture.
Fruit Variations for Clafoutis
While clafoutis is traditionally made with cherries, this clafoutis recipe is wonderfully versatile and can be adapted to highlight all kinds of seasonal fruit. Here are just a few delicious variations, along with tips for adapting the recipe as needed:
- Apples or Pears: Slice thinly and consider pre-sautéing in butter with a touch of cinnamon or vanilla to soften and enhance flavor before baking.
- Apricots: Halve or slice. Slightly underripe fruit holds its shape better during baking.
- Blueberries: Use fresh or frozen. Thaw before baking.
- Cane berries (blackberries, raspberries, Marionberries, etc.): Best used fresh; if using frozen berries, thaw and drain well to prevent excess moisture.
- Cranberries: Use fresh or frozen cranberries. Add extra sugar to balance the tartness, and consider combining with apples or pears for a nice contrast.
- Cherries (classic): Use fresh or frozen pitted cherries. If using sweet cherries, you may want to slightly reduce the sugar.
- Figs: Halve or quarter, depending on size. Fresh figs add a luxurious texture and mild sweetness.
- Plums or Pluots: Use ripe but firm fruit to avoid a soggy clafoutis. Slice into wedges. Their sweet-tart flavor pairs beautifully with the custard base.
- Peaches or Nectarines: Peel if desired and slice thinly or cube. Slightly underripe fruit holds its shape better during baking.
- Strawberries: Use fresh berries and halve, slice, or quarter before baking.
- Rhubarb: Dice into small pieces. Because rhubarb is quite tart, increase the sugar in the batter slightly, or toss the rhubarb with a spoonful of sugar before adding it to the dish.
How to Pit Cherries Quickly & Easily
Let's be honest-cherry pitting is a bit tedious. Nevertheless, there are a few ways to make it faster, cleaner, and slightly more satisfying.
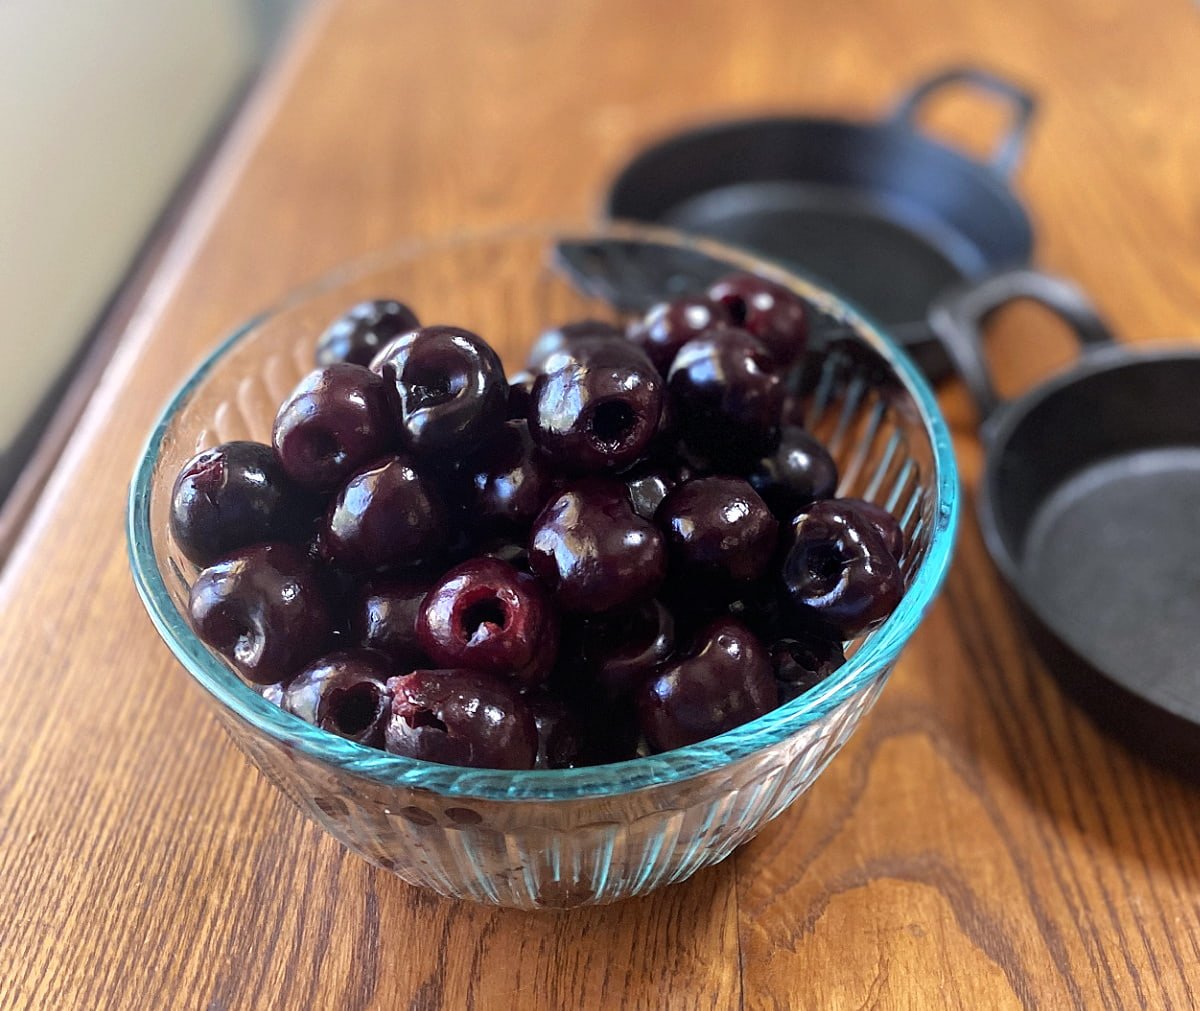
Use a cherry pitter: This little handheld gadget is the fastest and least messy option. If you bake with cherries even occasionally, it's worth having one around. Some models can pit multiple cherries at once-great for big batches.
Try a metal straw or chopstick: This no-cost method works - no question, and is a great hack if you find yourself with a bunch of cherries to pit and no pitter in sight. Just use a sturdy chopstick or metal straw to push the pit out from the stem end.
That said, I'm not personally a fan of this method, because while it does work, the process tends to be messier than it needs to be, and can be frustrating. If you think you'll be pitting cherries more than once a year, an inexpensive pitter is totally worth the price.
Slice and twist: If presentation isn't a big deal, simply slice the cherry in half and pop out the pit with your fingers or the tip of a paring knife. It's slower, but it gets the job done.
Quick tip: Wear an apron or old T-shirt-cherry juice will stain.
How to Store Leftovers (If There Are Any)
Refrigerator: Let the clafoutis come to room temperature before covering or refrigerating to avoid trapping condensation. Wrap the dish in plastic wrap or transfer slices to an airtight container. It will keep in the fridge for up to 3 days.
The texture is best on day one, although it is still just as tasty the next day. After that, the the custard can start to get a little weepy, though it'll still taste good.
Freezer: Custards of all kinds break down in the freezer, and we do not recommend freezing this recipe.
More Elegant & Easy Breakfast Ideas
Looking for more breakfast inspiration that feels special without requiring a culinary degree? Try these elegant yet approachable favorites. Easy Oven Egg Bites and Breakfast Casserole Muffins are perfect make-ahead options for busy mornings or brunch with a crowd.
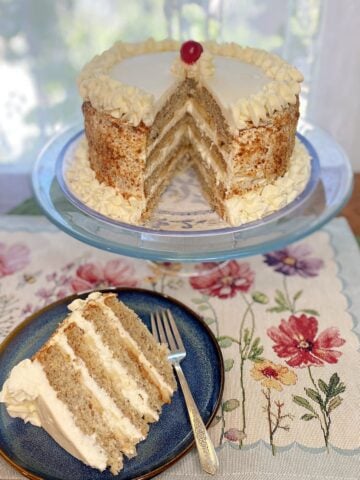
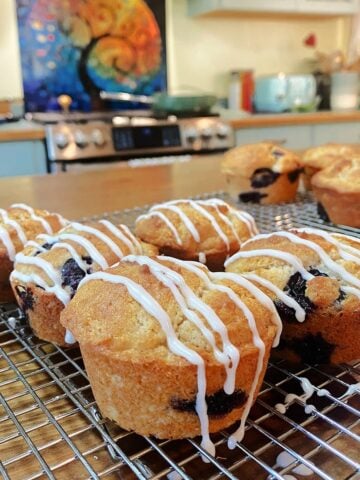
For something sweet and nostalgic, you can't go wrong with a tender Old-Fashioned Blueberry Buckle or delicate Strawberry Cream Crêpes. If you're feeling fancy, impress with a pillowy Strawberry Soufflé Omelet, or go savory with Smoked Salmon Eggs Benedict or a Smoked Salmon Crustless Quiche-both luxurious, both a lot easier to make than they sound.
Serving Ideas for Cherry Clafoutis
Cherry clafoutis doesn't need much... or anything, really. If you're in the mood to dress it up, a light dusting of powdered sugar is the traditional finishing touch-but wait until just before serving so it doesn't melt into the surface. Or serve it warm with a fluffy spoonful of whipped cream, a scoop of vanilla ice cream, or a dollop of lemon or vanilla yogurt on the side.
Clafoutis is just as tasty at room temp, which makes it perfect for brunch or packing up for a summer picnic. Want to get fancy? Drizzle on some cherry syrup or a splash of amaretto, then toss a few fresh cherries over the top.
Warm, room temp, or even chilled-it's all good. (Hot take: I personally think it might be best straight from the fridge!)

Classic Cherry Clafoutis
Equipment
- 1 9-inch pie dish
- 1 wire whisk or immersion blender
Ingredients
- 16-20 ounces fresh cherries stemmed and pitted (3+ cups)
- 3 large eggs
- 7 tablespoons granulated sugar plus 1-2 tablespoons for finishing (optional)
- ⅔ cup whole milk
- ⅔ cup cream or half & half
- 1 teaspoon vanilla
- ½ teaspoon almond extract
- ½ cup all-purpose flour
- ⅛ teaspoon fine sea salt
- butter for greasing ramekins
Instructions
- Preheat oven to 360°F (185℃). Generously butter a glass or ceramic pie plate or baking dish.
- Spread pitted cherries loosely in the bottom of the greased pie plate.
- In a medium bowl, whisk or blend remaining ingredients into a smooth batter. Let batter rest on the counter for 15 minutes. Pour batter evenly over cherries.
- Bake for 30-35 minutes, until edges are golden and centeris just set.Optional: After 20 minutes, sprinkle top with sugar for a crisp finish.
- Let cool slightly. Dust with powdered sugar before serving.

Leave a Reply