Condiments & Dips
Bring a little something extra to the plate with a tasty homemade sauce, dressing, pickle, dip, or spice mix. Making condiments at home usually takes only minutes and pennies, and the payout is so worth the effort.
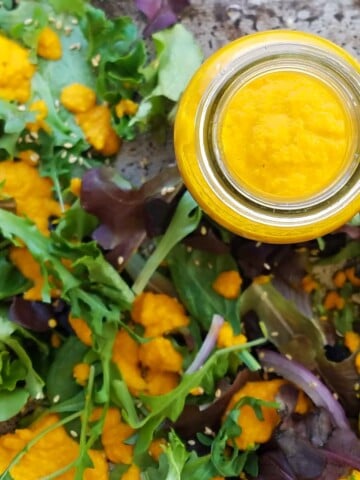
Need an idea? Try one of our fresh salad dressing recipes, like the Carrot Ginger Dressing, or Authentic Thousand Island. Or make Elotes Mexicanos compound butter, and be ready for Mexican Street Corn in minutes. And how about our easy 2-minute blender hollandaise? So many sauces, and so little time. Dive in!
-
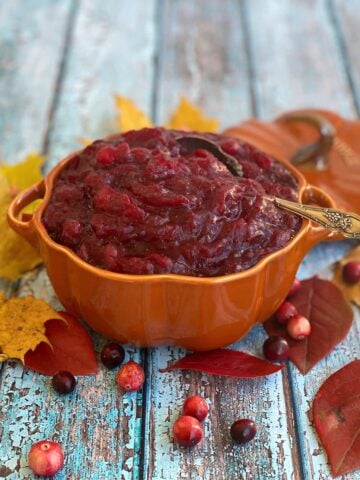
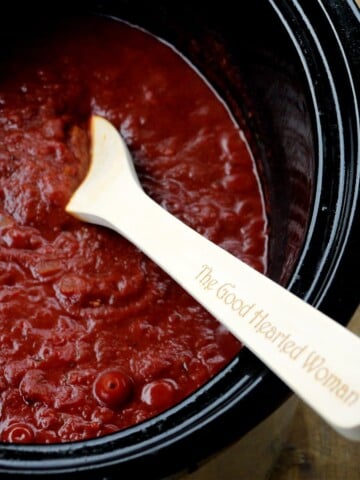
Orange Spiced Cranberry Sauce (with Grand Marnier)
-
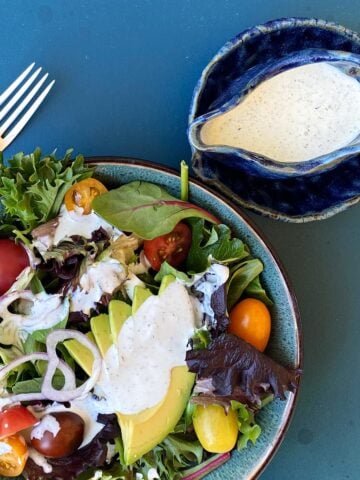
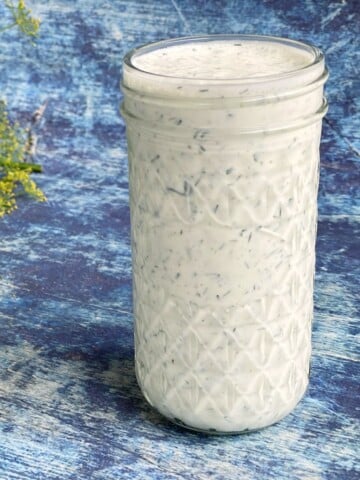
Homemade Buttermilk Ranch Dressing (Better Than Store-Bought!)
-
2-Minute Blender Hollandaise Sauce
-
Old-fashioned Bread & Butter Pickles
-
Oven Roasted Garlic Cloves
-
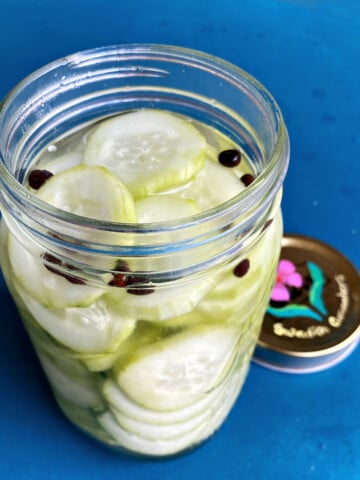
Swedish Cucumbers (Easy Quick Pickle Recipe)
-
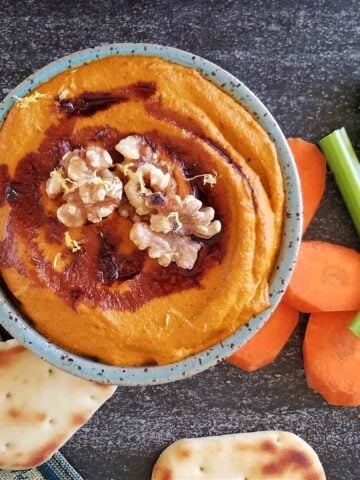
Muhammara (Roasted Red Pepper & Walnut Dip)
-
Creamy Dill Sauce with Feta
-
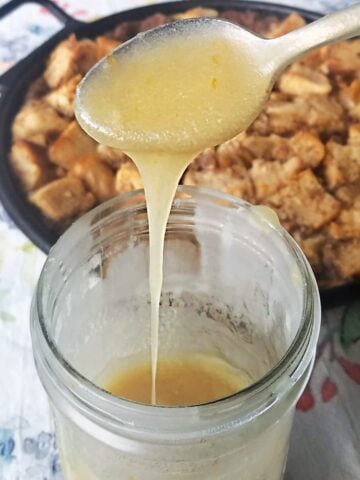
Cinnamon Whiskey Sauce for Bread Pudding
-
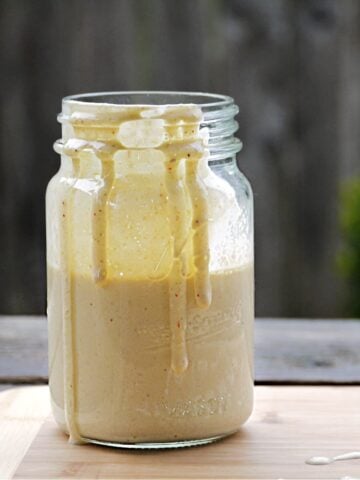
Carrot Ginger Dressing
-
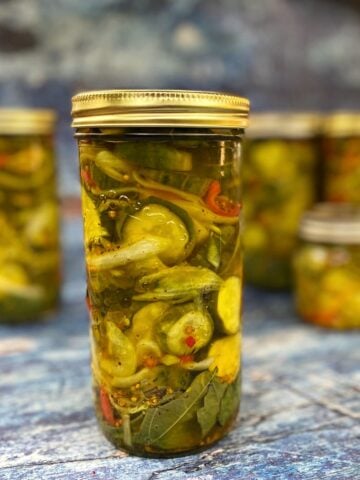
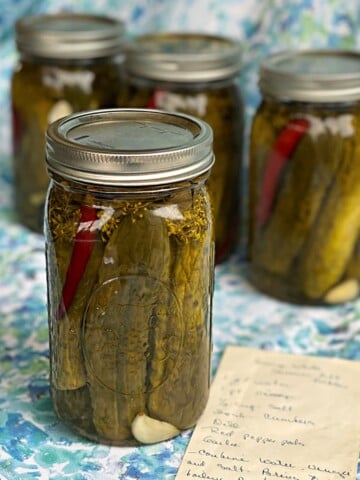
Pop's Spicy Garlic Dill Pickles
-
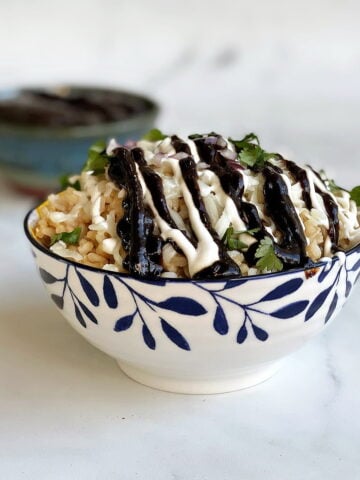
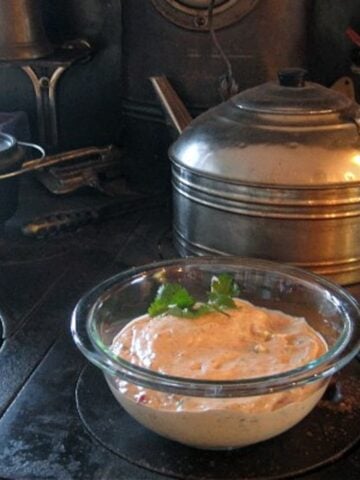
Macheezmo Mouse Boss Sauce
-
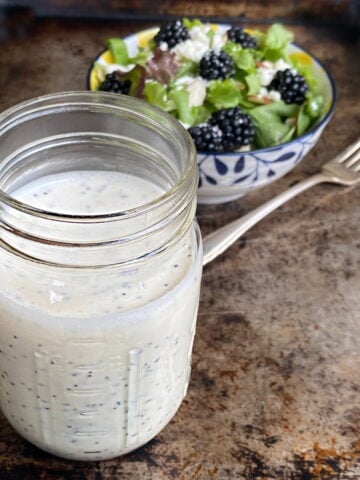
Creamy Homemade Poppy Seed Dressing
-
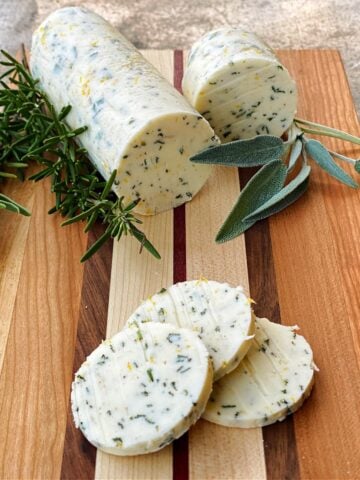
Citrus Herb Compound Butter
-
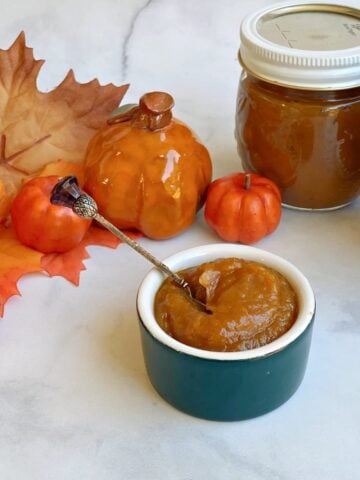
Slow Cooker Pumpkin Butter
-
Homemade Enchilada Sauce (Slow Cooker)
-
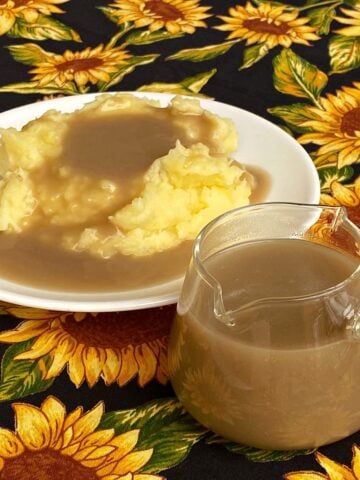
Easy Turkey Gravy (with or without Drippings)
-
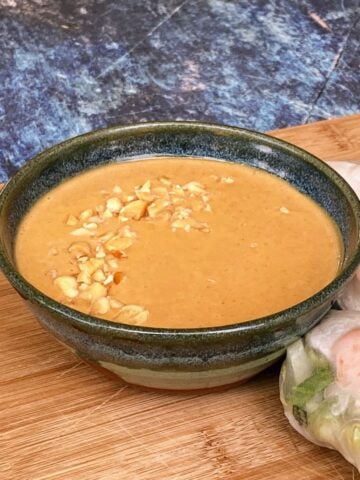
5-Minute Easy Peanut Sauce
-
Classic Coney Island Hotdog Sauce
-
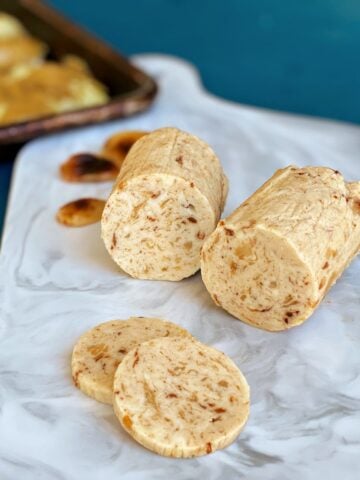
Roasted Garlic Compound Butter
-
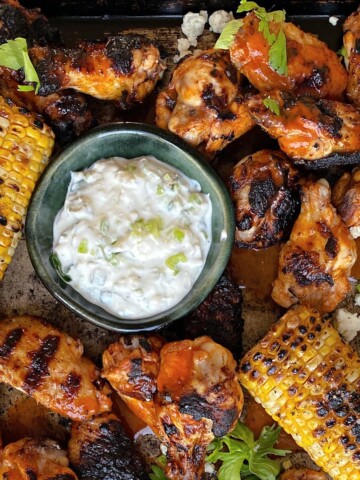
Cool Buffalo Blue Cheese Dip
-
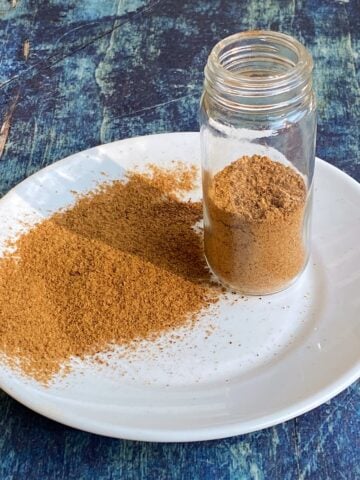
Homemade Pumpkin Spice Mix
-
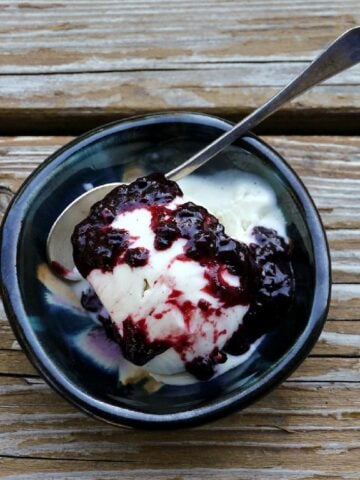
Simple Berry Compote
-
Strawberry Freezer Jam (Step-by-Step)
-
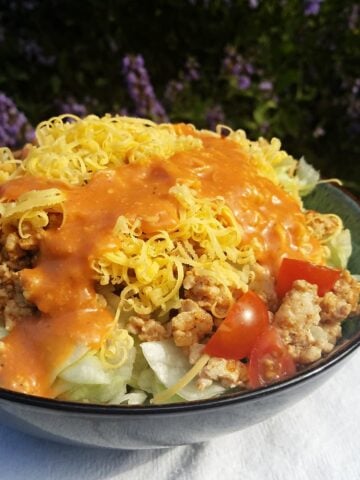
Original Taco House Fiesta Dressing
-
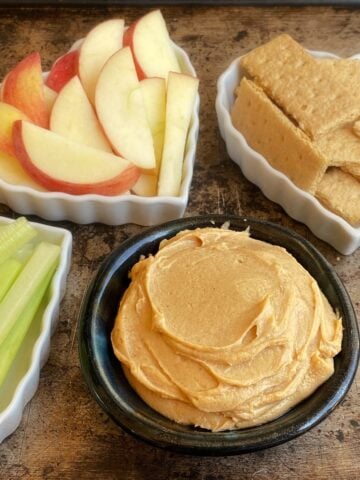
2-Ingredient Creamy Peanut Butter Dip
-
Creamy Vegan Chipotle Sauce
-
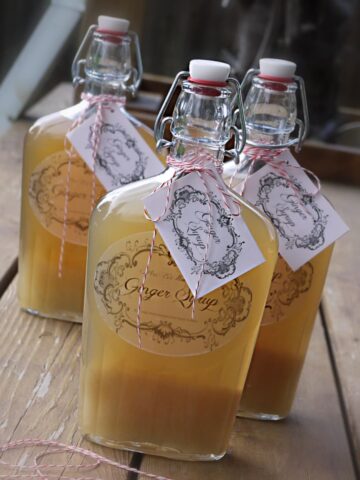
Fresh Ginger Spiced Simple Syrup
-
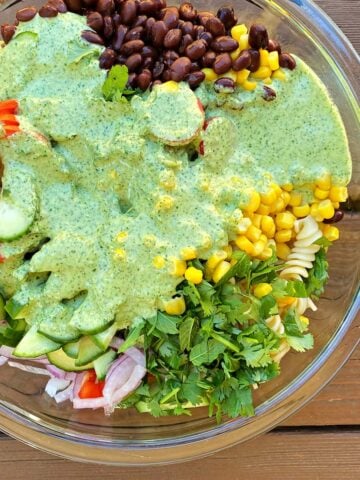
Creamy Cilantro Lime Dressing
-
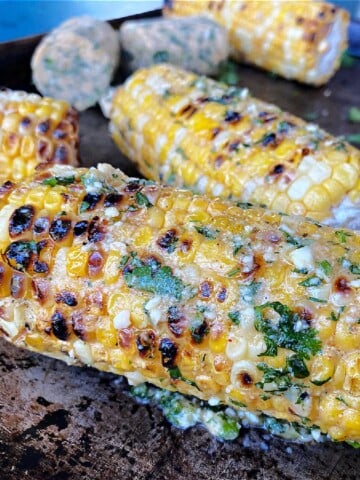
Mexican Street Corn (Elotes Mexicanos) Compound Butter
-
Creamy Russian Dressing
-
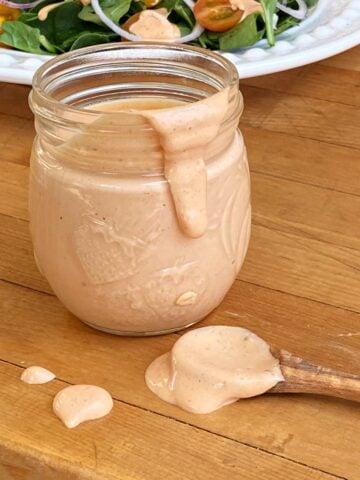
Authentic Thousand Island Dressing