Recipes
The Good Hearted Woman features traditional and seasonal recipes made with simple, everyday ingredients; for breakfast, lunch, dinner, dessert and everything in between. Browse here for hundreds of easy, family-pleasing recipes, or visit our Recipe Index to explore specific recipes categories.
-
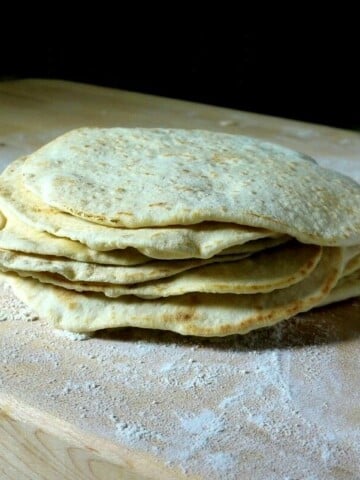
Homemade Flour Tortillas with Olive Oil
-
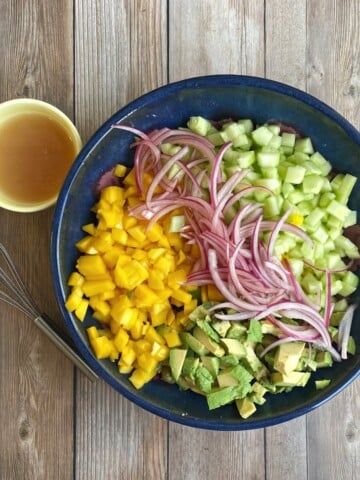
Caribbean Mango Avocado Salad (Fresh, Easy, 15-Minute Recipe)
-
Dutch Oven Pineapple Upside-Down Cake (Easy Camping Dessert Recipe)
-
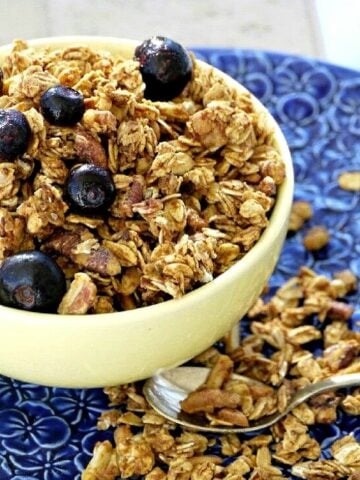
Date-Sweetened Granola (No Refined Sugar, Oil-Free, Vegan)
-
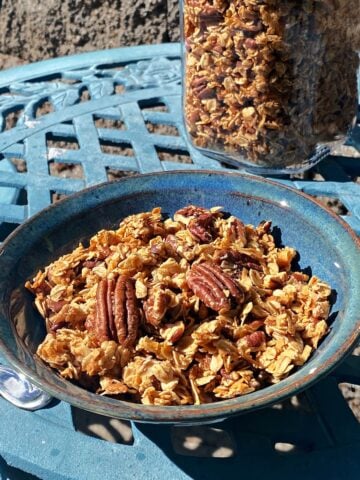
Easy Maple Nut Granola (Perfectly Crunchy, Naturally Sweetened)
-
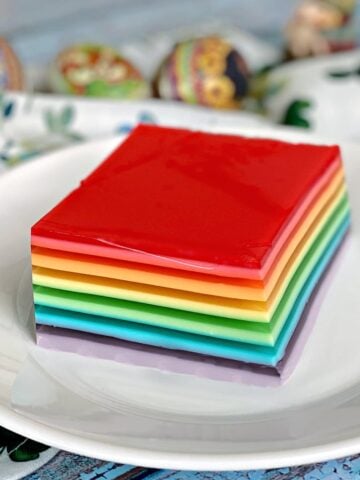
Layered Rainbow Jello (Vintage Ribbon Salad Recipe)
-
Perfect Picnic Finger Foods + Packing Essentials for a Delicious Day Outdoors
-
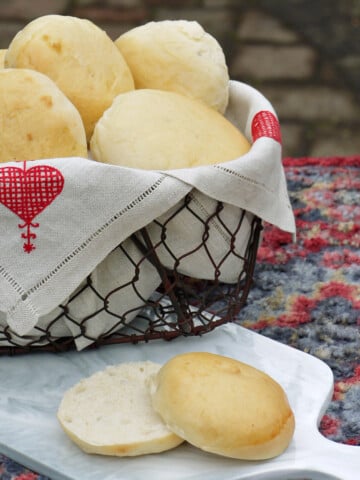
Homemade Hamburger Buns from Scratch – Soft, Fluffy, and Golden
-
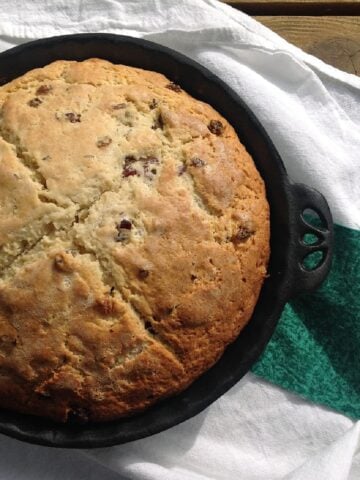
Nana’s Irish Soda Bread (Traditional, Easy No-Yeast Recipe)
-
Classic Shepherd’s Pie with Beef
-
St. Patrick's Layered Jello – Irish Flag Jello for a Fun St. Patrick's Day Treat
-
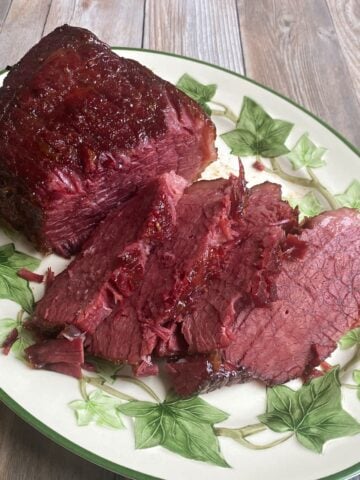
Brown Sugar & Mustard Glazed Corned Beef (Oven-Braised Brisket)
-
Emerald Sunrise (Festive St Patrick's Day Cocktail)
-
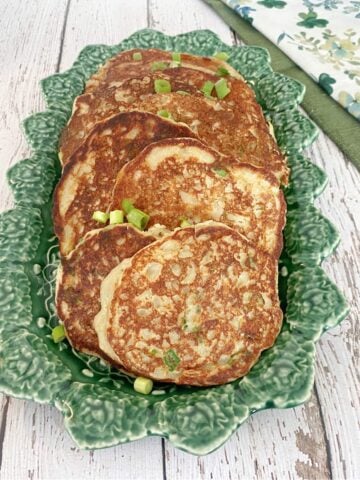
Irish Boxty Recipe (Traditional Potato Pancakes)
-
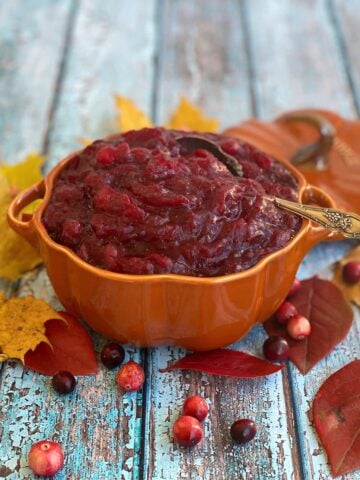
Orange Spiced Cranberry Sauce (with Grand Marnier)
-
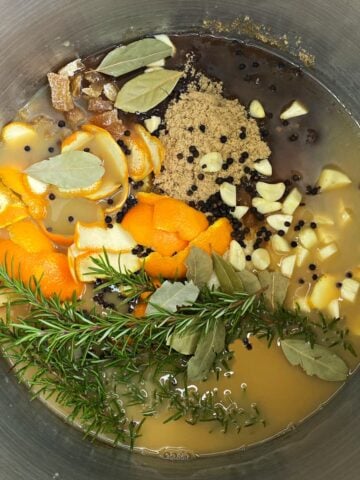
Apple Cider Turkey Brine with Citrus, Ginger, & Herbs
-
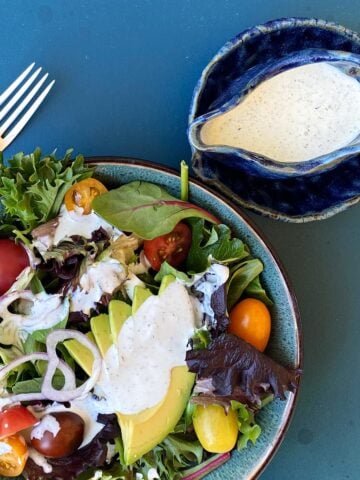
Homemade Buttermilk Ranch Dressing (Better Than Store-Bought!)
-
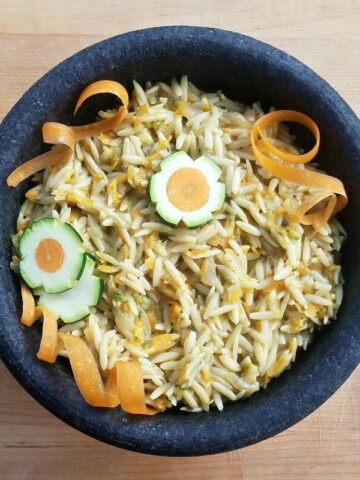
Cheesy Vegetable Orzo (Easy, Kid-Friendly Side Dish)
-
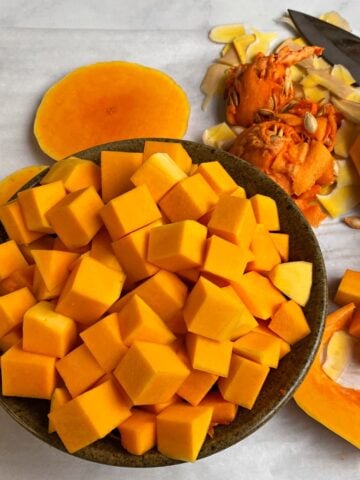
How to Cube Butternut Squash (Without Losing a Finger)
-
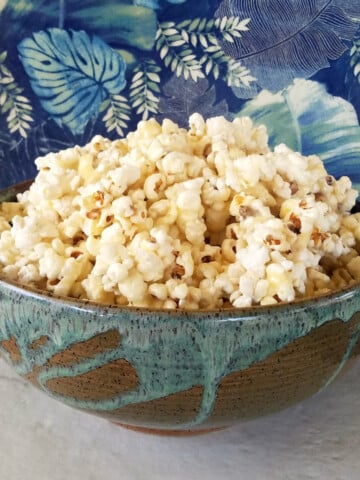
Easy Soft Caramel Corn Recipe (Mary’s Sticky Popcorn)
-
Rich Turkey Chili With Cocoa & Beer
-
Blueberry Banana Muffins (Moist, Easy, and Naturally Low in Fat!)
-
Pop's Beef Barley Vegetable Soup
-
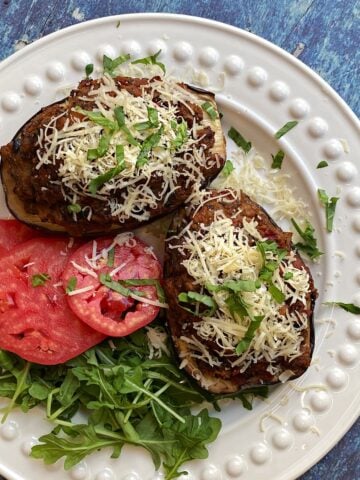
Easy Bolognese Stuffed Eggplant Boats (Light, Hearty & Delicious)
-
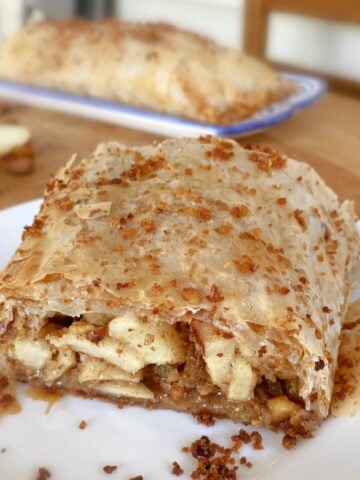
Easy Apple Strudel (Apfelstrudel) with Phyllo Dough
-
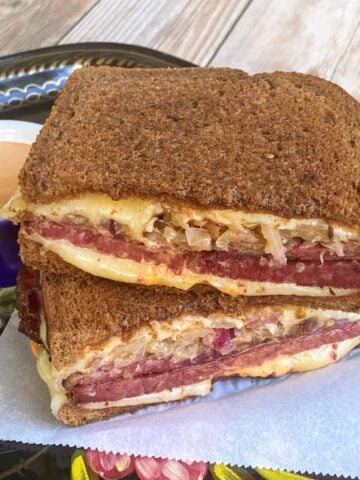
Classic Reuben Sandwich Recipe
-
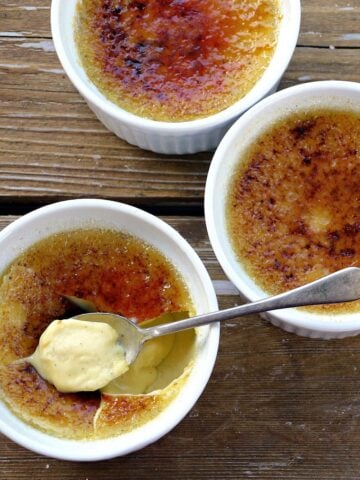
Classic Crème Brûlée
-
Asian Chicken Lettuce Wraps (PF Chang's Copycat)
-
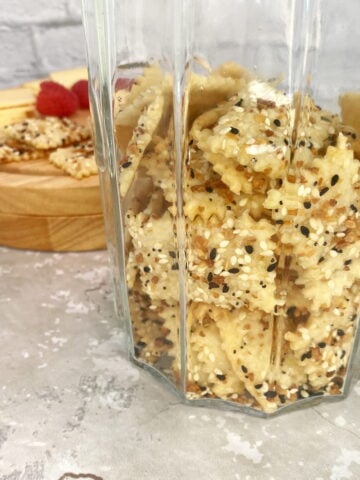
Everything Sourdough Crackers (Crispy & Buttery)
-
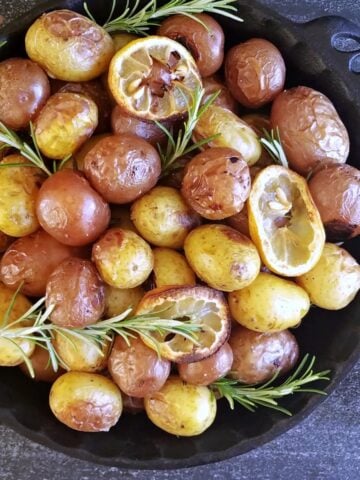
Rosemary Roasted Baby Potatoes with Garlic Honey-Lemon Butter
-
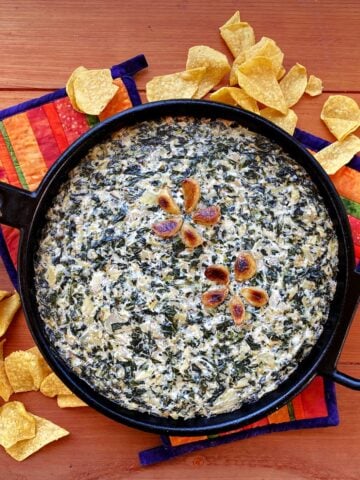
Roasted Garlic Spinach Artichoke Dip (Warm & Cheesy Party Favorite)
-
Walnut-Citrus Tuna Hand Pies (Easy Savory Turnovers)
-
2-Minute Blender Hollandaise Sauce
-
Russian Tea Mix (Vintage Spiced Instant Tea Recipe)
-
Chocolate Fountain Tips & Tricks (Some Learned the Hard Way)
-
Easy Pourable Pizza Dough (No Kneading, No Rolling!)
-
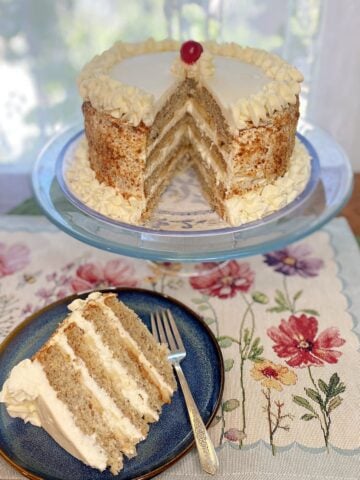
Bavarian Banana Cream Cake (Kienow's Copycat Recipe)
-
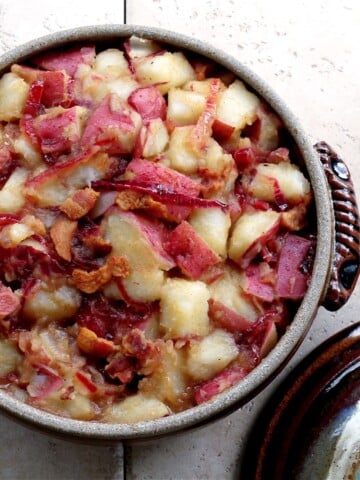
Hot German Potato Salad (Bavarian Kartoffelsalat)
-
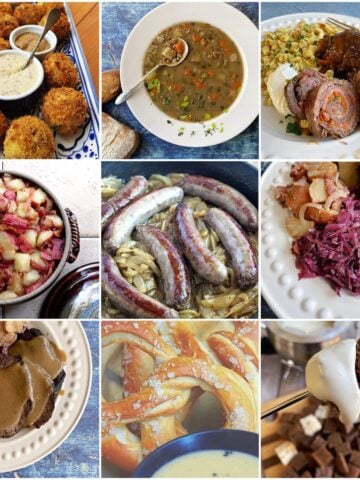
15 Classic German Recipes to Celebrate Oktoberfest
-
Gluten-Free Lemon Blueberry Muffins
-
Classic Cincinnati Chili
-
Eggs Provençal with Heirloom Tomatoes and Parmesan