Side Dish Recipes
Complete your meal with the best side dish recipes! Pull everything together with an easy weekday side dish, or celebrate with an updated heirloom holiday side.
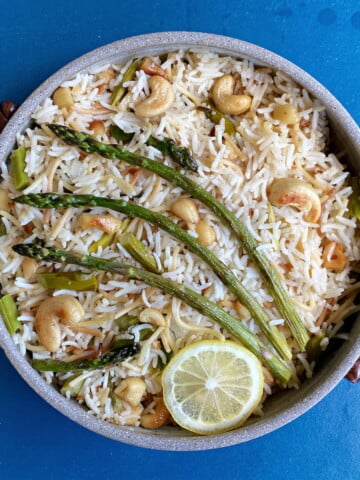
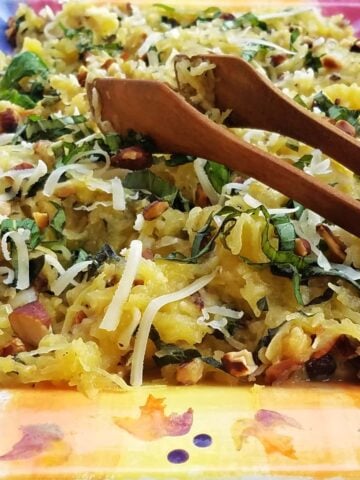
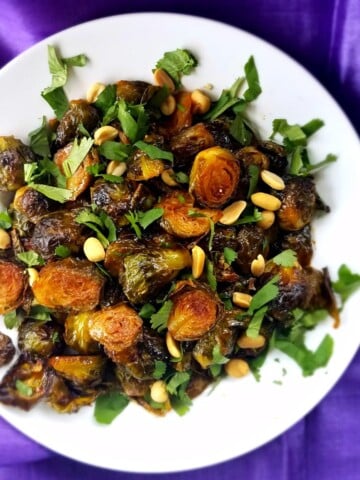
Need an idea? Our easy Rice Pilaf with Asparagus & Cashews and Spaghetti Squash with Garlic & Almonds will complement almost any meal; or add our Gochujang Roasted Brussels Sprouts to your next holiday menu for a surprising new favorite!
-
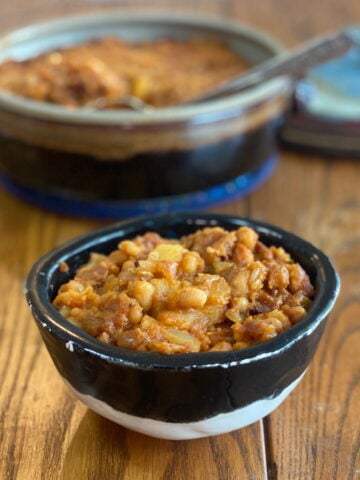
Smoky Pineapple Baked Beans from Scratch
-
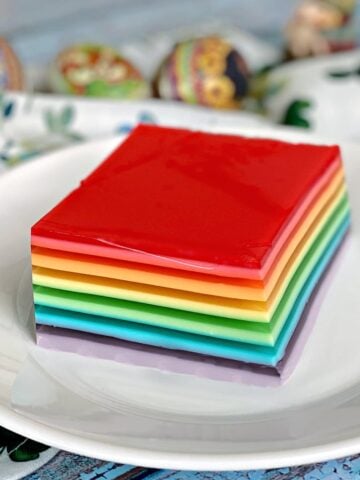
Layered Rainbow Jello (Vintage Ribbon Salad Recipe)
-
St. Patrick's Layered Jello – Irish Flag Jello for a Fun St. Patrick's Day Treat
-
Irish Boxty Recipe (Traditional Potato Pancakes)
-
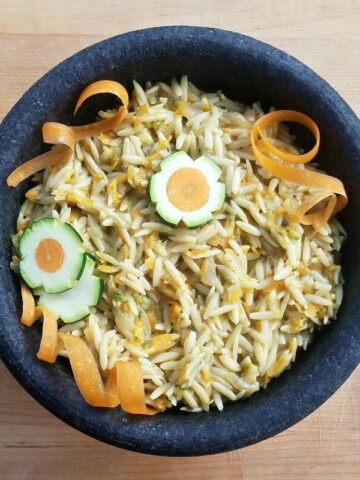
Cheesy Vegetable Orzo (Easy, Kid-Friendly Side Dish)
-
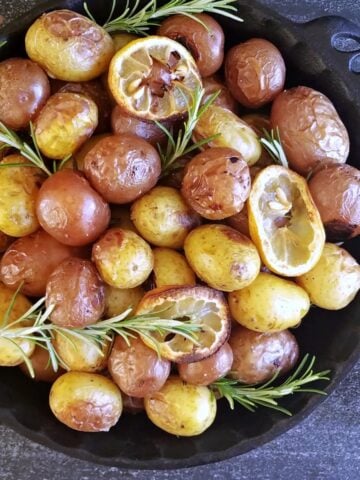
Rosemary Roasted Baby Potatoes with Garlic Honey-Lemon Butter
-
Hot German Potato Salad (Bavarian Kartoffelsalat)
-
Garlic Roasted Baby Squashes (Easy Summer Side Dish)
-
Cheesy Zucchini Casserole with Tomatoes
-
Sun-dried Tomato Carbonara
-
Cranberry Orange Pearl Couscous
-
Muhammara (Roasted Red Pepper & Walnut Dip)
-
Classic Baked Acorn Squash
-
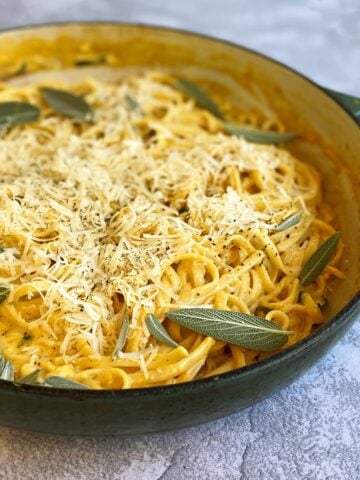
Creamy Pumpkin Pasta with Parmesan & Sage
-
Grilled Stuffed Squash Blossoms
-
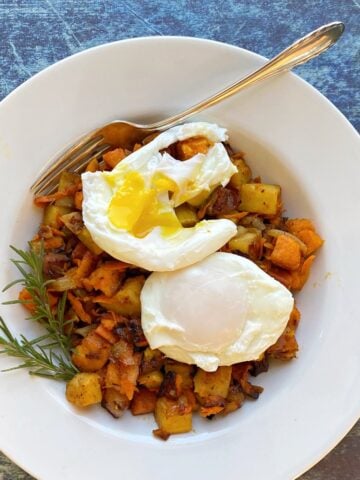
Sweet Potato Breakfast Hash
-
Perfect Air Fryer Scotch Eggs
-
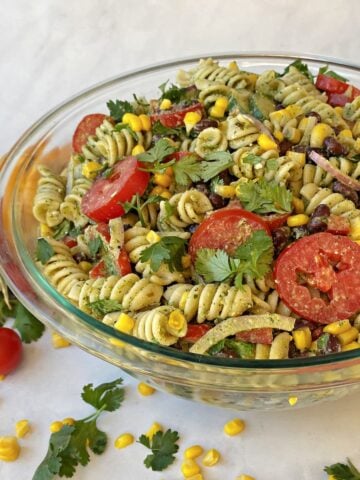
Garden-fresh Summer Pasta Salad
-
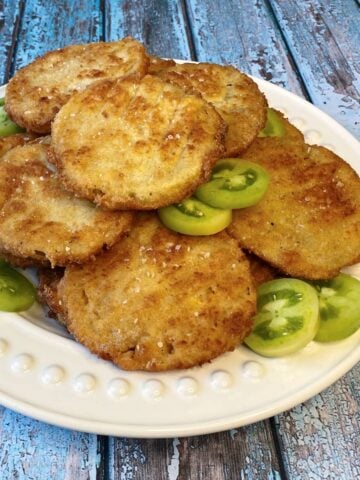
Crispy Fried Green Tomatoes
-
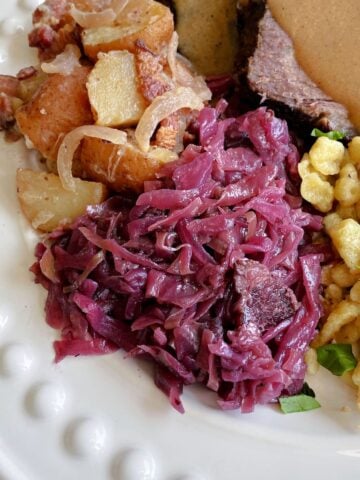
Traditional German Red Cabbage (Rotkohl)
-
Fresh Lomi Lomi Salmon
-
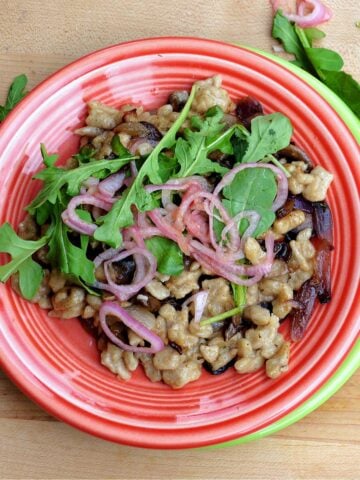
Rye Sourdough Spaetzle (Spätzel)
-
Leftover Mashed Potato Pancakes
-
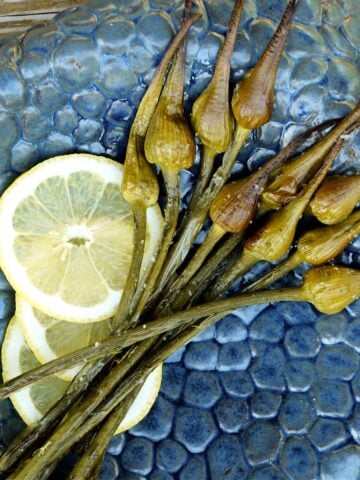
Oven-Roasted Garlic Spears (Garlic Scapes)
-
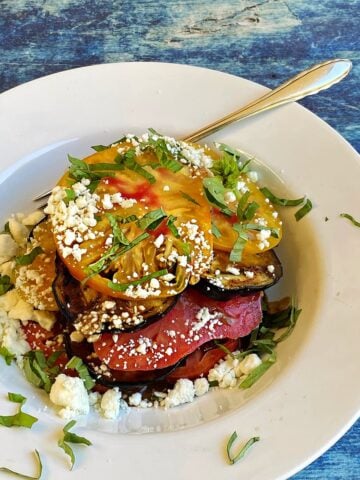
Grilled Eggplant & Tomato Stacks
-
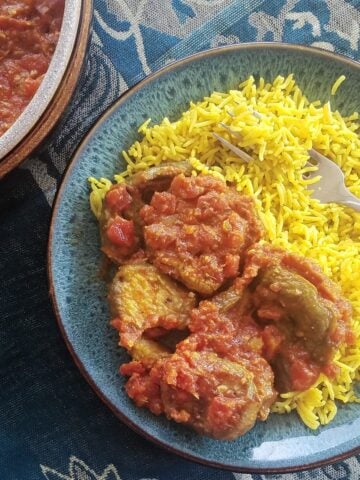
Indian Eggplant Pickling Style (Baigan Achari)
-
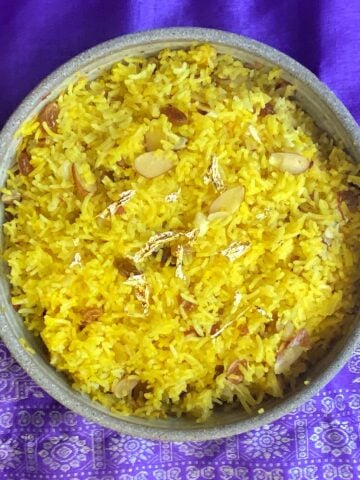
Sweet Saffron Rice
-
Skillet Cornbread with Pan-fried Maple Corn
-
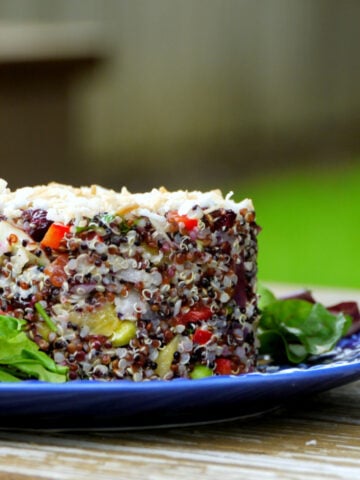
Mango Quinoa Salad
-
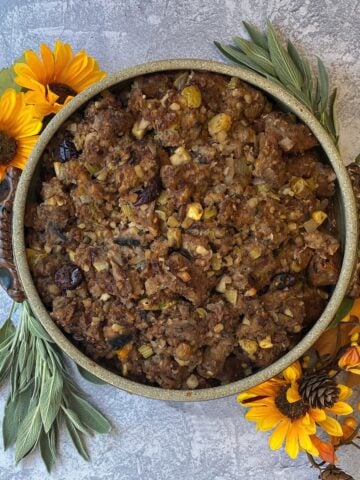
Multigrain Stuffing with Fruits & Nuts
-
Crispy Quinoa Patties
-
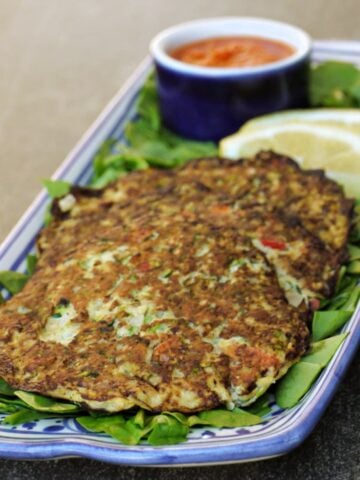
Zucchini Fritters with Roasted Red Pepper Sauce
-
Easy Rice Pilaf with Asparagus & Cashews
-
Roasted Spaghetti Squash with Garlic & Almonds
-
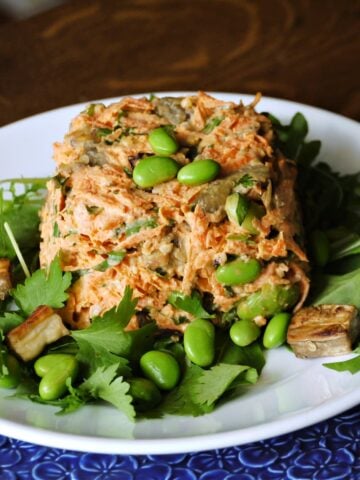
Armenian-style Eggplant & Carrot Salad
-
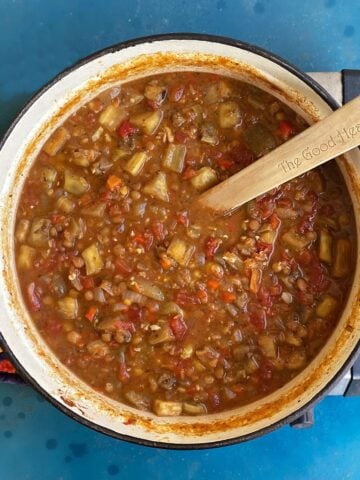
Armenian Lentil Stew with Eggplant
-
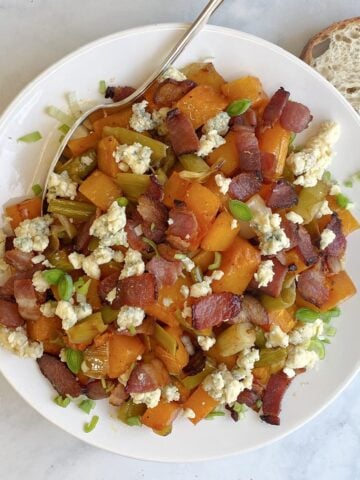
Roasted Butternut Squash with Bacon & Leeks
-
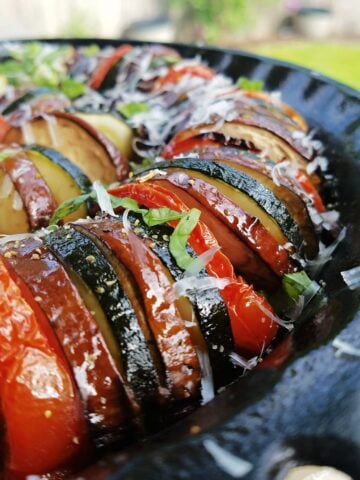
Roasted Ratatouille with Pan-fried Onions
-
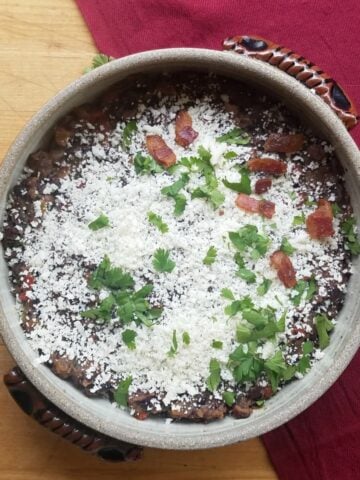
Em's Sweet & Spicy Black Beans with Bacon
-
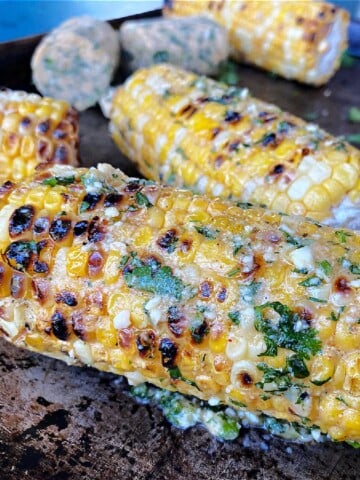
Mexican Street Corn (Elotes Mexicanos) Compound Butter
-
Roasted Garlic Smashed Potatoes
-
Gochujang Roasted Brussels Sprouts