Main Dish Recipes
When it comes to main dishes, we have a wide array of delicious recipes that are family-friendly and easy to prepare.
We've got classic comfort food favorites, of course, like our amazing scratch homemade chicken pot pie and reader favorite, our ultimate shepherd's pie. You'll also find breakfast and brunch ideas, fish and seafood favorites, and big meal-size salads (like our Honey-Citrus Turkey Salad!).
-
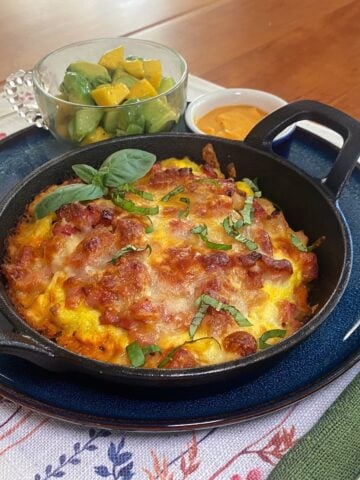
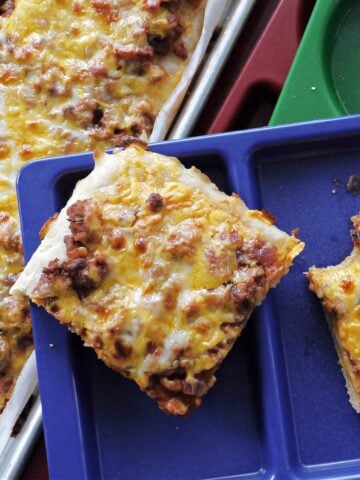
Cast Iron Breakfast Pizza (Mini Skillets or One 10-Inch Pan)
-
Classic Shepherd’s Pie with Beef
-
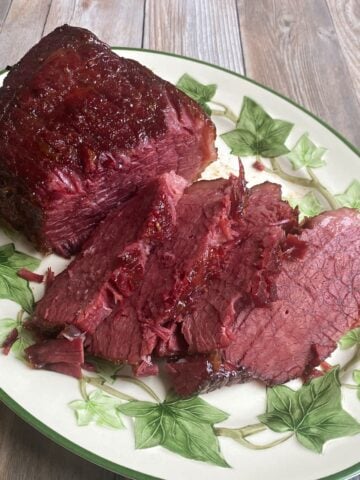
Brown Sugar & Mustard Glazed Corned Beef (Oven-Braised Brisket)
-
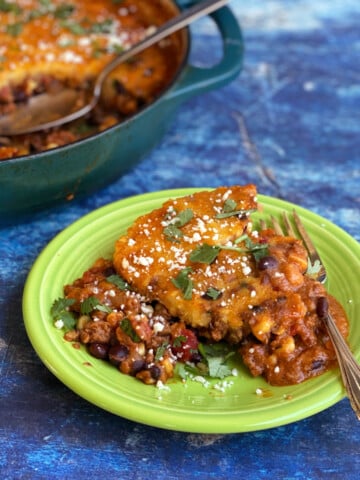
Rich Turkey Chili With Cocoa & Beer
-
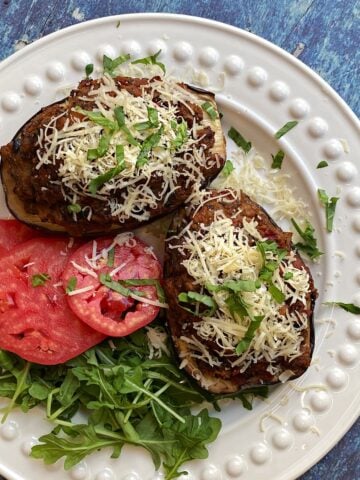
Easy Bolognese Stuffed Eggplant Boats (Light, Hearty & Delicious)
-
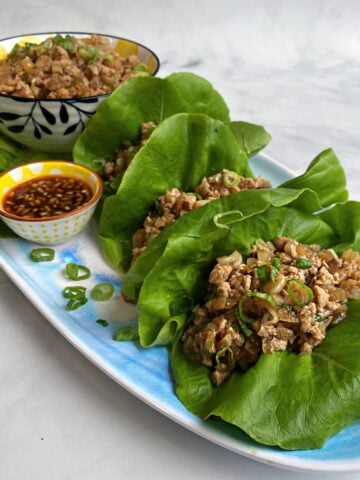
Asian Chicken Lettuce Wraps (PF Chang's Copycat)
-
Walnut-Citrus Tuna Hand Pies (Easy Savory Turnovers)
-
Classic Cincinnati Chili
-
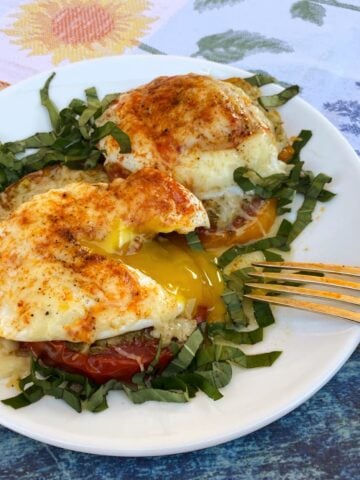
Eggs Provençal with Heirloom Tomatoes and Parmesan
-
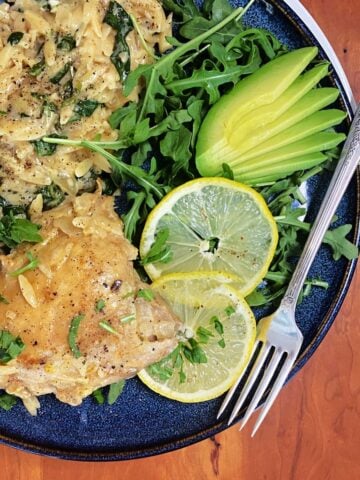
Creamy Lemon Chicken Orzo (Easy One-Pan Dinner)
-
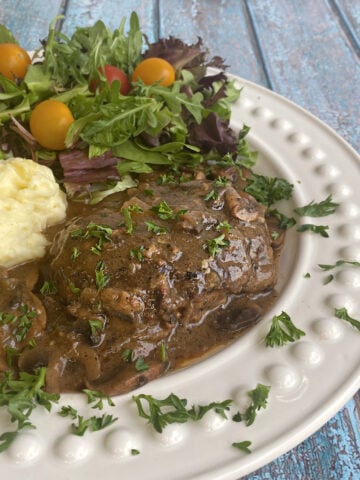
Homemade Salisbury Steak with Mushroom Gravy
-
Retro Shrimp Salad with Lemon Mustard Dressing (Easy + Make Ahead)
-
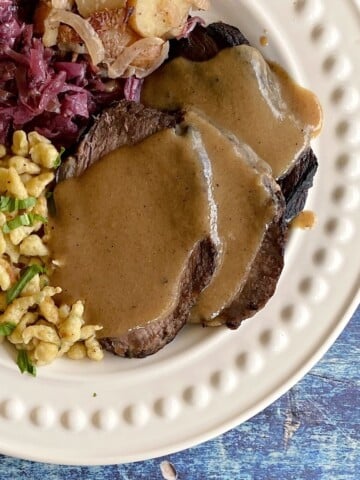
Authentic Bavarian Sauerbraten with Gingersnap Gravy
-
Old School Cafeteria Pizza
-
Old-School Tamale Pie with Cheesy Cornmeal Topping (Easy & Budget-Friendly)
-
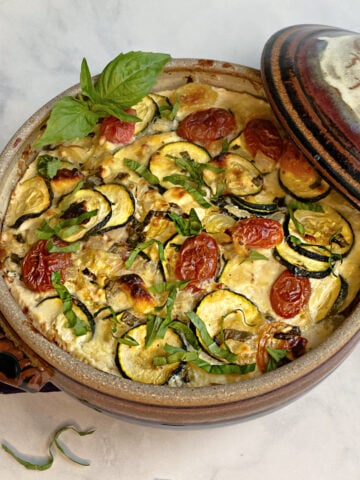
Cheesy Zucchini Casserole with Tomatoes
-
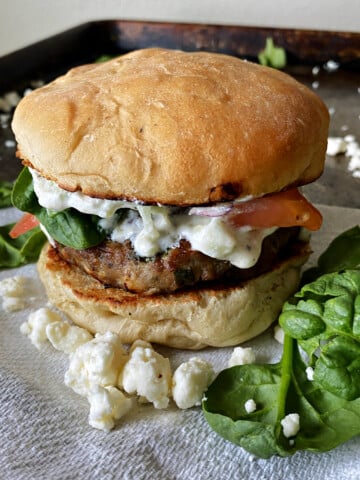
Greek Turkey Burgers with Tzadiki Sauce
-
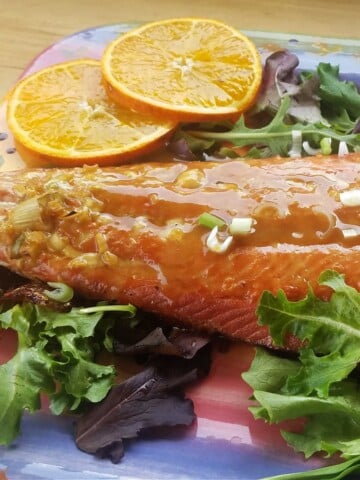
Grilled Honey Ginger Salmon with Orange Glaze
-
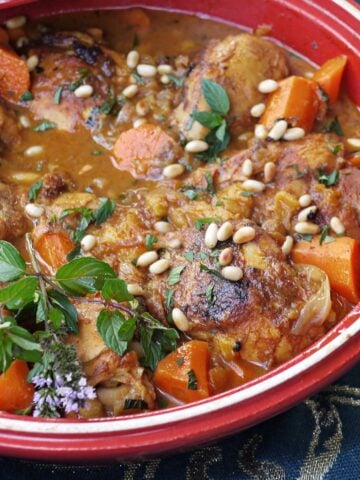
Apricot Chicken Tagine with Ginger & Mint
-
Leftover Chili & Cornbread Breakfast Casserole
-
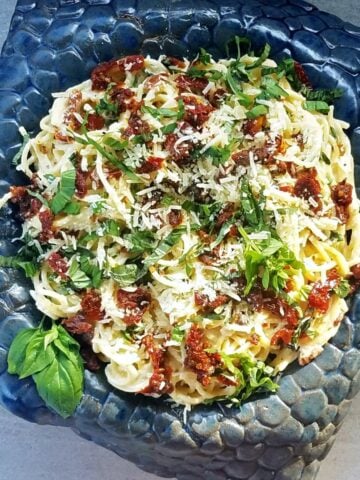
Sun-dried Tomato Carbonara
-
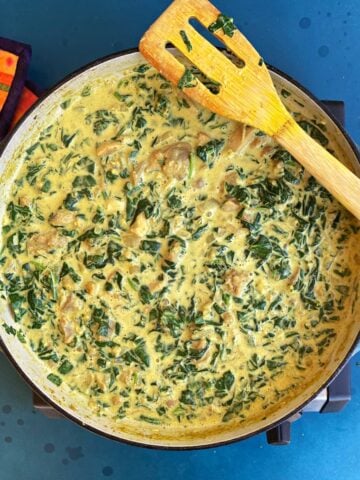
Spinach Chicken Curry (Chicken Saag)
-
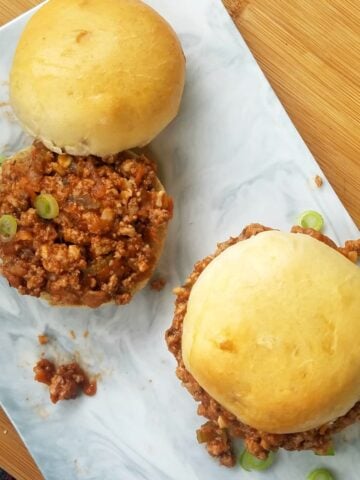
Lighter Classic Sloppy Joes
-
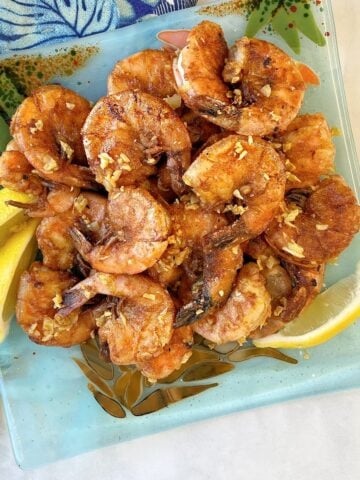
Hawaiian Garlic Shrimp (Kahuku Truck-style)
-
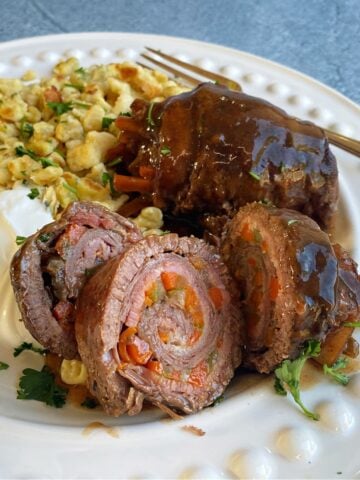
Authentic German Beef Rouladen (Rinderrouladen)
-
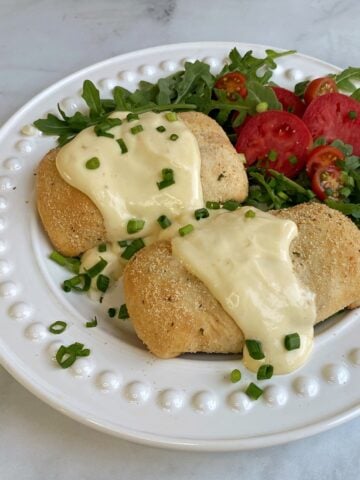
Chicken Pillows
-
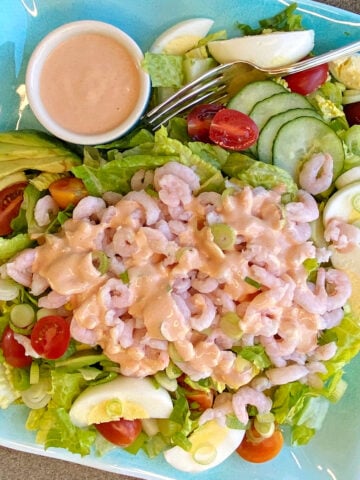
Classic Bay Shrimp Louie
-
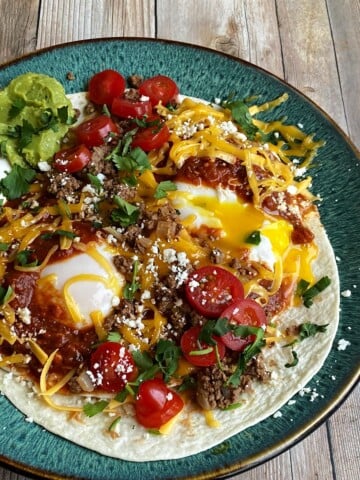
Huevos Rancheros (Mexican Rancher's Eggs)
-
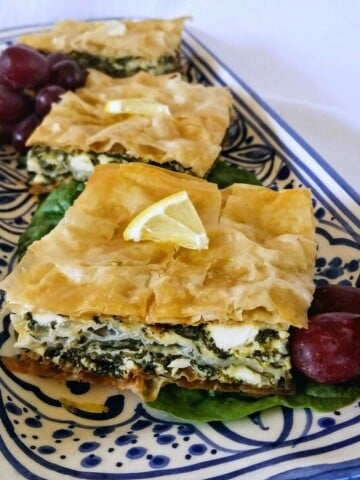
Light & Easy Spanakopita (Greek Spinach Pie)
-
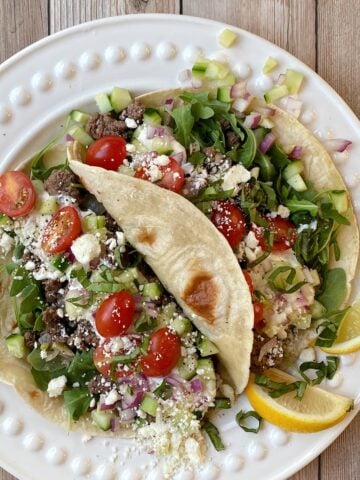
Greek Tacos
-
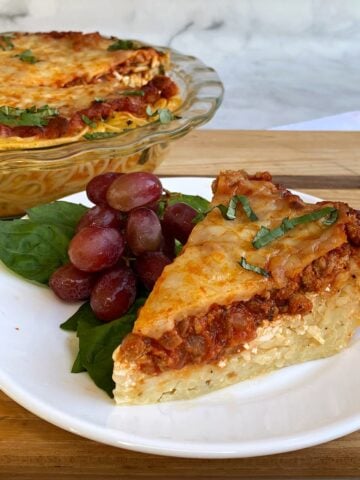
Easy Spaghetti Pie
-
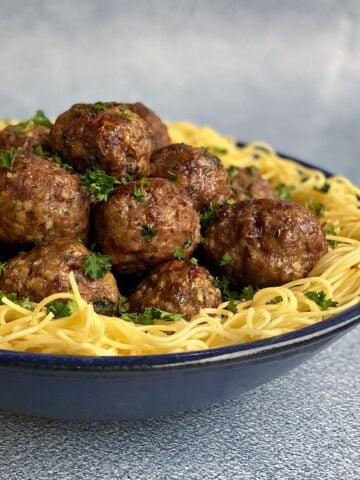
Classic Baked Ricotta Meatballs
-
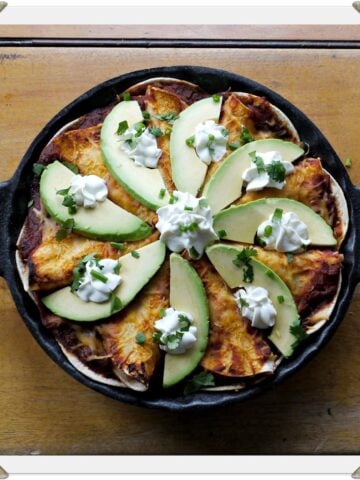
Picture Perfect Chicken Enchilada Pie
-
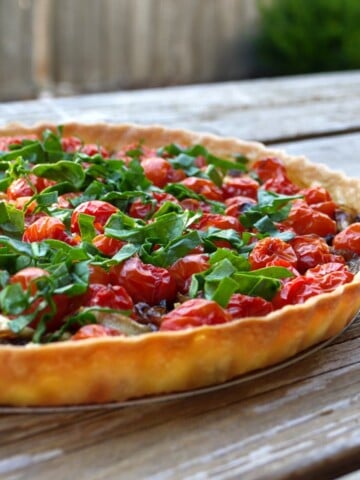
Fresh Cherry Tomato Tart
-
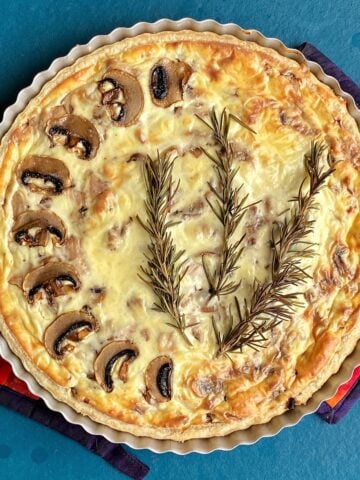
Savory Chicken Mushroom Tart
-
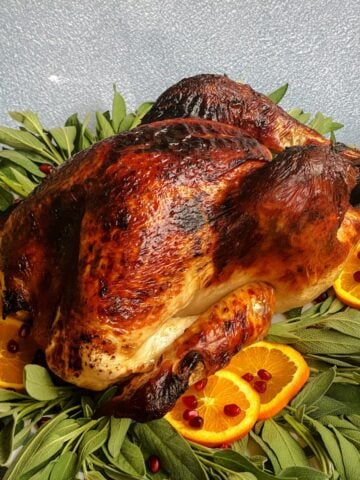
Simply Perfect Roast Turkey
-
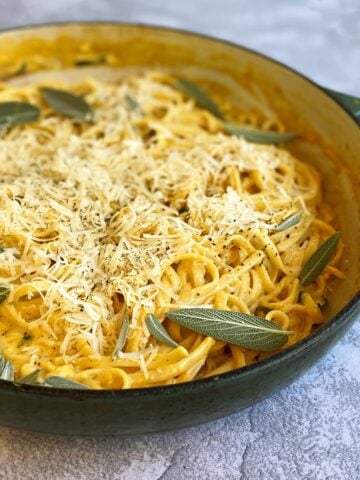
Creamy Pumpkin Pasta with Parmesan & Sage
-
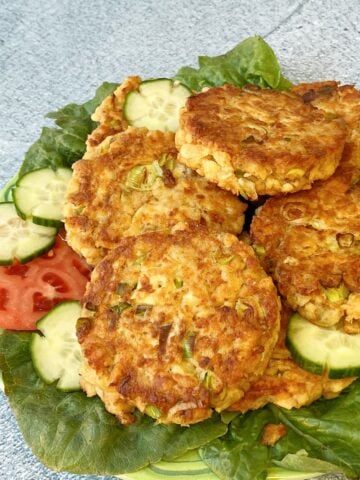
Easy Salmon Patties (with Canned Salmon)
-
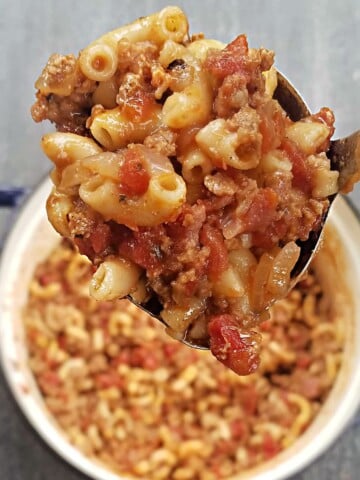
Grammi's Classic Chili Mac
-
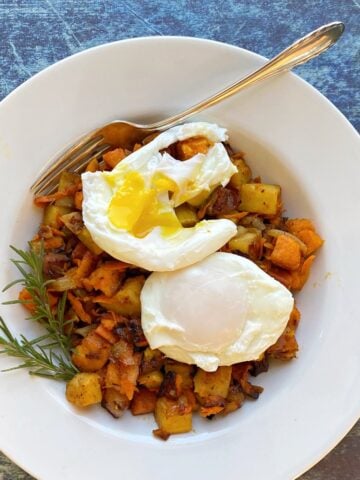
Sweet Potato Breakfast Hash
-
Perfect Air Fryer Scotch Eggs
-
Creamy Seafood Enchiladas