Bread
When it comes to simple pleasures, homemade bread is high on the list. Our bread recipes are tested, tried-and-true; with options for all sorts of bakers, from the most basic beginner to seasoned pro.
Make a loaf of one of our warmly-spiced quick breads, like Classic Banana Bread or Old-fashioned Pumpkin Gingerbread, or bake up a batch Easy Homemade Burger Buns. If you're feeling inspired to jump into sourdough baking, try our wildly popular Easy Sourdough Bread, the one of the most visited beginner sourdough bread recipes of 2020 (a big year for sourdough!).
-
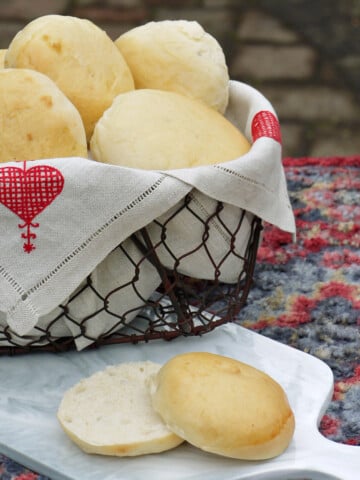
Homemade Hamburger Buns from Scratch – Soft, Fluffy, and Golden
-
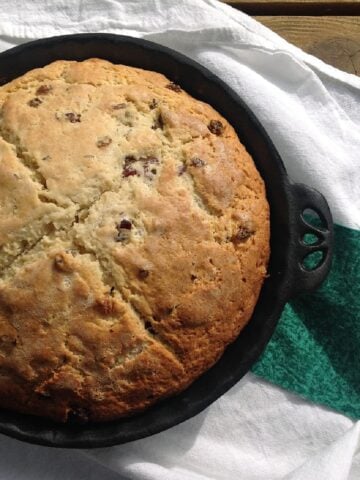
Nana’s Irish Soda Bread (Traditional, Easy No-Yeast Recipe)
-
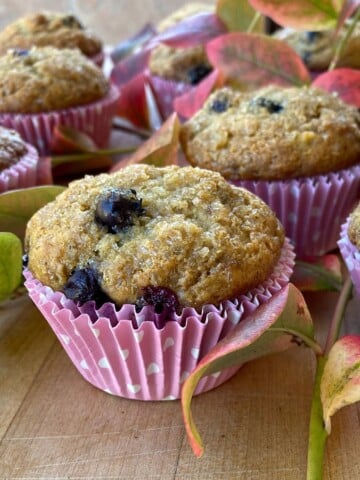
Blueberry Banana Muffins (Moist, Easy, and Naturally Low in Fat!)
-
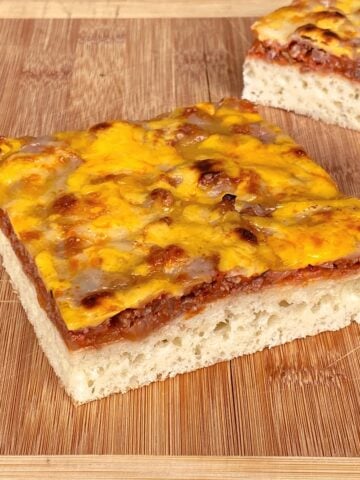
Easy Pourable Pizza Dough (No Kneading, No Rolling!)
-
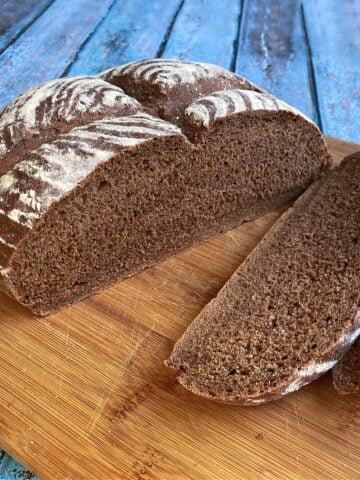
German Dark Rye Bread
-
Zucchini Banana Bread
-
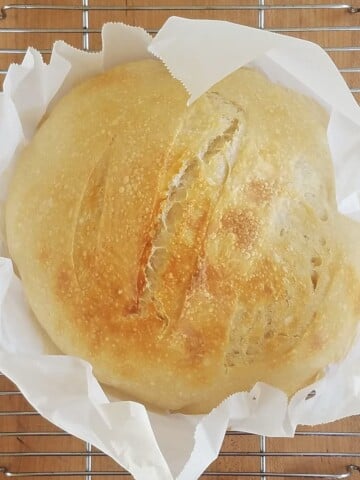
Kaylen's Bread (Easy Sourdough Bread Recipe)
-
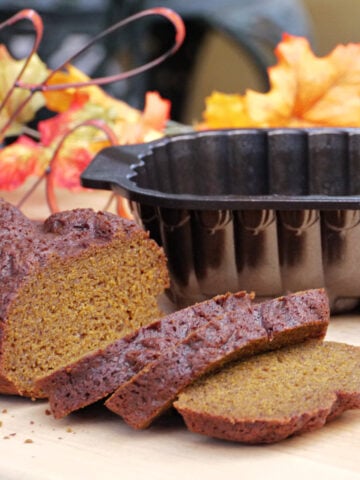
Nana's Old-fashioned Pumpkin Gingerbread
-
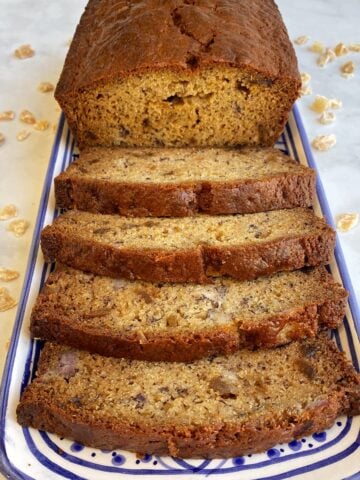
Spiced Banana Bread with Crystallized Ginger
-
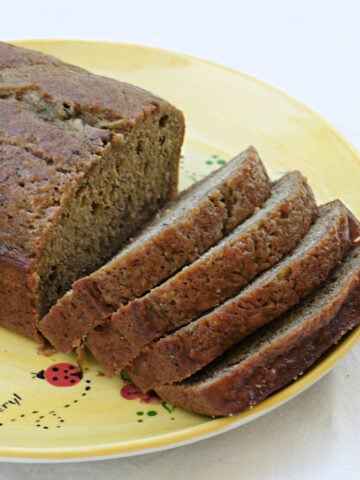
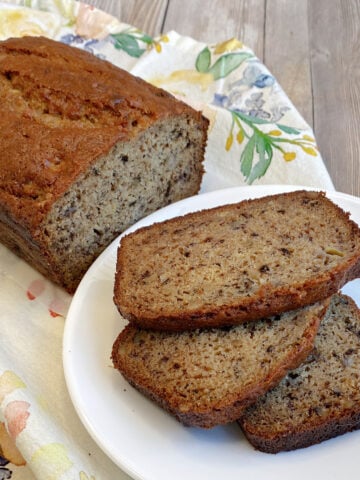
Mom's Classic Banana Bread
-
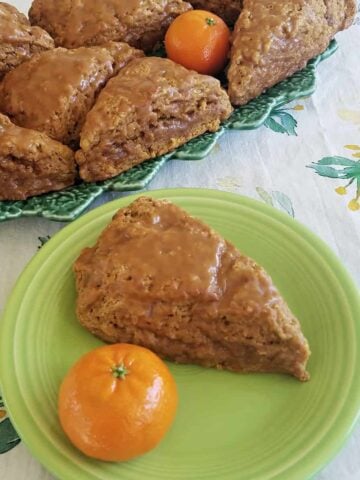
Spiced Pumpkin Sourdough Scones
-
Easter Bread Recipes from Around the World
-
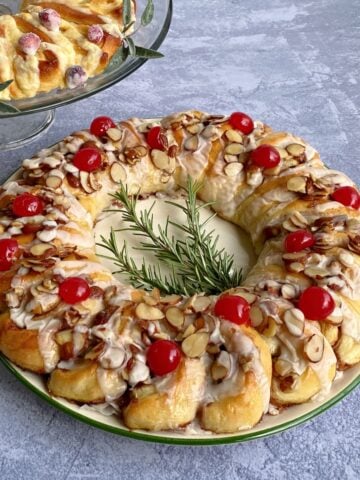
Orange Tea Ring (Danish Wreath)
-
Skillet Cornbread with Pan-fried Maple Corn
-
Perfect Buttermilk Biscuits
-
Spicy Cornmeal Pizza Crust
-
Cinnamon Roll Wreath (Danish Pastry Ring)
-
Bread Pudding Muffins
-
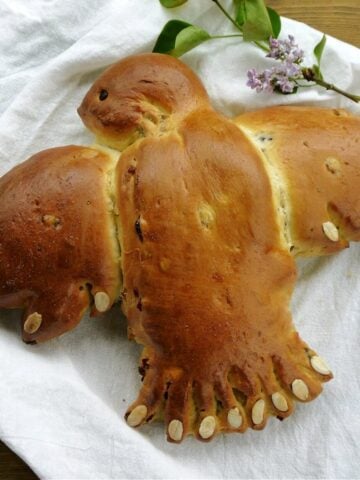
Italian Easter Dove Bread | Colomba Pasquale