Homemade Ingredients & Basic Cooking Techniques
Making your own homemade ingredients from scratch is easy and budget-friendly, plus it helps you avoid all those additives and preservatives that come with in the jars and boxes found on grocery store shelves.
Here you'll find recipes for easy homemade ingredients (e.g., enchilada sauce, caramelized onions, pumpkin spice mix), as well as basic cooking techniques (e.g., how to roast garlic, how to dice a mango) and reliable foundation recipes, like pourable pizza dough and pie crust, biscuits, and tortillas.
-
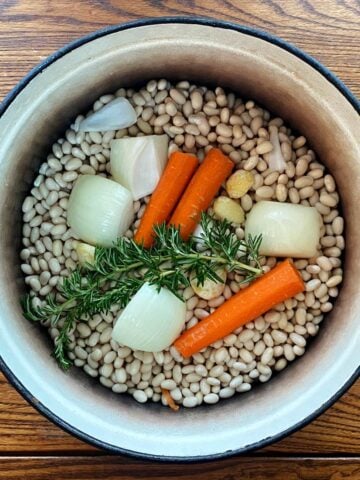
How to Cook Dried Beans in the Oven (Easy Dutch Oven Method)
-
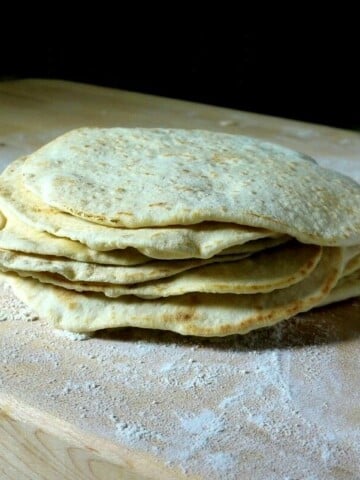
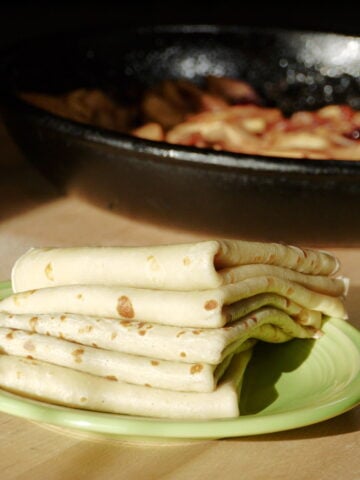
Homemade Flour Tortillas with Olive Oil
-
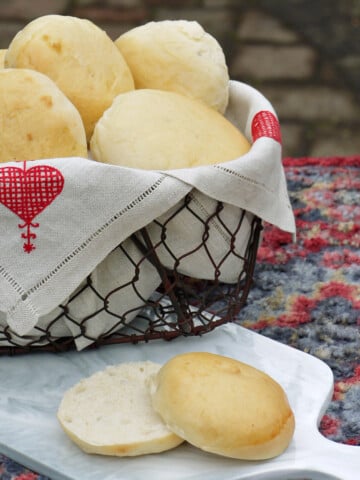
Homemade Hamburger Buns from Scratch – Soft, Fluffy, and Golden
-
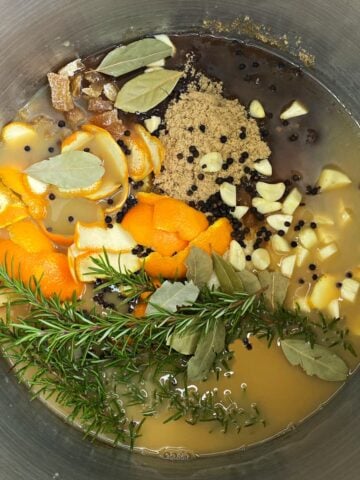
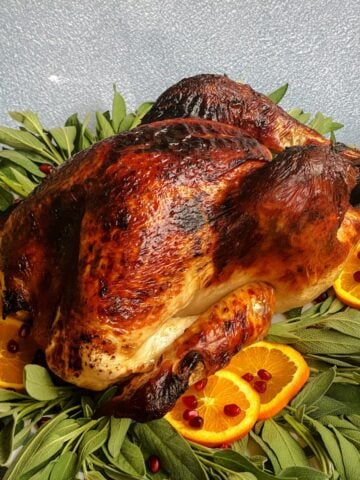
Apple Cider Turkey Brine with Citrus, Ginger, & Herbs
-
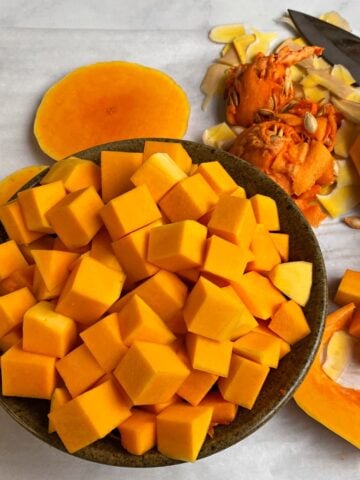
How to Cube Butternut Squash (Without Losing a Finger)
-
Easy Pourable Pizza Dough (No Kneading, No Rolling!)
-
15 Delicious Straight-Up Rhubarb Recipes (Plus Freezing Tips)
-
Oven Roasted Garlic Cloves
-
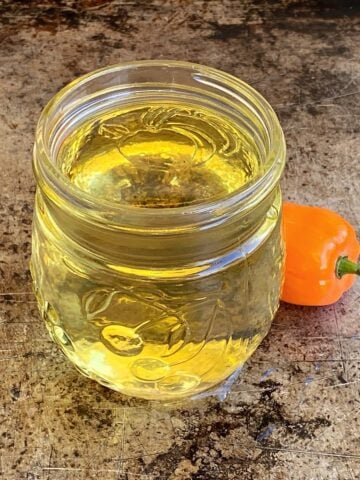
Habanero Simple Syrup
-
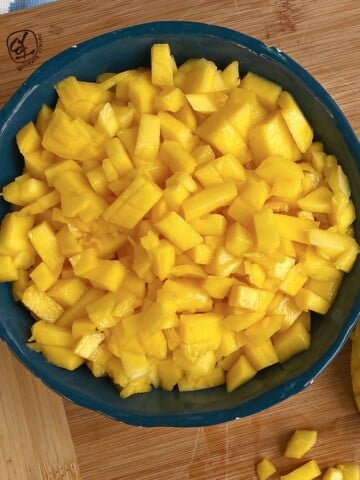
How to Dice a Mango (like a Hedgehog!)
-
Homemade Pumpkin Puree
-
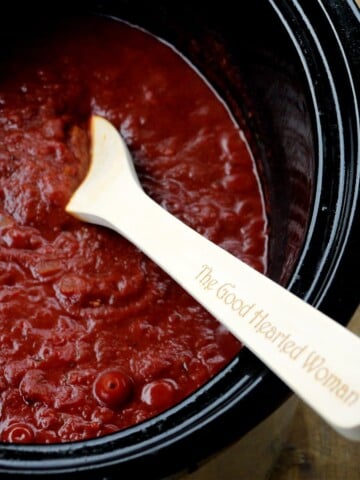
Homemade Enchilada Sauce (Slow Cooker)
-
Simply Perfect Roast Turkey
-
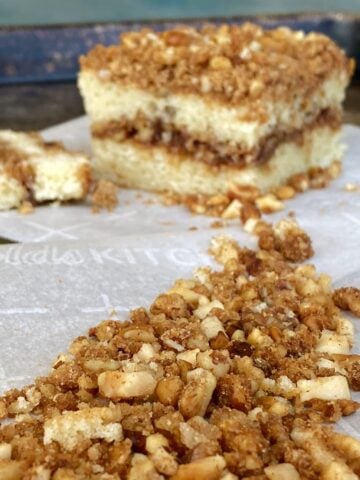
Nut Streusel Topping (Nusstreusel)
-
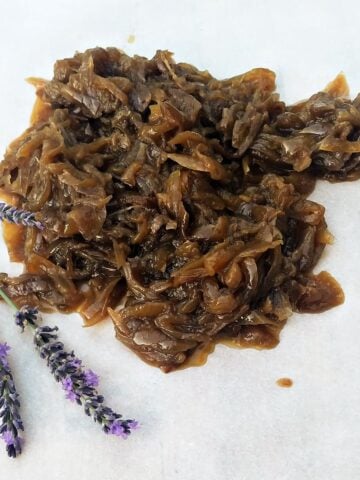
Slow Cooker Caramelized Onions
-
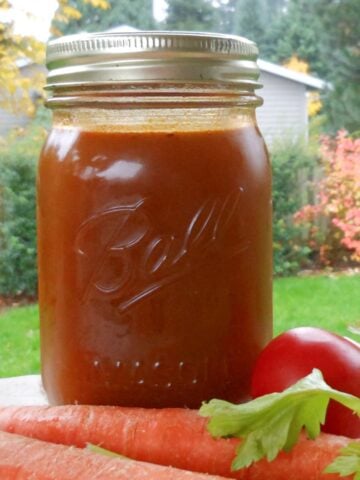
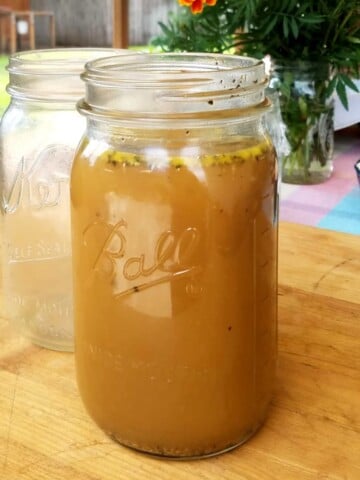
Hearty Roasted Vegetable Stock
-
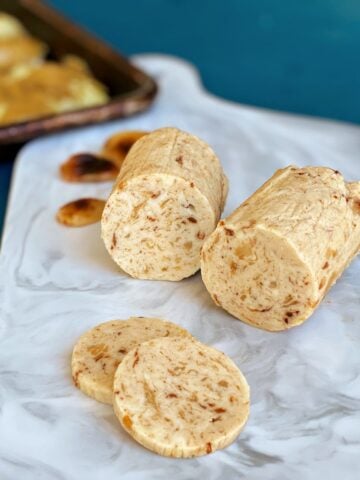
Roasted Garlic Compound Butter
-
Hearty Homemade Chicken Stock
-
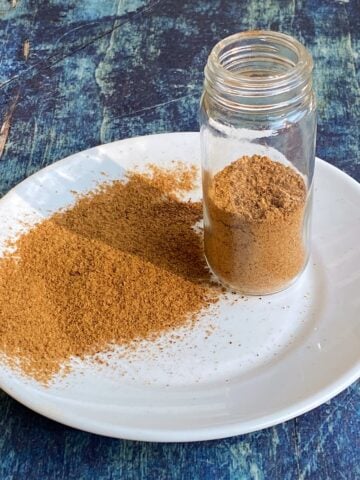
Homemade Pumpkin Spice Mix
-
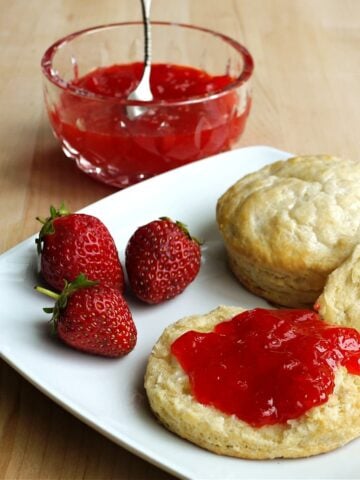
Perfect Buttermilk Biscuits
-
Spicy Cornmeal Pizza Crust
-
Easy Basic Sweet Vanilla Crepes
-
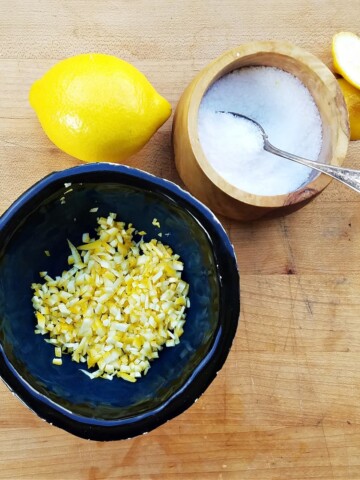
Quick Preserved Lemon Substitute
-
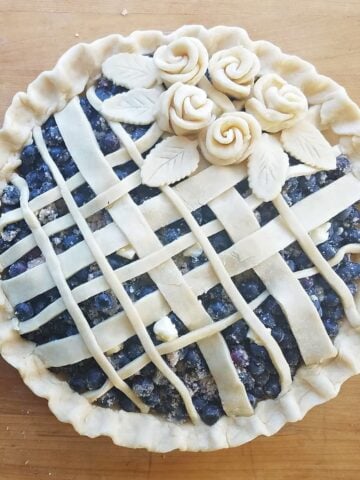
Easy Pie Dough Roses (Pastry Roses)
-
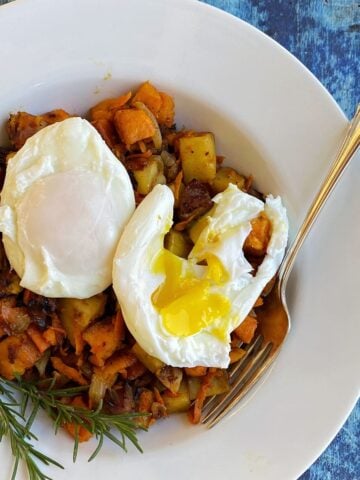
How to Make Perfectly Poached Eggs
-
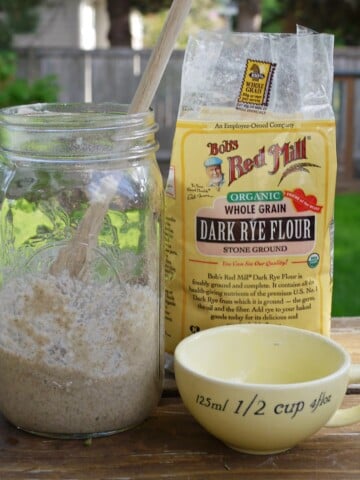
How to Make Rye Sourdough Starter
-
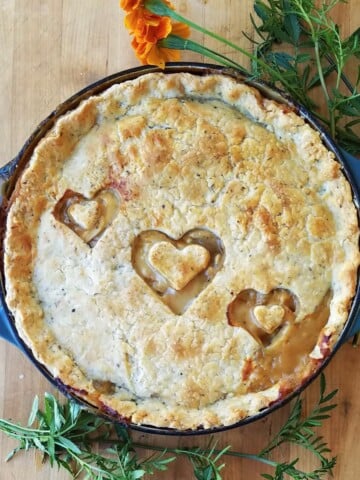
Savory Herb Pie Crust
-
How to Pick a Perfect Watermelon
-
Basic Sweet Pie Crust
-
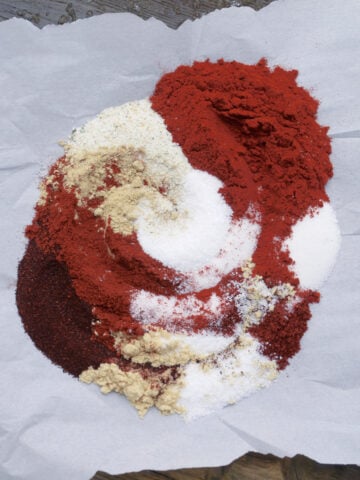
All-Purpose Spicy Dry Rub