

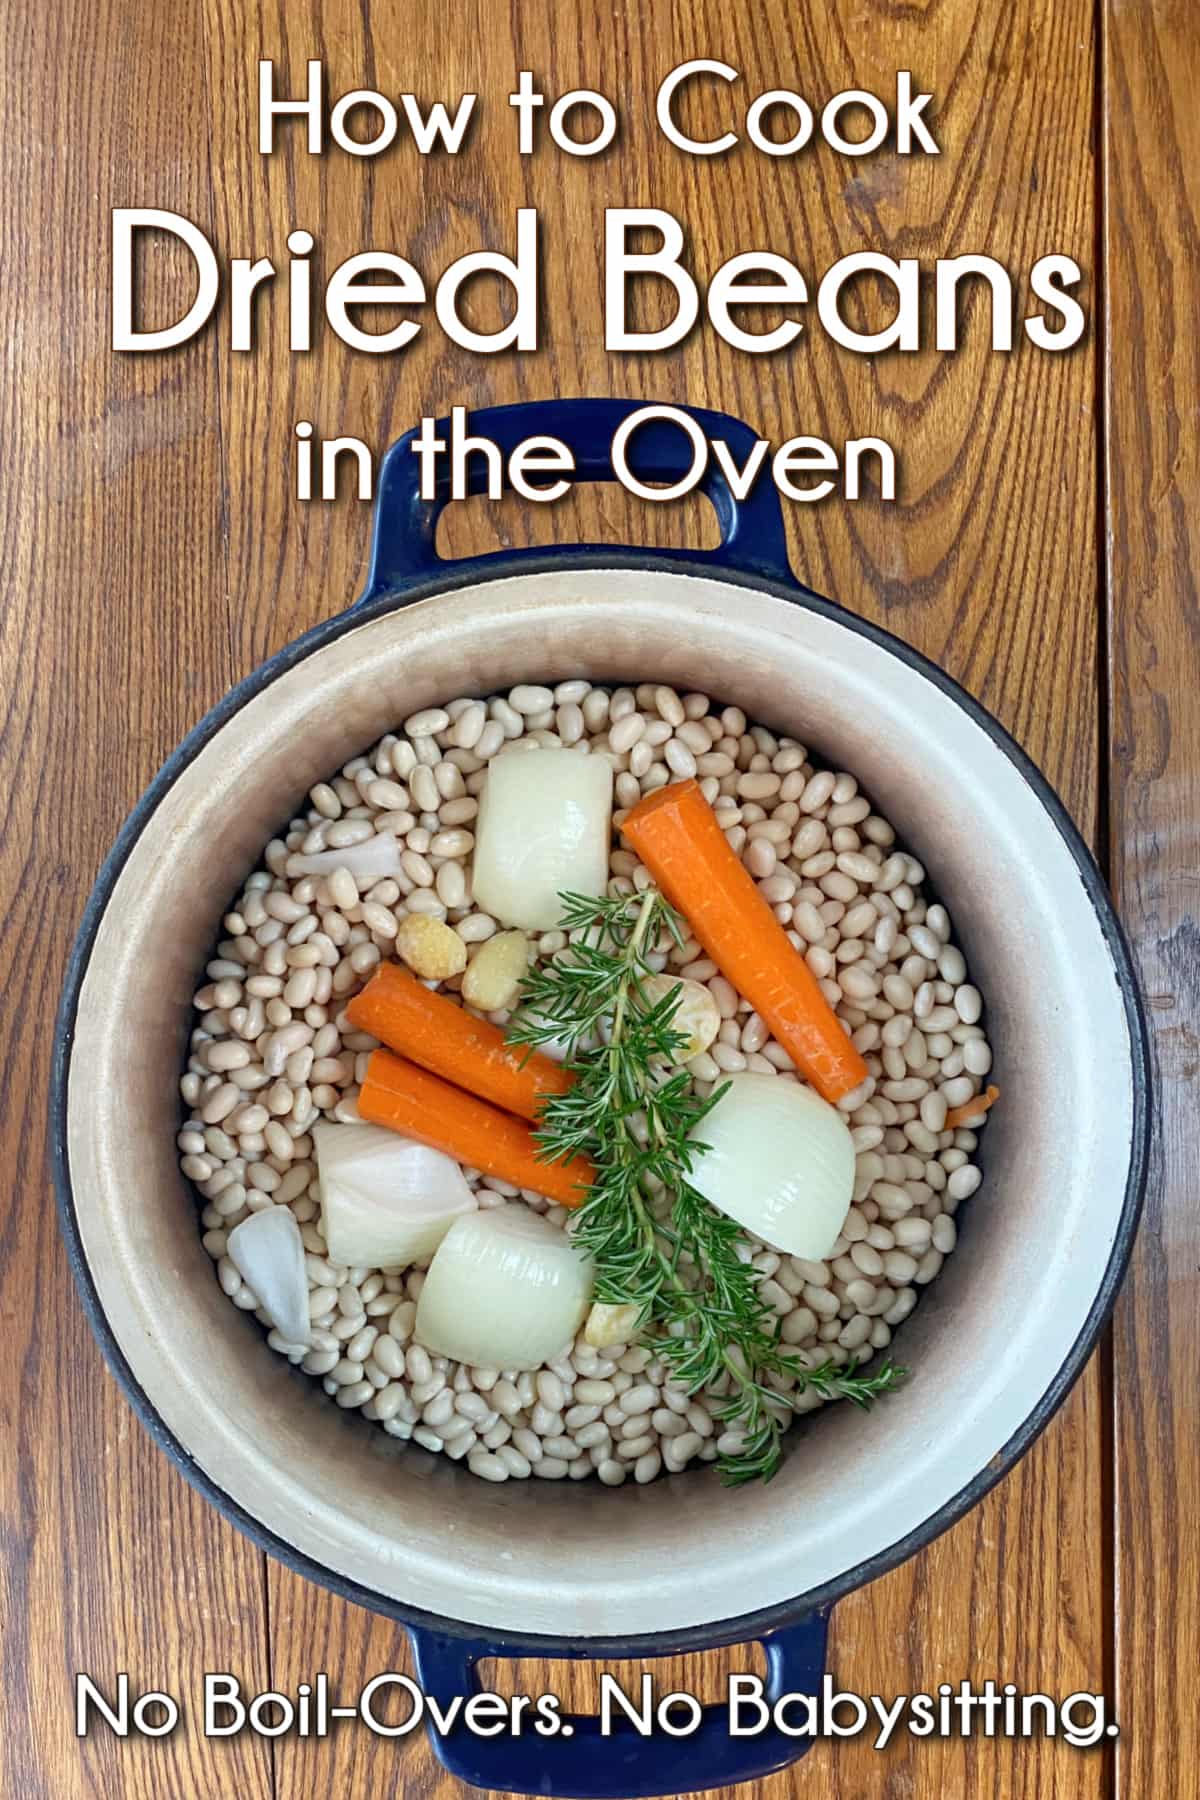
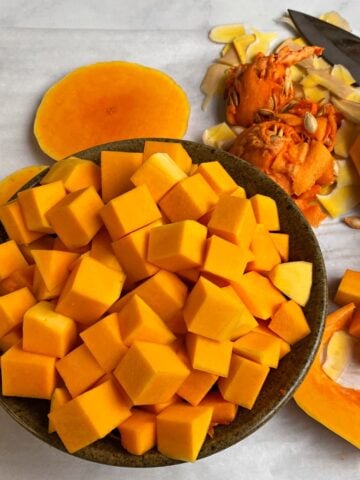
Most people cook dried beans on the stovetop. I cook mine in the oven. This simple Dutch oven method produces creamy, tender beans with almost no hands-on attention. No boil-overs. No scorching. No standing over a pot wondering if they're done yet.
Jump to:
- Why I Start with Dried Beans
- What You'll Need
- Do You Need to Soak the Beans?
- Salt, Baking Soda, and Other Bean Myths
- How to Cook Dried Beans in the Oven
- How to Tell When Beans Are Done
- Best Beans for This Cooking Method
- Storing Cooked Beans
- Why Are My Beans Still Hard?
- Bean Cooking FAQ
- Recipes That Start with Oven-Cooked Beans
- How to Cook Dried Beans in the Oven
For years, I cooked dried beans the way most people do: on the stovetop, with one eye on the pot and the other on the clock.
Sometimes they cooked perfectly. Sometimes they boiled over. Sometimes they stubbornly stayed firm long after they should have been tender, as if they were trying to prove a point.
Then I started cooking them in the oven - and now it's the only method I use. This is, by far, the easiest way to cook dried beans I've encountered. Once the beans are simmering, the oven provides gentle, even heat that cooks them slowly and consistently with almost no babysitting. Whenever I need beans for baked beans, chili, soup, cassoulet, or any other bean-forward recipe, this is where I start.
Why I Start with Dried Beans
Better Flavor and Texture
Freshly cooked beans have a richer flavor and creamier texture than most canned beans. They also tend to stay intact instead of splitting apart.
More Control
You control the salt, seasonings, and final texture. Whether you want firm beans for salads or creamy beans for soup, you're in charge.
Budget-Friendly
A pound of dried beans usually costs far less than the equivalent amount of canned beans and yields a generous batch.
More Variety
Many heirloom and specialty beans are only available dried. Once you start cooking beans from scratch, a whole new world of varieties opens up.
The Oven Does the Heavy Lifting
Once the beans are simmering, the oven provides gentle, even heat that cooks them consistently with very little attention.
Perfect for Batch Cooking
I often cook an entire pound at a time and freeze the extras for future meals.
To be clear, I'm not anti-canned beans. I keep them in the pantry and use them regularly. But when I have time to plan ahead, cooking dried beans in the oven gives me better flavor, better texture, and far fewer headaches.
TIP: If you're here because of my Pineapple Baked Beans recipe, this is the method I use to prepare the beans before they ever go into the baking dish.
What You'll Need
- Dutch oven with lid
- Dried beans
- Water
- Salt
- Optional aromatics: I almost always add aromatics because they give the beans an extra layer of flavor. Onion, carrots, garlic, rosemary, sage, and thyme are all good choices. That said, they're completely optional.
Do You Need to Soak the Beans?
Why Soak Beans?
- Soaked beans cook faster and more evenly. Unsoaked beans may require an additional 1-2 hours to fully cook.
- Soaked beans have fewer burst skins and maintain their shape better.
- Soaking leaches out some of the complex sugars that cause gas and removes "anti-nutrients" that hinder mineral absorption.
- Soaking reduces gas. Beans contain complex sugars called oligosaccharides, which are indigestible by human enzymes. (This is what causes gas and bloating.) Soaking leaches out some of the complex sugars. (Just one reason I throw out the cooking liquid.)
How to Soak Beans
Overnight Soak (Recommended)
This is the method I use most often. Cover the beans with plenty of cold water, add the salt and baking soda, and let them soak overnight.
The next day, drain and rinse the beans well before cooking.
Benefits:
- Faster cooking time
- More even cooking
- Fewer split skins
- Improved digestibility
Quick Soak Option
Forgot to soak your beans overnight? No problem. Just cover the beans with water by several inches and bring them to a boil. Boil for 2 minutes, remove from heat, leave the cover on and let them sit for an hour.
After an hour, just drain rinse, and proceed.
No-Soak Option
You can cook dried beans without soaking them first. Simply skip the soaking step and proceed directly to cooking.
Expect the cooking time to increase by 1-2 hours, depending on the type and age of the beans.
Salt, Baking Soda, and Other Bean Myths
If you spend much time reading about cooking dried beans, you'll quickly discover that everyone seems to have an opinion. Some of those opinions are helpful. Some are leftover from bygone times and refuse to die.
Here are a few of the bean "rules" I hear most often, and what I've learned after cooking more pots of beans than I can count.
Salt Does Not Make Beans Tough
For years, cooks were warned not to salt beans until they were fully cooked because salt supposedly toughened the skins and prevented them from softening.
In practice, the opposite is often true. Salting the soaking water and cooking water helps season the beans all the way through and can actually improve their texture. Unsalted beans often taste bland no matter how much seasoning you add later because the flavor never penetrates beyond the surface.
I add salt during both the soak and the cooking process and have never found it to be an obstacle to tender beans.
Why I Add a Little Baking Soda
Most of the time, I add a small amount of baking soda to the soaking water.
Beans contain pectin, a natural substance that helps hold their cell walls together. Baking soda raises the pH of the soaking water, which helps break down some of that pectin and encourages the beans to soften more easily during cooking.
The amount is tiny - usually about ¼ teaspoon per pound of dried beans - and you won't taste it in the finished dish. What you may notice is that the beans cook more evenly and become creamy and tender a little sooner. This can be especially helpful if your beans have been sitting in the pantry for a while.
When Not to Use Baking Soda
A little baking soda is helpful, but too much can turn your beans mushy.
If you're making a recipe where you want the beans to hold their shape - such as bean salads, marinated beans, or dishes where appearance matters as much as texture - you may want to skip it altogether. Very fresh beans also often don't need the extra help.
Think of baking soda as a useful tool rather than a requirement. If your beans regularly cook up tender without it, there's no reason to force the issue. The goal isn't faster beans: the goal is better beans.
A Note About Bean Cooking Liquid
Some cooks swear by adding bean cooking liquid to soups, stews, and baked beans for extra body and flavor. And that's completely true.
But the bean cooking liquid is also where many of the indigestible sugars released during cooking end up. (Translation: The bean cooking water is what holds the farts.)
So, if you're cooking for a crowd and want to be extra considerate, fresh water or broth is a perfectly acceptable substitute.
How to Cook Dried Beans in the Oven
Step 1: Sort and Rinse
Sort the dried beans. The easiest way to do this is to spread them on a sheet pan: remove any rocks, debris, or shriveled beans, and then rinse them in a colander under cold water.
Step 2: Soak the Beans
Cover beans with cold water by several inches and stir in 1 tablespoon salt and ¼ teaspoon baking soda. Soak at least 12 hours, or overnight. (Do not soak for more than 24 hours.)
Once the presoak is done, drain well and rinse with fresh water, and add them to a Dutch oven.
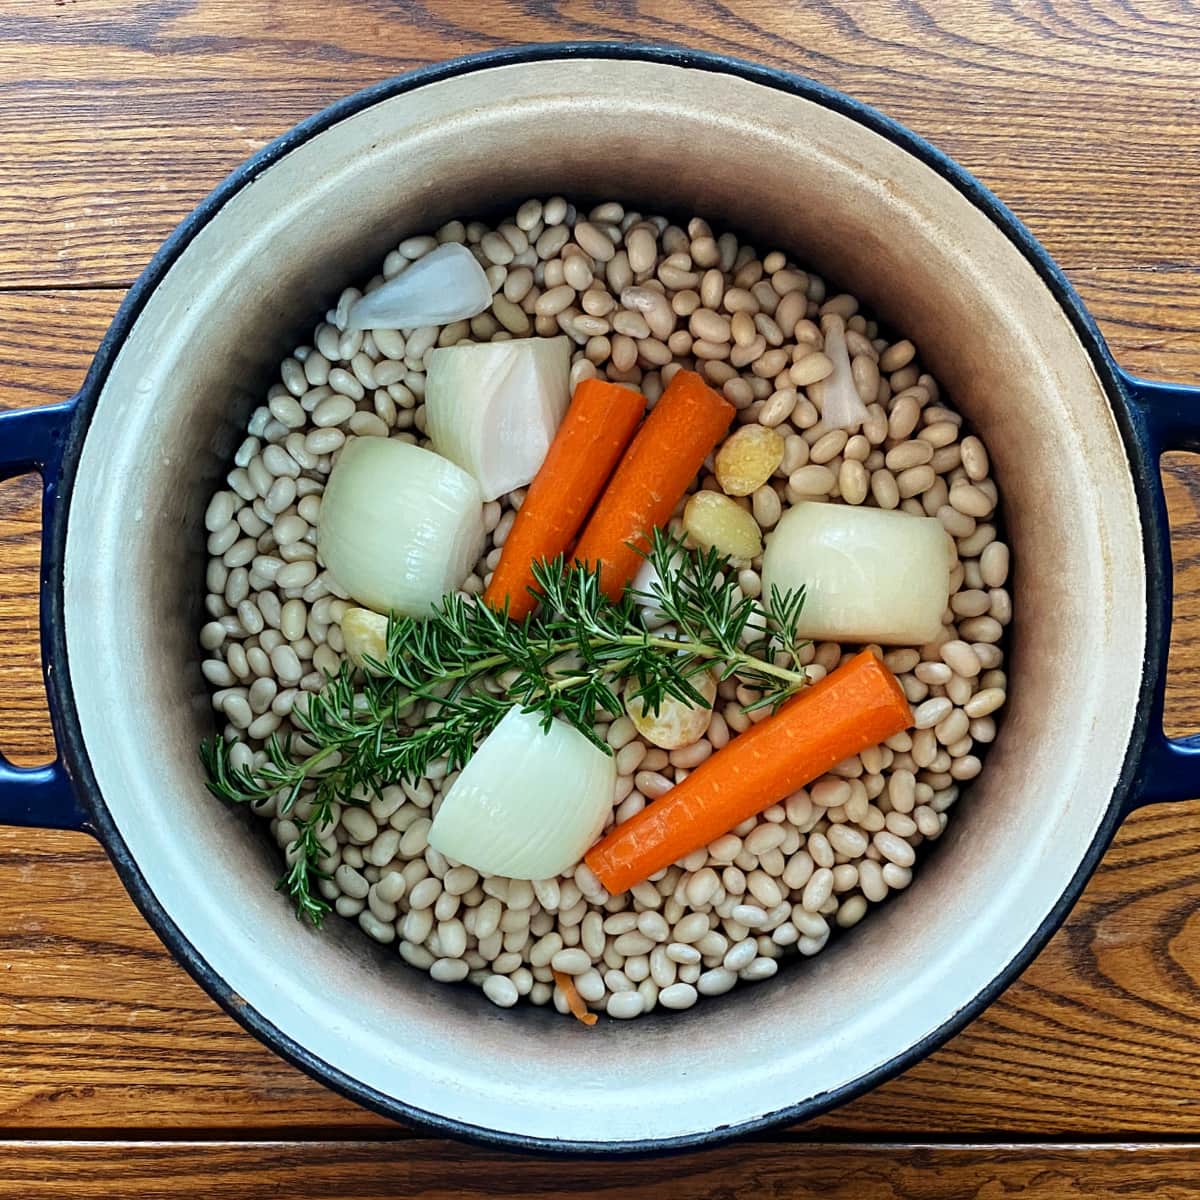
Step 3: Add Water and Aromatics
Preheat the oven to 250°F (120°C).
Pour enough water into the Dutch oven to cover the beans by 2-3 inches. Add 1 teaspoon salt to the pot, plus aromatics (e.g., carrots, onion, rosemary, garlic, sage, thyme, etc.).
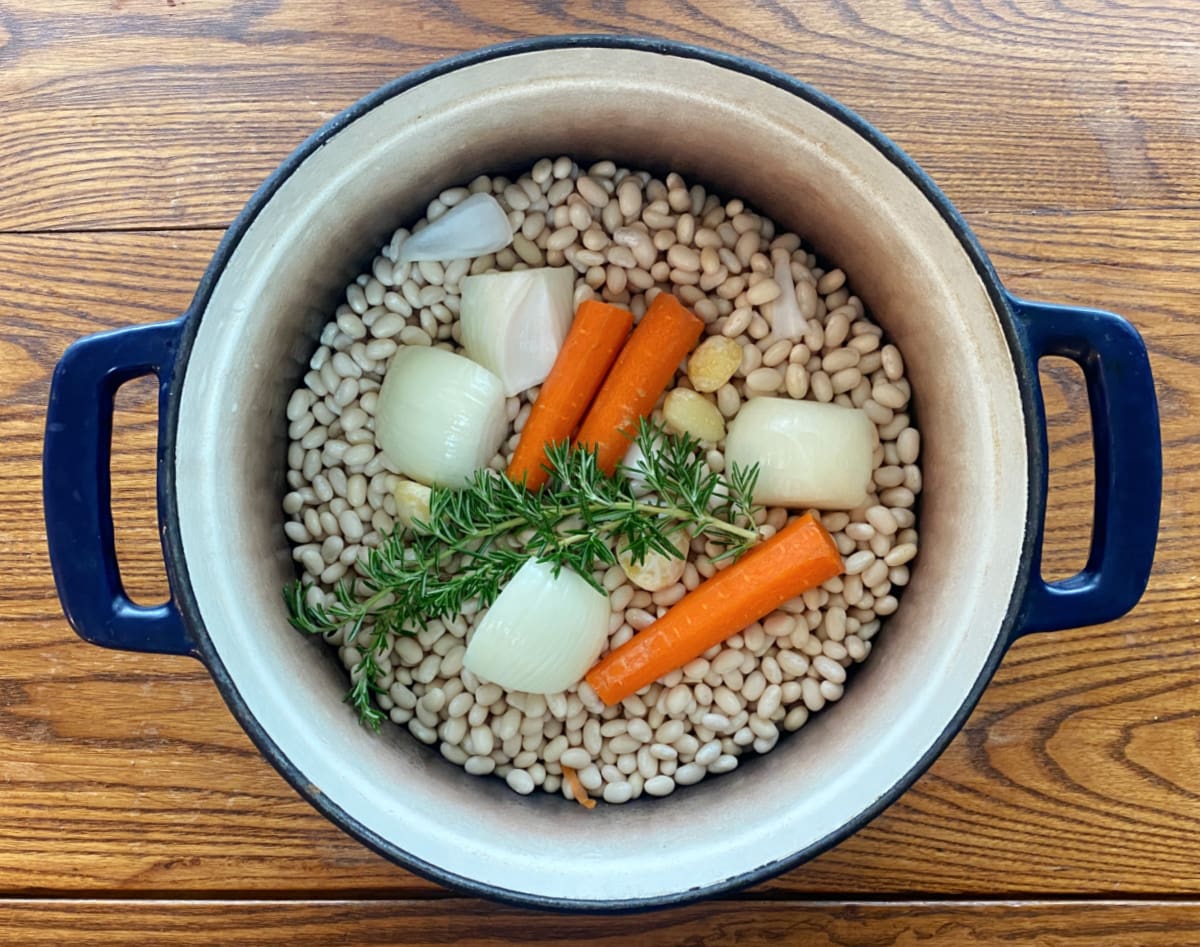
Step 4: Bring to a Simmer
Bring everything to a gentle simmer on the stovetop.
Step 5: Bake Until Tender
Cover the Dutch oven, and place in the preheated 250°F (120°C) oven.
Begin checking the beans for doneness at the 45-minute mark. Continue checking every 15-30 minutes until the beans are fully tender.
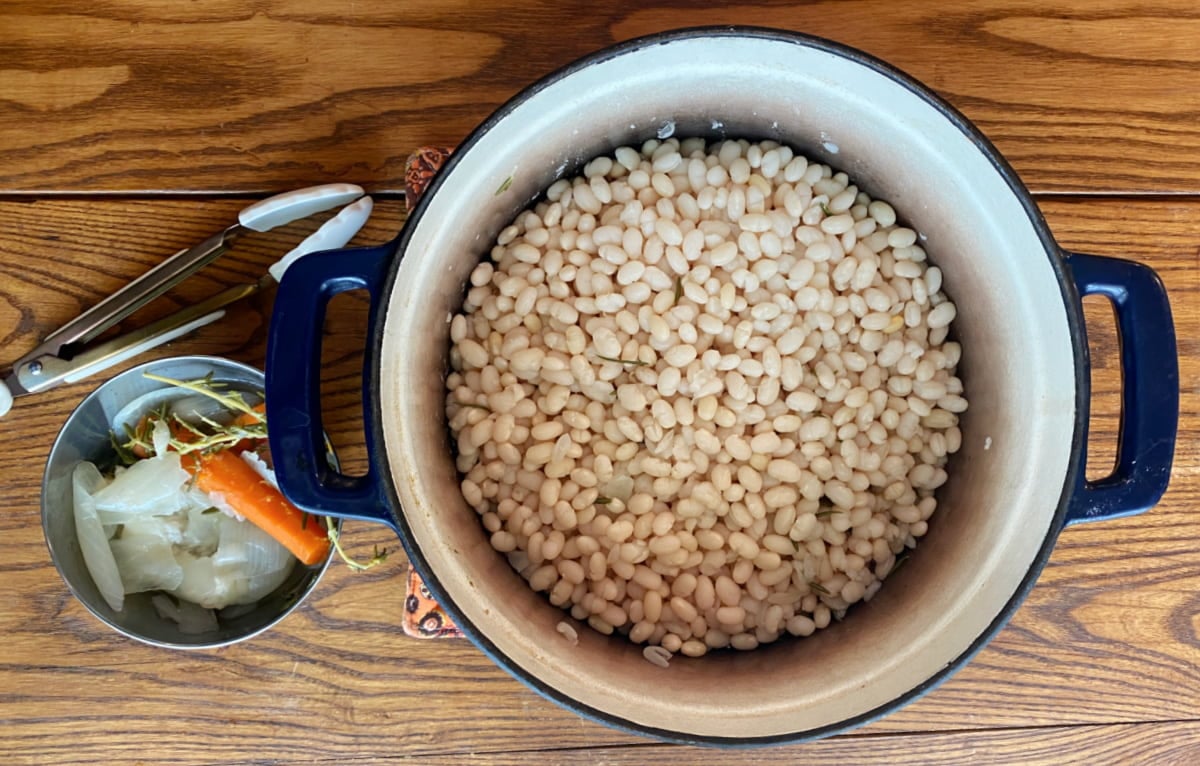
The beans are done when they are tender and creamy but not mushy.

The aromatics will be on top of the beans. Using tongs, remove them before draining the beans in a colander.
How to Tell When Beans Are Done
Beans are done when they're tender and creamy throughout. The skins should give easily when bitten, and you should be able to mash a bean against the back of your teeth with your tongue. If it still feels chalky or grainy in the center, keep cooking.
Approximate bean cooking times:
| Bean Type | Approximate Time |
| Navy Beans | 45-75 minutes |
| Great Northern Beans | 60-90 minutes |
| Pinto Beans | 60-90 minutes |
| Black Beans | 60-90 minutes |
| Kidney Beans | 75-120 minutes |
| Chickpeas | 90-150 minutes |
With beans, age matters more than the kitchen timer. Fresh beans cook faster. Older pantry beans can take significantly longer. When you test for doneness, don't rely on a single bean: test several beans, from different parts of the pot.
Best Beans for This Cooking Method
Navy Beans
Navy beans may be small, but they're one of the most useful beans you can keep in the pantry. They cook up soft and creamy, and I love them for making my favorite potluck pineapple baked beans, and navy bean soup, of course. Their flavor is mild, so they take on the flavors of whatever seasonings they're paired with.
Great Northern Beans
If you want a bean that stays intact but still has a creamy texture, Great Northern beans are a good choice. They're a little larger than navy beans and have a subtle nutty flavor. They're especially good in soups, stews, and rustic bean dishes where you want the beans to hold their shape instead of melting into the broth.
Small Red Beans
Small red beans are often confused with kidney beans, but they're a different variety. They hold their shape well during cooking, and their hearty texture stands up to smoky sausage, ham, and bold seasonings. Like navy beans, small red beans are one of the most versatile beans in my pantry.
Pinto Beans
Pinto beans are smooshy, creamy comfort food. Whole or mashed, their earthy flavor stands up well to smoky meats, chiles, and bold seasonings.
Black Beans
Black beans have a rich, earthy flavor and a texture that stays pleasantly firm even after cooking. They're a favorite for tacos, rice bowls, soups, and salads because they hold their shape so well. They also bring a little color to the plate, which is always nice.
Black beans are one of the few beans I rarely soak. They cook relatively quickly and soaking can sometimes dull their color and flavor.
Chickpeas
Chickpeas are a little different from most beans. They stay fairly firm when cooked and have a mild, nutty flavor that works in all kinds of dishes, warm or cold.
Kidney Beans
Kidney beans are sturdy beans that hold up beautifully in long-simmered dishes. Their firm texture and slightly sweet flavor add substance to soups, stews, and bean salads.
Important Safety Note
Raw kidney beans contain naturally occurring lectins that can cause illness if they aren't cooked properly.
Always boil kidney beans vigorously for at least 10 minutes before continuing with any slow-cooking method.
Storing Cooked Beans
Storage: Rinse well and store cooled, cooked beans in a sealed container in the refrigerator for 3-4 days.
Freezer: Beans can be frozen for up to 3 months. (Or more, but that's the general guideline.)
To freeze cooked beans, store them in an airtight container. (We use a vacuum sealer.) Cover the beans with water or cooking liquid before sealing, and leave enough room for the beans to expand.
TIP: If you know you're going to be freezing them, undercook the beans a little. Then when you get ready to use them, thaw, reheat, and cook to doneness.
Why Are My Beans Still Hard?
If your beans refuse to soften, one of these is usually the culprit:
- The beans are old.
- Acidic ingredients (such as tomatoes, vinegar, or citrus) were added too early.
- Very hard water is slowing the cooking process.
- The beans simply need more time.
Most stubborn beans eventually surrender. The solution is almost always patience.
Bean Cooking FAQ
Yes. Once the beans are brought to a simmer, the oven provides gentle, even heat that cooks them consistently with minimal attention.
Yes. Any heavy oven-safe pot with a tight-fitting lid will work. The goal is to maintain steady moisture and gentle heat throughout the cooking process.
No, but soaking helps beans cook more evenly and reduces cooking time.
I prefer 250°F. The low temperature allows the beans to cook gently without breaking apart.
Absolutely. Cooked beans freeze beautifully for up to 3 months.
Once I started cooking beans this way, I never went back. The method is simple, reliable, and produces consistently tender beans with very little effort.
Recipes That Start with Oven-Cooked Beans
- Smoky Pineapple Baked Beans
- Em's Sweet & Spicy Black Beans with Bacon
- Rich Turkey Chili With Cocoa & Beer
- Stuffed French Bread Sandwiches
- Calypso Mango Chili (Award Winner!)
- Slow Cooker White Chicken Chili
- Old-fashioned Navy Bean Soup with Ham (Slow Cooker)
- Potluck-Worthy Big Cuban Salad

How to Cook Dried Beans in the Oven
Print Pin Add to Shopping ListEquipment
- 1 10-inch Enameled Cast Iron Dutch Oven with lid
- 1 Colander
- Measuring spoons
Ingredients
- 1 pound dried beans
- 1 tablespoon kosher salt
- ¼ teaspoon baking soda
- water
- aromatics (onion, garlic, carrots, herbs, etc.) optional
Instructions
- Cover beans with cold water by several inches and stir in 1 tablespoon salt and ¼ teaspoon baking soda. Soak at least 12 hours, or overnight.
- Once the presoak is done, drain well and rinse with fresh water, and add them to a Dutch oven.
- Preheat oven to 250°F (120°C). Pour enough water into the Dutch oven to cover the beans by 2-3 inches. Add 1 teaspoon salt to the pot, plus aromatics (e.g., carrots, onion, rosemary,garlic, sage, or thyme).Bring everything to a gentle simmer on the stovetop.
- Cover the Dutch oven, and place in a preheated 250°F (120°C) oven. Begin checking the beans for doneness at the 45-minute mark.
- Cook until tender.
- Cool and store or use immediately.
Notes
- 1 pound dried beans yields approximately 6 cups cooked beans.
- Cooking times vary significantly based on bean age.
- Always boil kidney beans for 10 minutes before slow cooking.
- Salt helps season beans throughout and does not make them tough.
- For best texture, begin checking for doneness early and continue cooking as needed.
Nutrition
This website provides approximate nutrition information for convenience and as a courtesy only. You are solely responsible for ensuring that any nutritional information provided is accurate, complete, and useful.
Love it? Pin it! 📌


Leave a Reply