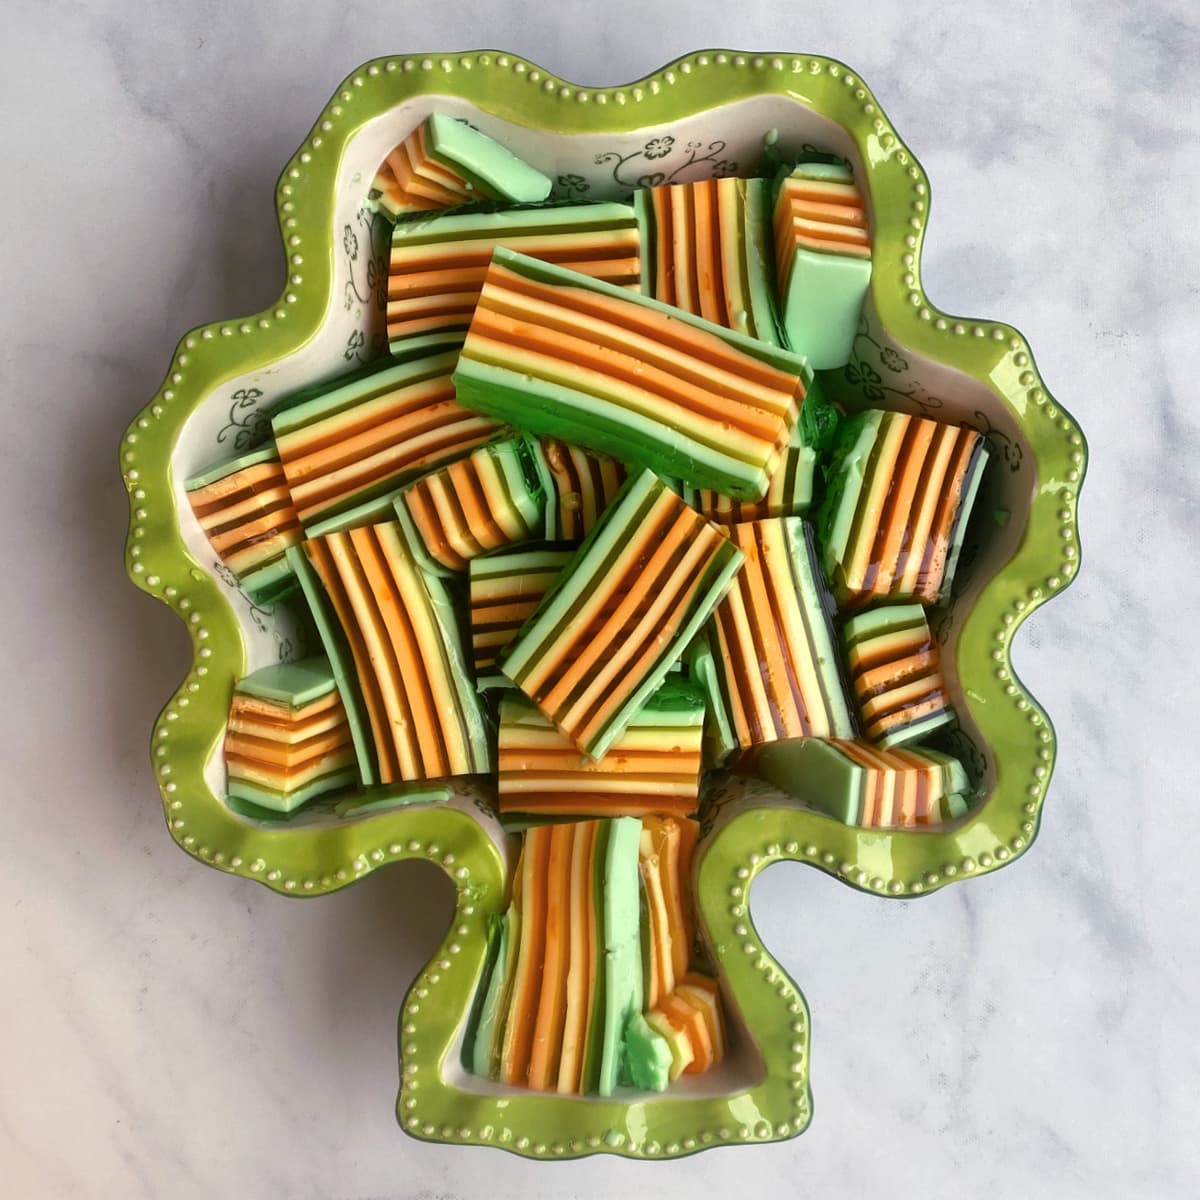
This beautiful green and gold layered Jello is light, refreshing, and just the thing to brighten up your Saint Patrick's day table!
Jump to:
Why You Will Love this St Patrick's Day Recipe
We love the vibrant yellow, orange, and green layers in this tasty, beautiful St Pat's Layered Jello! This recipe is easy to make, fun to eat, and brings a beautiful bit of whimsy to any St Patrick's Day celebration.
You can customize layered jello for almost any occasion. This technique can be used to make:
- Rainbow Jello for springtime celebrations, Easter gatherings, unicorn banquets, and Pride parties.
- Red & Green Jello for Christmas.
- Pink, Red & White Jello for Valentine's Day.
- Red-White-Blue Jello for Independence Day (US).
- Black Cherry, Grape, and Orange Jello for all the fall festivals.
- Layered <insert color combo of your favorite team> for football tailgates, baseball barbecues, and soccer soirees.
St Pat's Layered Jello Ingredients
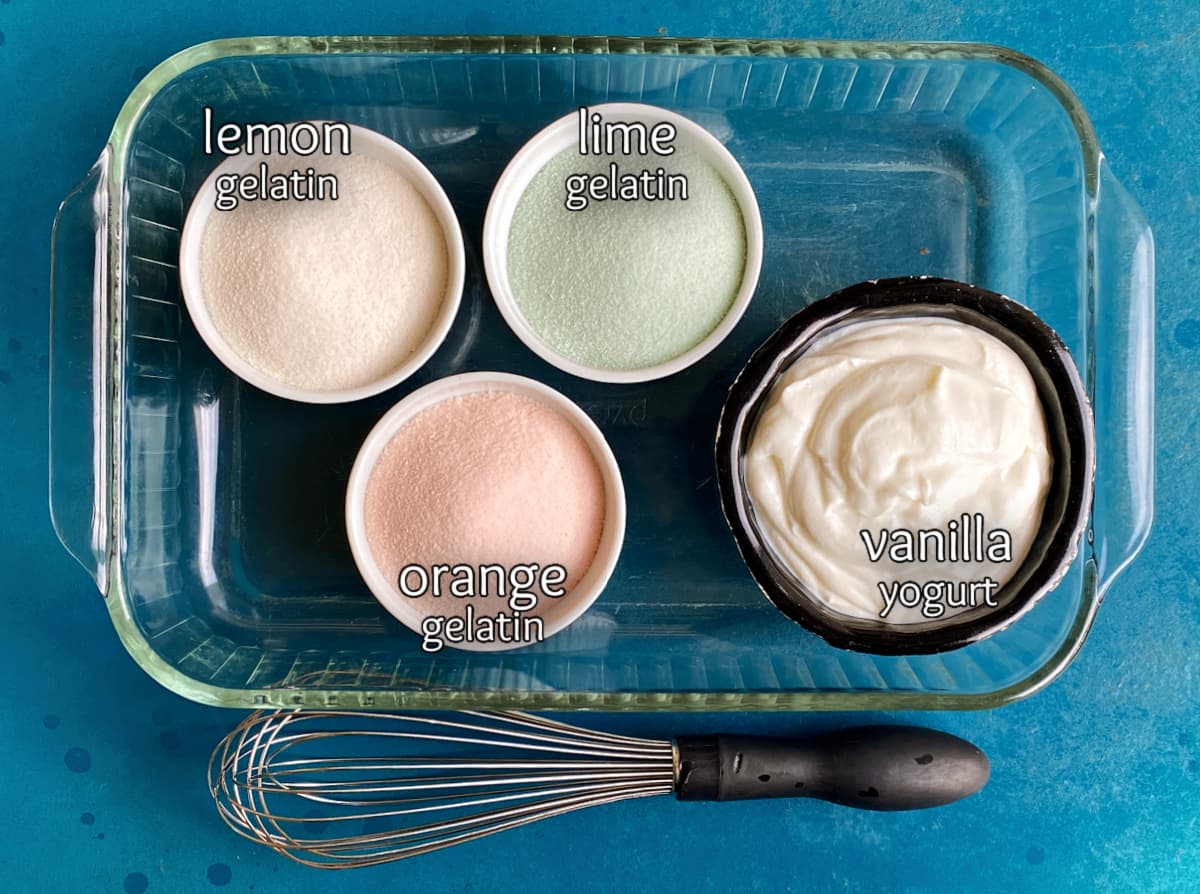
The ingredients for layered Jello could not be easier. For any given layered combo, you need 6 small boxes of flavored gelatin (i.e., Jello®), a pint and a half of plain or vanilla yogurt, and water.
For St Patrick's Day Layered Jello, you need:
- 2 small boxes of Lemon Jello
- 2 small boxes of Orange Jello
- 2 small boxes of Lime Jello
How to Make this Layered Jello Recipe
This recipe super easy to make; however, requires about 5 minutes of hands-on time every half hour, and a total of 6-7 hours to refrigerate the layers.
Layers 1-2
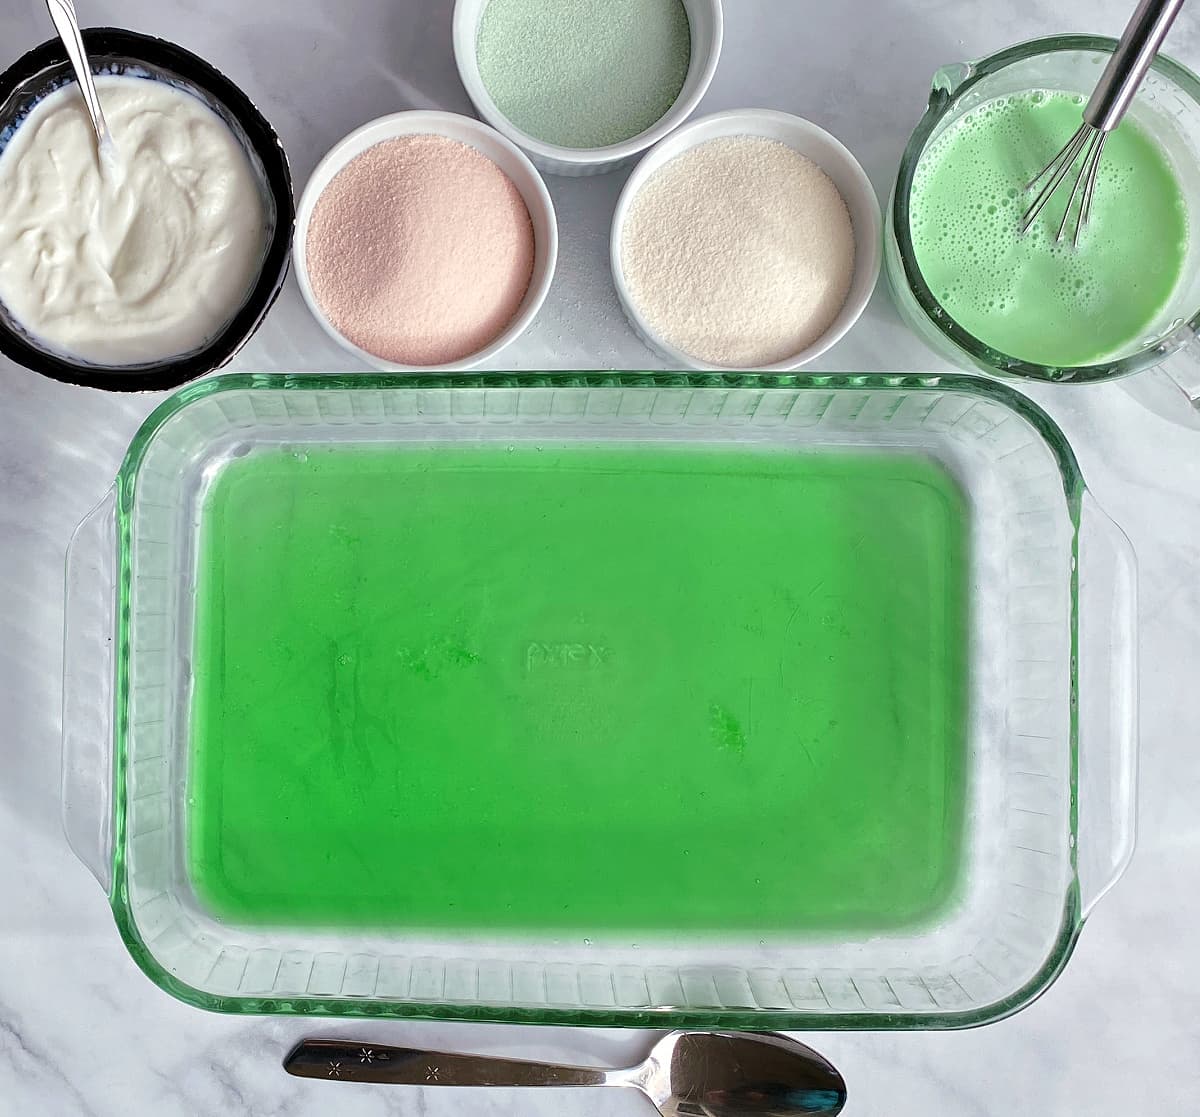
Add 1 cup boiling water to one small package of LIME gelatin and stir until completely dissolved. Divide the gelatin in half into two separate containers.
In one half, stir in ¼ cup cold water. Pour into a 9 x 13 glass baking dish, and reserve the other half of the gelatin on the counter.
Put the pour Jello in the dish into the refrigerator and let it set for 30 minutes.
When the first layer is set, whisk in ½ cup of yogurt into the reserved half of the gelatin and pour over the top of the set gelatin. DO NOT whisk in the yogurt until you are ready to pour the Jello.
To pour layers without pouring a hole though the top of the freshly set gelatin, use a large serving spoon. Turn the spoon so that the back of the spoon side is facing up, and pour the liquid gelatin slowly over the top. DO NOT POUR DIRECTLY onto the set gelatin.
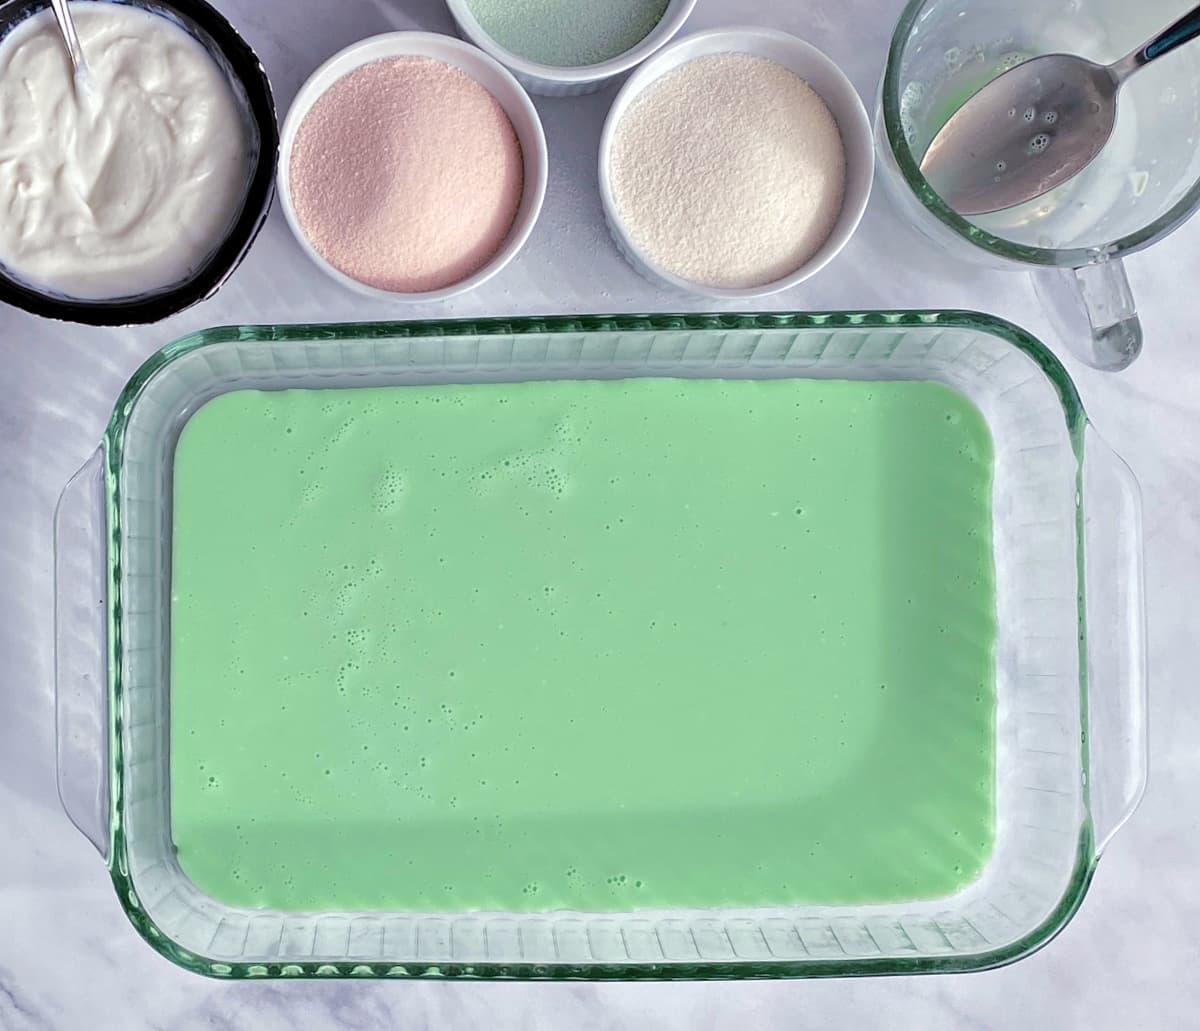
If you have a lot of bubbles on the top, gently tap the dish on the counter before refrigerating.
Refrigerate 30-40 minutes.
Dissolve the next package of gelatin at this time with 1 cup of boiling water and let cool while the former layer is setting.
Hint: You can also get rid of bubbles using a culinary torch to pop them. Do this by quickly passing the flame over the surface of the gelatin.
Layers 3-12
Follow all the directions the same as for the first two layers for each pair of gelatin layers. The layers from bottom to top are:
- Layers 1-2: Lime | Lime with yogurt
- Layers 3-4: Lemon | Lemon with yogurt
- Layers 5-6: Orange | Orange with yogurt
- Layers 7-8: Lemon | Lemon with yogurt
- Layers 9-10: Orange | Orange with yogurt
- Layers 11-12: Lime | Lime with yogurt
Add each layer as soon as the former layer is set (30-40 minutes).
You will have a total of 12 layers when finished, 6 layers without yogurt and 6 with yogurt.

Refrigerate and serve. Layered Jello can be serve directly from the baking dish, or cut into portions and served.
Variations
You can customize the colors of layered jello for almost any occasion!
• Rainbow Jello: Another great options for St Patrick's Day or Easter
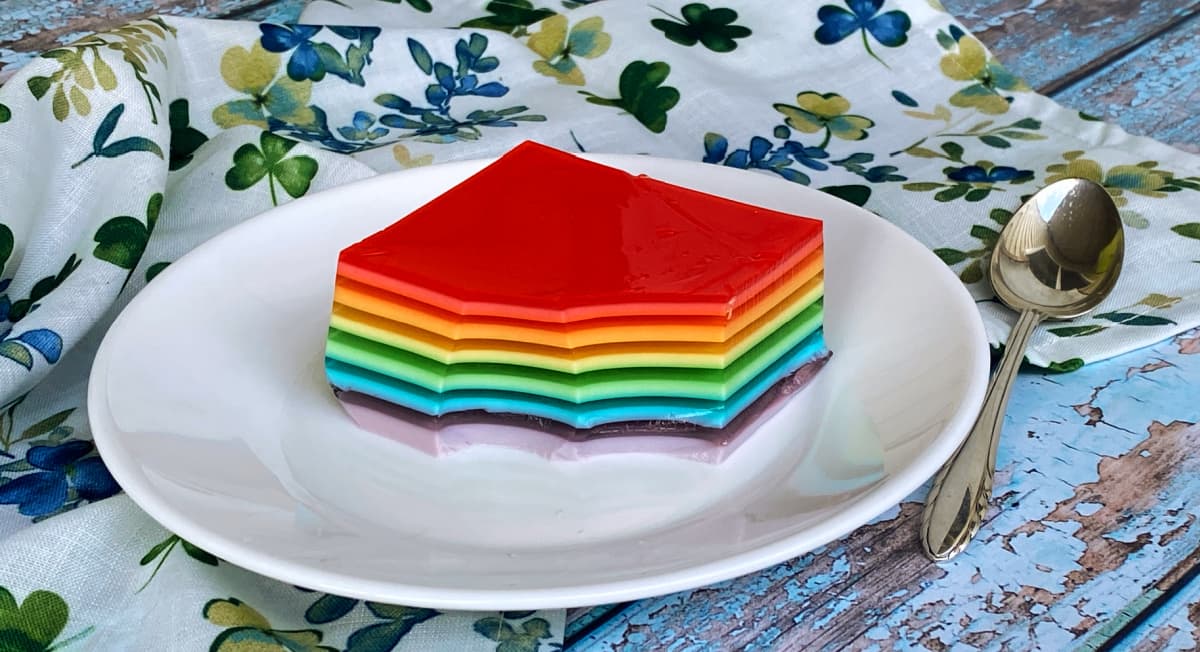
• Christmas: Red & Green Jello
• Valentine's Day: Pink, Red & White Jello for Valentine's Day.
• Independence Day (US): Red-White-Blue Jello
• Halloween: Black Cherry, Grape, and Orange Jello for all the fall festivals.
• Team Colors: You can create layered Jello for for football tailgates, baseball barbecues, and soccer soirees. Simply used the color-combo of your favorite teams. (Need a savory team snack? Try our easy Team Colors 7-Layer Dip!)
Top Tip
This St Patrick's Jello recipe fits a 9x13 baking dish perfectly. However, you can also use it to create a vibrant, festive party centerpiece by layering it into a 10-12 cup bundt pan for a stunning green and gold Jello bundt cake.
How to Make a Layered Jello Bundt Cake
Allow the Jello Cake to set up for a minimum of four hours after the last layer has been poured.
Find a large, flat serving platter that is bigger than the base of the bundt pan, and sprinkle a little water onto the surface. (This will make it easier to adjust the molded Jello later.)
When you are ready to release the Jello from the bundt pan, fill your sink with warm water and submerge the bundt pan up to about an inch below the edge for 10-15 seconds, being careful not to allow any water to get close to the edges.
Invert the serving platter on top of the bundt pan. Then, firmly holding on from the top and bottom, flip the bundt pan and the platter over together in one gentle, fluid motion so that the platter is on the bottom and the bundt pan is on top.
Carefully lift the bundt pan off the platter to reveal a stunning Green & Gold St Patrick's Day Jello cake. If the cake is off-center, gently use a rubber spatula to help guide it into place.
Storage
Layered Jello lasts a remarkably long time in the fridge (up to 2 weeks), although it does start slowly breaking down after the first week.
FAQ
Jello®, as I'm sure you are aware, is a specific brand of powdered gelatin; however, like Kleenex and Xerox, it has become a brand-turned-household name. However, you can use any brand of gelatin for this recipe.
More St Patrick's Day Recipes
- Layered Rainbow Jello
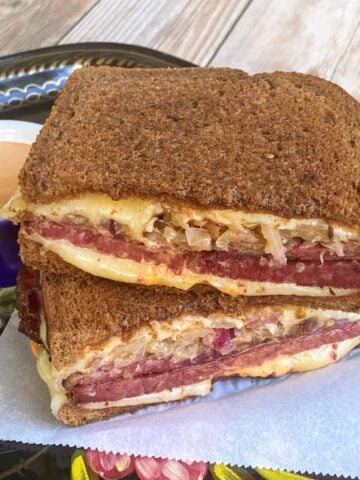
- Classic Rueben Sandwich
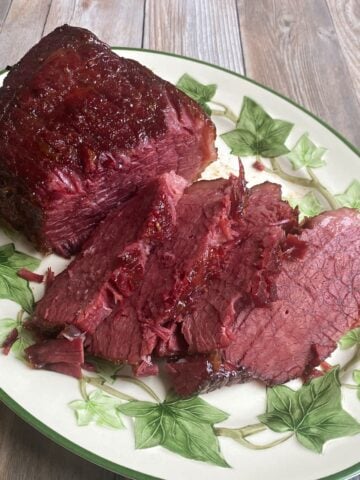
- Brown Sugar & Mustard Glazed Corned Beef
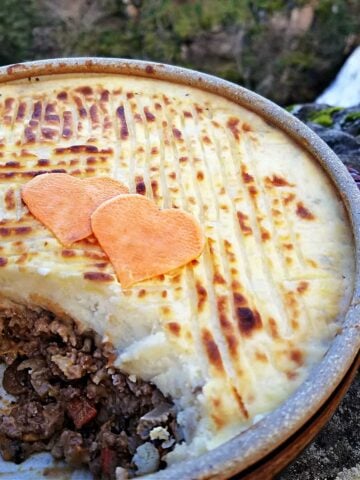
- Best Classic Shepherd's Pie
Serving Ideas
There are a number of ways to serve this colorful, whimsical treat.
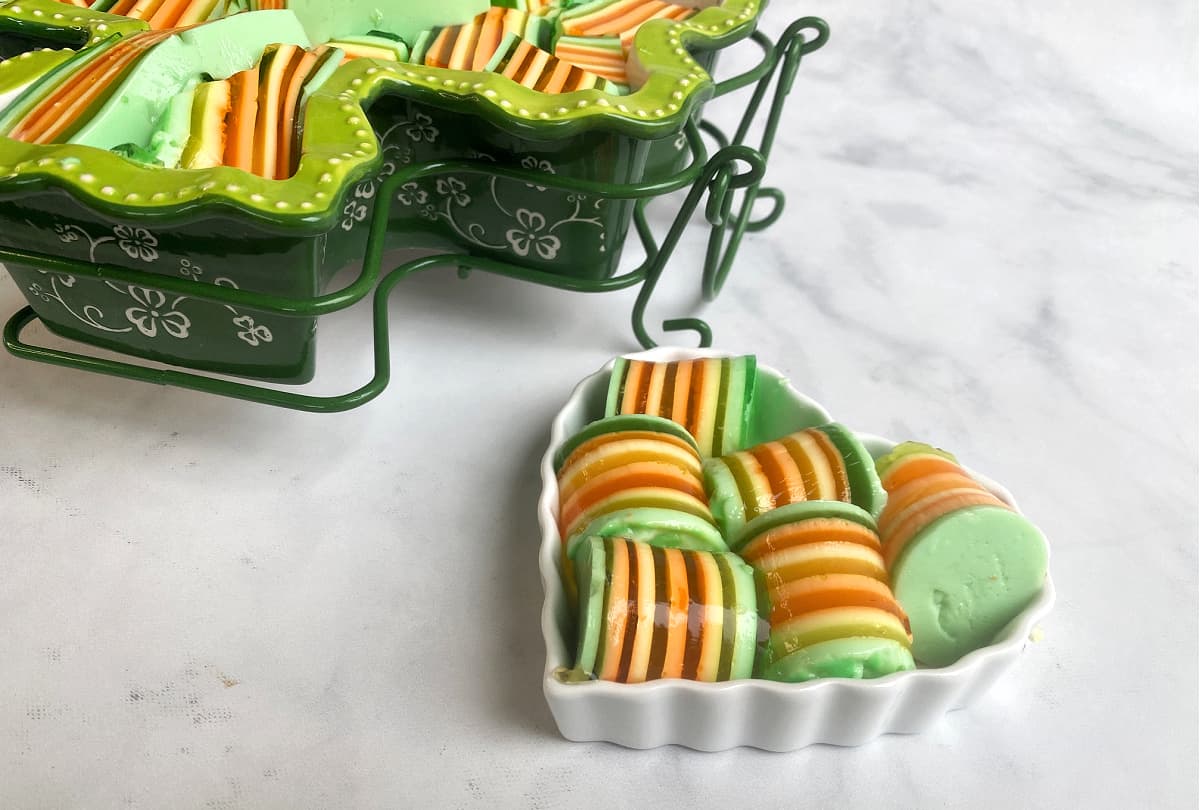
- Side Dish: Serve it straight from the pan, with a spatula or slotted serving spoon.
- Appetizer or Finger-food: Cut it into cubes, stacks, or other small shapes and serve it like old-school Jello-jigglers.
- Dessert: Slather a layer of Cool Whip on top before serving for a delightful St Patrick's Day dessert!
St Patrick's Day Layered Jello
Equipment
- 1 Whisk
- 1 large serving spoon
Ingredients
- 2 packages lime flavored gelatin two 3 ounce boxes, or one 6 ounce box
- 2 packages orange flavored gelatin two 3 ounce boxes, or one 6 ounce box
- 2 packages lemon flavored gelatin two 3 ounce boxes, or one 6 ounce box
- 3 cups vanilla yogurt
- water
Instructions
Layers 1 - 2
- Add 1 cup boiling water to one small package of LIME gelatin and stir until completely dissolved. Divide the gelatin in half into two separate containers.
- In one half, stir in ¼ cup cold water. Pour into a 9 x 13 glass baking dish, and reserve the other half of the gelatin on the counter.Put the first Jello layer into the refrigerator and let it set for 30 minutes.
- When the first layer is set, whisk in ½ cup of yogurt into the reserved half of the gelatin and pour over the top of the set gelatin. (DO NOT whisk in the yogurt until you are ready to pour the Jello.)DO NOT POUR liquid Jello directly onto the set gelatin. This can drill a hole through the Jello. Use a large spoon to gently spoon the gelatin on, using the back of the spoon to spread it evenly across the previous layer like thin icing.
- Refrigerate layers 30-35 minutes.
Layers 3 - 12
- Follow all the directions the same as for the first lime layer for each gelatin layer. The layers from bottom to top are:Layers 1-2: Lime | Lime with yogurtLayers 3-4: Lemon | Lemon with yogurtLayers 5-6: Orange | Orange with yogurtLayers 7-8: Lemon | Lemon with yogurtLayers 9-10: Orange | Orange with yogurtLayers 11-12: Lime | Lime with yogurt
- Add each layer as soon as the former layer is set (30-40 minutes).
- You will have a total of 12 layers when finished: 6 layers without yogurt and 6 with yogurt.
- Refrigerate until ready to serve.
Notes
Removing Bubbles:
If you have a lot of bubbles on the top of the clear layer, try gently tapping the dish on the counter before refrigerating to release some of the air. You can also get rid of bubbles using a culinary torch to pop them. Do this by quickly passing the flame over the surface of the gelatin.Nutrition
This website provides approximate nutrition information for convenience and as a courtesy only. You are solely responsible for ensuring that any nutritional information provided is accurate, complete, and useful.

Want More Free Recipes?
Subscribe to our newsletter to get family-friendly recipes and cozy living ideas in your inbox each week!
Find us on Instagram, Pinterest, and Facebook, too.
Thank you for visiting the Good Hearted Woman. Remember to bookmark this site, and come back soon!





Leave a Reply