Gift Guides & Product Reviews
Welcome to our curated section featuring gift guides and product reviews! Whether you're searching for a perfect present for your favorite baker, or looking for insights into which kitchen gadget are truly useful and worth the investment, you're in the right place.
-
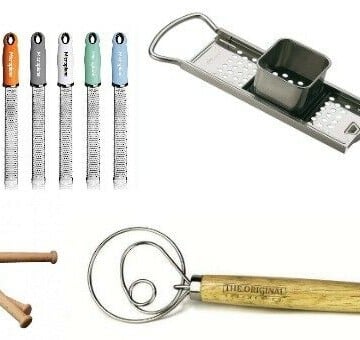
Weird & Useful Kitchen Gadgets
-
GHW Cozy Gift Guide
-
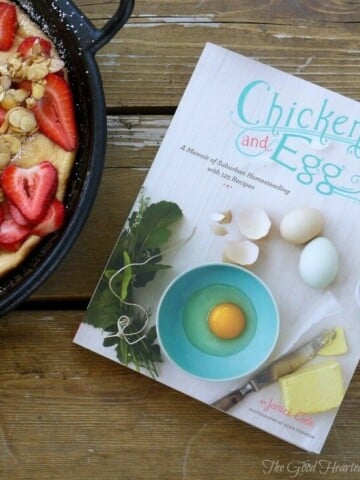
Chicken & Egg: A Memoir of Suburban Homesteading (Cookbook Review)
-
Blurb Photo Books (Review)
-
Last Minute Gifts for Grown-ups
-
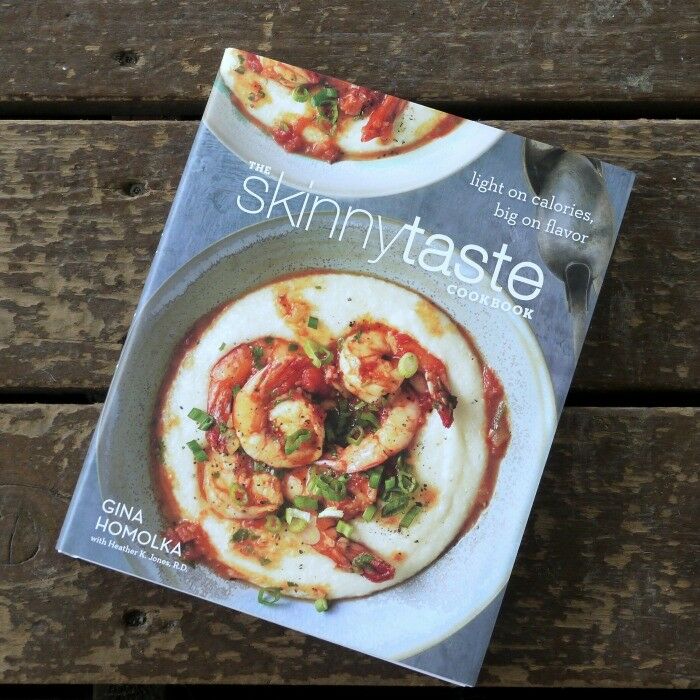
The Skinnytaste Cookbook (Review)
-
Dream Dinners Meal Kits
-
Sunbasket Organic Meal Kits
-
Best Board Games for Family Game Night
-
Songfinch Personalized Song (Review)
-
Raddish Kids Cooking Club (Review)