Sourdough Recipes & Resources
Become the sourdough baker you want to be! We've got sourdough discard recipes and resources especially for beginners and folks just getting back into the world of sourdough.
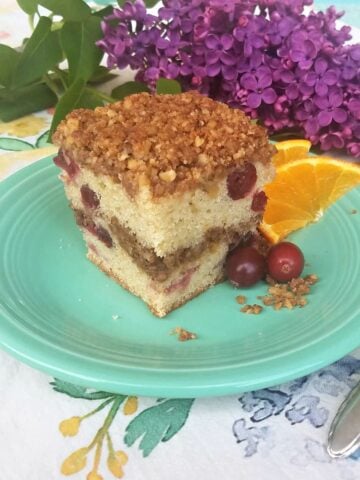
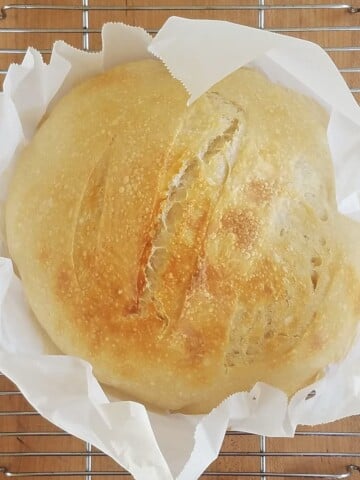
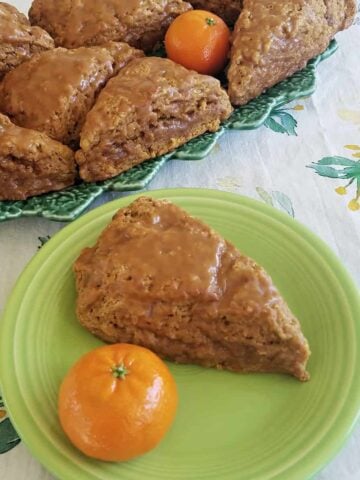
Just getting started? Be sure to read about how to make rye sourdough starter and sourdough starter care and feeding. Looking to make some sourdough bread? Try our Easy Sourdough Bread recipe - shared over 85K times so far! And if you're in the market for some starter discard recipes, our Pumpkin Spice Scones or Cranberry Crumb Cake might be just what you're looking for!
-
Double-Crumb Sourdough Coffee Cake
-
Kaylen's Bread (Easy Sourdough Bread Recipe)
-
Spiced Pumpkin Sourdough Scones
-
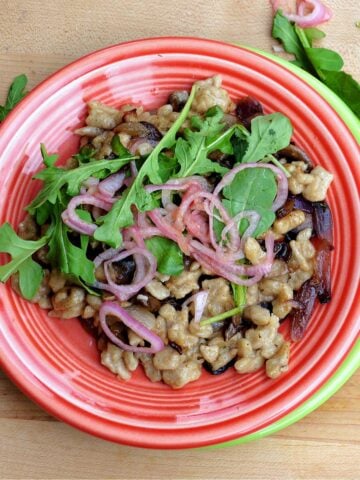
Rye Sourdough Spaetzle (Spätzel)
-
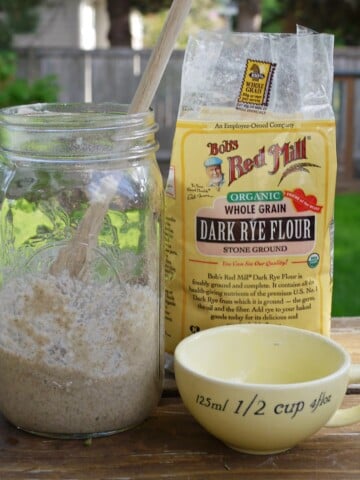
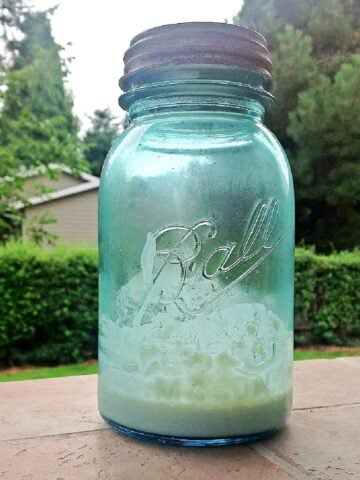
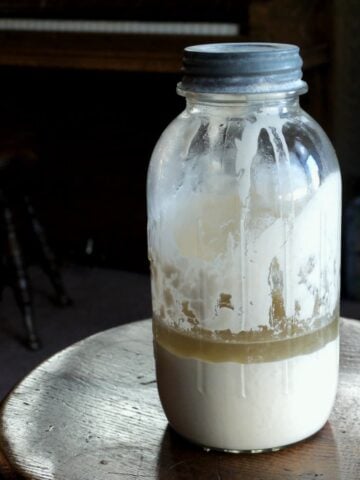
How to Make Rye Sourdough Starter
-
How to Use Dried Sourdough Starter
-
Sourdough Starter: Care & Feeding (Lazy Caretaker's Edition)
-
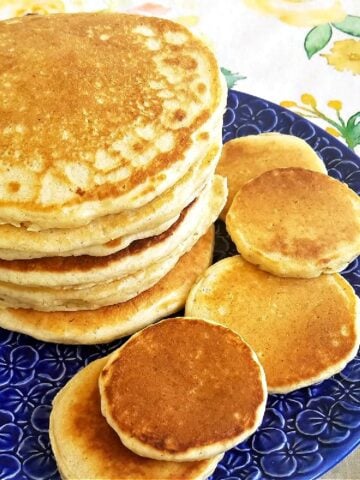
Mom's Sourdough Hotcakes (Sourdough Pancakes)