Advice and tips about using dried sourdough starter flakes, including where to find them, and how to activate them.
Jump to:
Baking with Natural Yeast
I grew up with a jar of sourdough starter tucked in the back of our fridge. My mother would pull it out and bake with it from time to time, and then forget it for a season. I have continued that tradition, baking furiously for months, only to leave it aside until something spurs me back to it again.
Some years back I was once again inspired to sourdough baking when my BFF Jenny gave me a copy of The Art of Baking with Natural Yeast (2018, by Caleb Warnock & Melissa Richardson). The book is all about starting and using Sourdough Starter in baking as a health consideration, the basic premise being.
Commercial yeast is so foreign to our bodies that many people are allergic to it. But natural yeast converts dough into a digestible, vitamin-rich food that's free from harmful enzymes and won't spike your body's defenses.
Caleb Warnock, The Art of Baking with Natural Yeast
The authors explain that almost all yeast used in baking today was created in a lab, stating “for the first time in 6,000 years, humans are eating bread that is not made with natural yeast.” In other words, according to the authors, it isn't the gluten that is causing so many to develop Celiac and other related digestive diseases; it is the synthetic yeasts that we ingest that are predisposing our bodies to gluten intolerance.
One study using sourdough bread made with specific strains of bacteria found that it could reduce gluten intolerance in people sensitive to wheat gluten. While that doesn’t mean that people diagnosed with gluten intolerance can eat sourdough bread with impunity, it does suggest that the bread is more easily digested than other breads made with wheat flour.
Reader’s Digest
While I can't speak to the greater Celiac community, I can say that in this individual case, this theory ended up playing out true. Despite having a lifelong Celiac diagnosis and never tolerating commercial breads, Jenny's daughter is safely eating and enjoying real bread again - long-rise (13+ hours), natural sourdough bread, that is. (Read all about it in Kaylen's Bread.)
Where to Get Sourdough Starter
The first thing you need to do when you decide to start baking with sourdough is get ahold of a sourdough starter. There are a many ways to procure a sourdough starter, including:
Ways to Get Sourdough Starter
- Get it from friends or family: Your Nana can probably hook you up. Ready immediately.
- Make a Rye Sourdough Starter: Rye sourdough starter is – by far – the easiest organic sourdough to start. All you need is rye flour and water. Ready to use in 4-5 days.
- Make a Starter from Dried Starter Flakes: This is the method that is outlined in this post. Ready to use in one to two weeks, depending on the amount and viability of your starter flakes.
Where to Buy Dried Starter Flakes
- Order Free Online: "Friends of Carl" will mail you Carl Griffith’s 1847 Oregon Trail Sourdough Starter in dried form for the cost of a self addressed stamped envelope.
- Contact your local bakery: they may give or sell some to you.
- Buy Online: There are any number of purveyors of sourdough starter online. Breadtopia Marketplace, for example, will shipped to you dried (dormant) or in the actual living form.
- Buy Caleb's Book: To aid readers in the process, when you buy The Art of Baking with Natural Yeast, Caleb will mail you dry sourdough starter for the price of a self-addressed, stamped envelope. I mailed my request off to Caleb and had the starter flakes used in this post a week later.
How to Activate Dried Sourdough Starter
Activating dried sourdough starter flakes is an easy process; it just requires a little patience.
It is best to have at least a tablespoon of dried starter; however, when I sent off for Caleb's starter, I only received about half a teaspoon! This was quite disappointing, and for a hot second I almost scrap the whole thing.
Nevertheless, starting sourdough from such a small amount of dehydrated flakes was a new experience for me. I decided to follow the protocol outlined in Caleb's book and treat it as an experiment, recording the starter's progress day by day. Going through the process of reactivating such a small amount of starter ended up being a real learning experience.
Week 1
Day 1 - As instructed in The Art of Baking with Natural Yeast, I soaked my starter flakes in a tablespoon of water for a few hours. And nothing happened. I mean nothing!
The flakes got a little soggy, but there was none of the breaking down I was told to look for, and certainly not any "milky water." Just shrimp color flakes.
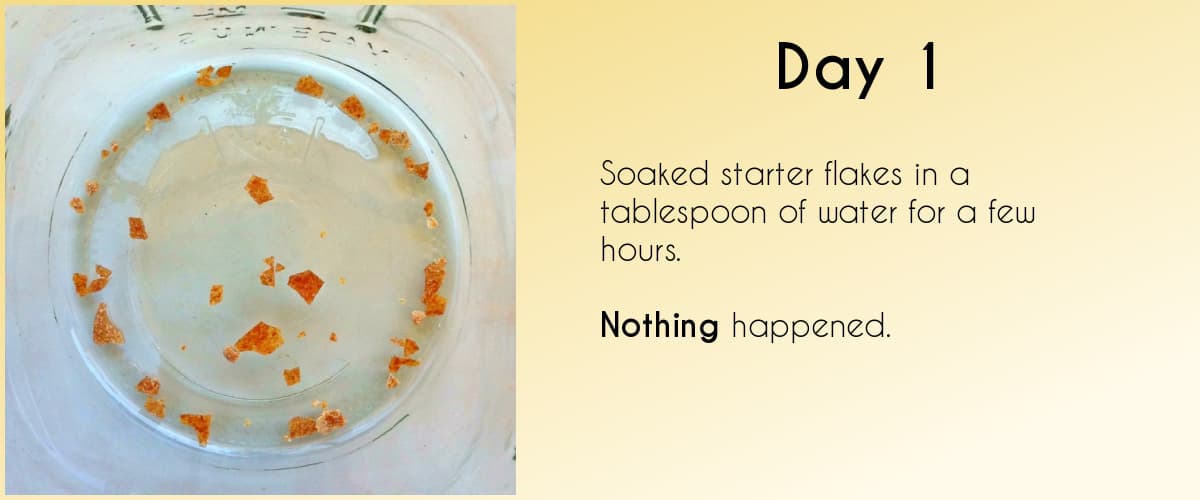
At this point, I decided they looked too lonely at the bottom of that big jar anyway, so I moved them into a cozy little bowl (it's about four inches in diameter). Then I waited for another few hours, probably six or eight total.
Still nothing but soggy flakes. So I took my finger and kind of smooshed them onto the side of the bowl to break them up some, and went on to the next step, which was to add flour. (I used all-purpose flour.)
Having had plenty of time to consider what to do next, I consulted Paul at Yumarama, who advised me,
I’d suggest in your case with the very small amount of flakes to start pretty small in the wetting and feeding quantities. You don’t want to overwhelm the reduced number of yeasty critters right at the start.
Caleb Warnock, The Art of Baking with Natural Yeast
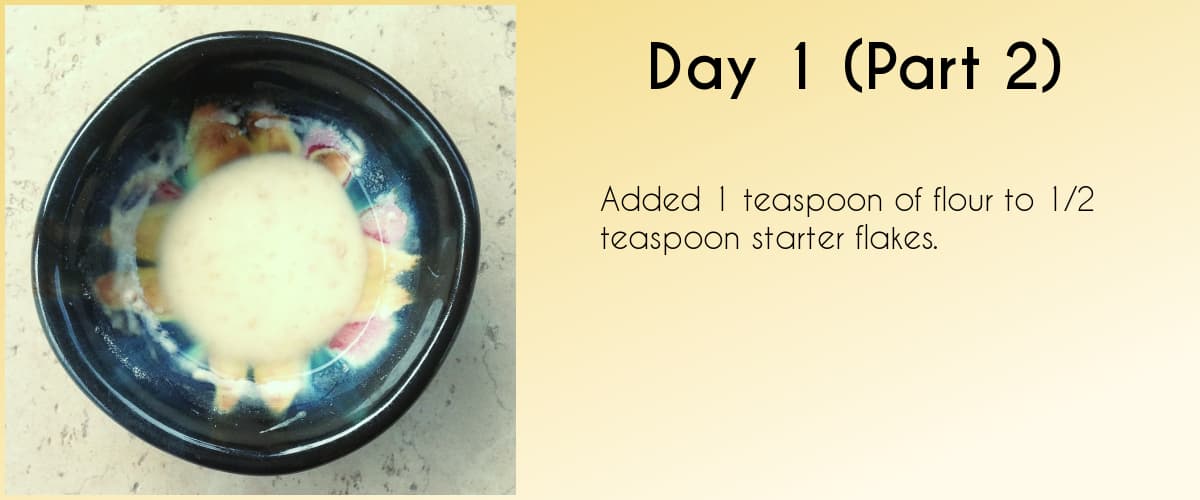
I had already added a tablespoon of water and didn't want to take any out for fear of taking some of the cultures of too, so I left the water alone and just added one teaspoon of flour, which still seemed like a lot for my little less-than-half-teaspoon of starter flakes. Then I covered it loosely with plastic wrap and set it on my counter.
Here's what it looked like (for reference, the little bowl is 3 inches in diameter):
Day 2 - No changes. None.
Day 3 - Still no changes. I start to get a little worried. Maybe I put in too much flour. Maybe there's too much water. Maybe I should have put it in the fridge. Maybe it needs to be warmer. Even though there is a ton of flour in there, I sense that I need to feed it, so a put in another ¼ teaspoon of flour.
Day 4 - No changes, except I am worrying more.
Day 5 - I "think" there is something happening! Just maybe. No visible changes yet, but it just feels different.
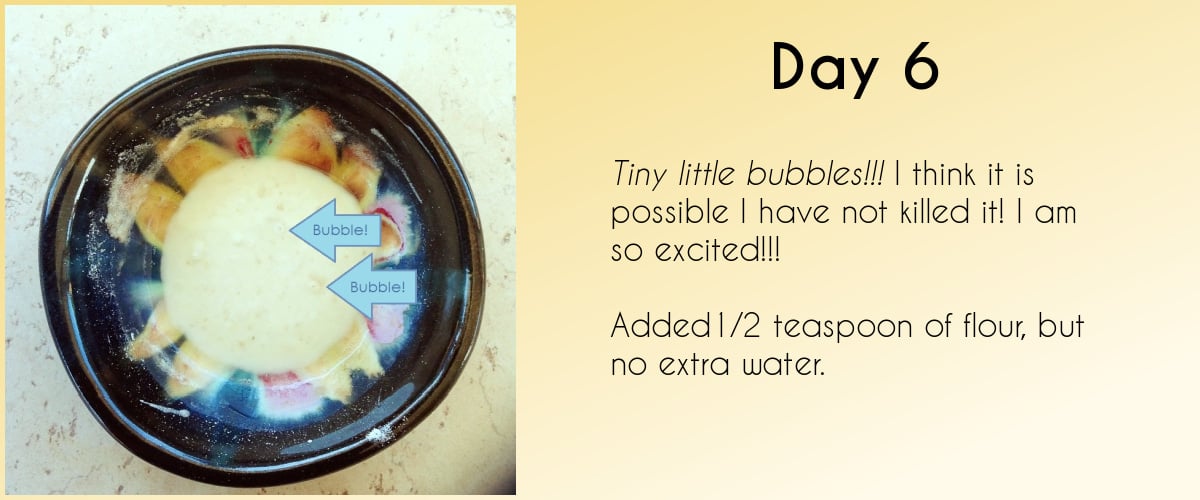
Day 6 - Yay! I can see tiny little bubbles!!! I think it is possible I have not killed it! I am so excited!!! I am supposed to feed it every 3-4 days, so I add another ½ teaspoon of flour, but no extra water.
Day 7 - More bubbles! And even more exciting, my little bowl of starter is starting to smell like sourdough!! Oh, I am so exited!
Week 2
Back when I was a little girl, somewhere between Mr. Ed and Charlotte's Web, I fell in love with the name Wilbur. I've always wanted to give the name to a pet, but I've never had one for whom it seemed right - until now.
You see, according to all the sourdough people I've read, maintaining a sourdough starter is kind of like keeping a pet, in that it requires ongoing care and attention, regular feeding, a certain amount of air, and a clean, comfortable place to live. So I've named my starter Wilbur. I just thought you should know.
Day 8 - Not as many bubbles today, and I'm wondering if maybe I need to feed Wilbur more. Normally on feeding days, you are supposed to add enough to double your starter. For example, if you have a cup of starter, you are supposed to add a cup of water and a cup of flour. But with these small amounts, I'm not sure I should be doing that - I'm still concerned about overwhelming those little critters - so I add 1 teaspoon of water and one teaspoon of flour.
Day 9 - Smells like sourdough. Not much happening though.
Day 10 - No activity, so I decide it's time to feed him again. For the first time, I double the amounts, adding one tablespoon each flour and water.
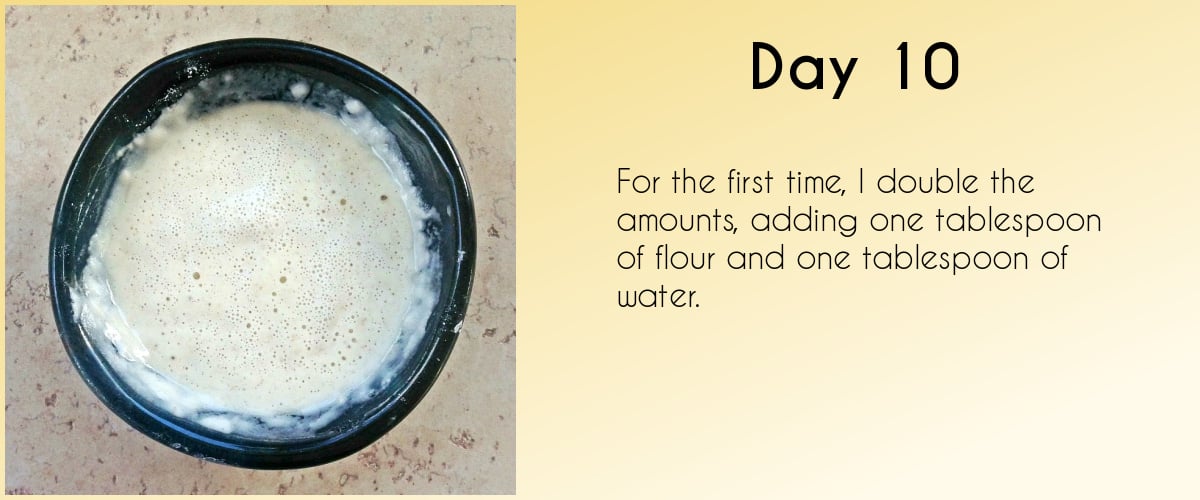
Day 11 - Not much happening. Bubbles are confined under a thin layer of water.
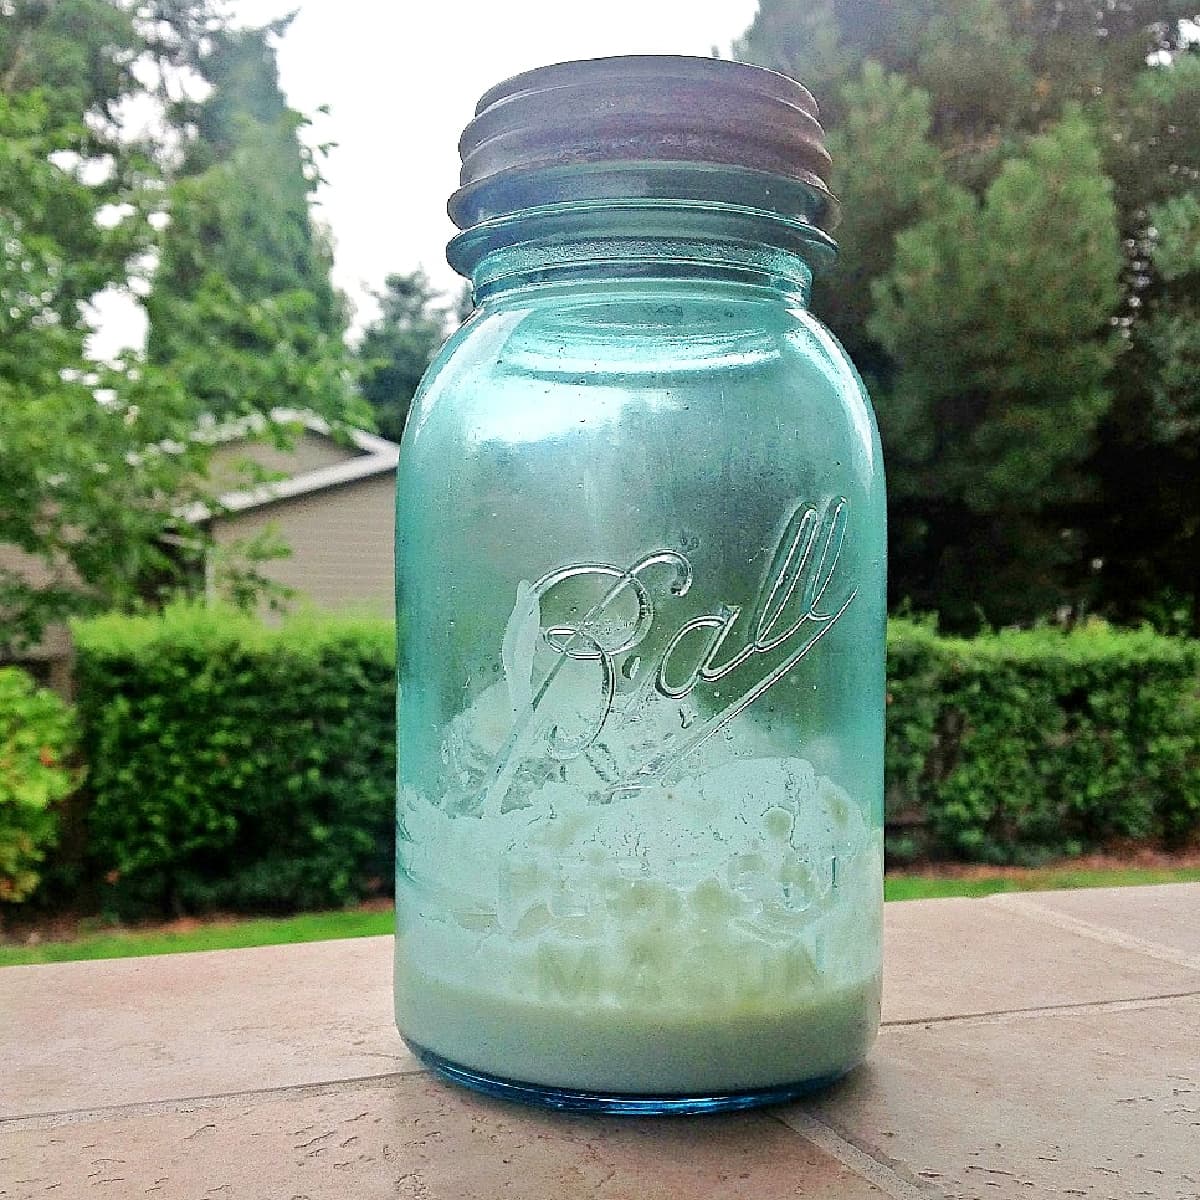
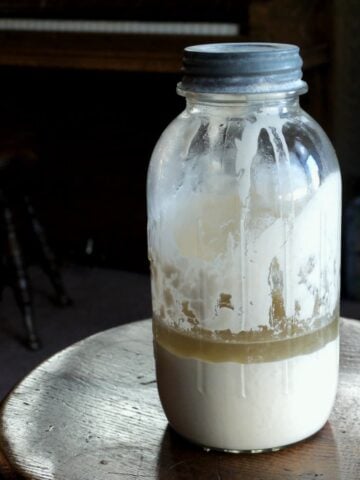
Day 12 - Remember that scene in Charlotte's Web where Fern has to move Wilbur out of the house and into him pen in the yard? That was today. Wilbur is finally big enough to move to a new home - a vintage canning jar with a very loose lid. I moved him, fed him and said a little prayer. From now on, I am going to try to feed him every Sunday and Thursday.
Day 13 - Bubbling away in the fridge!
Day 14 - Still bubbling!
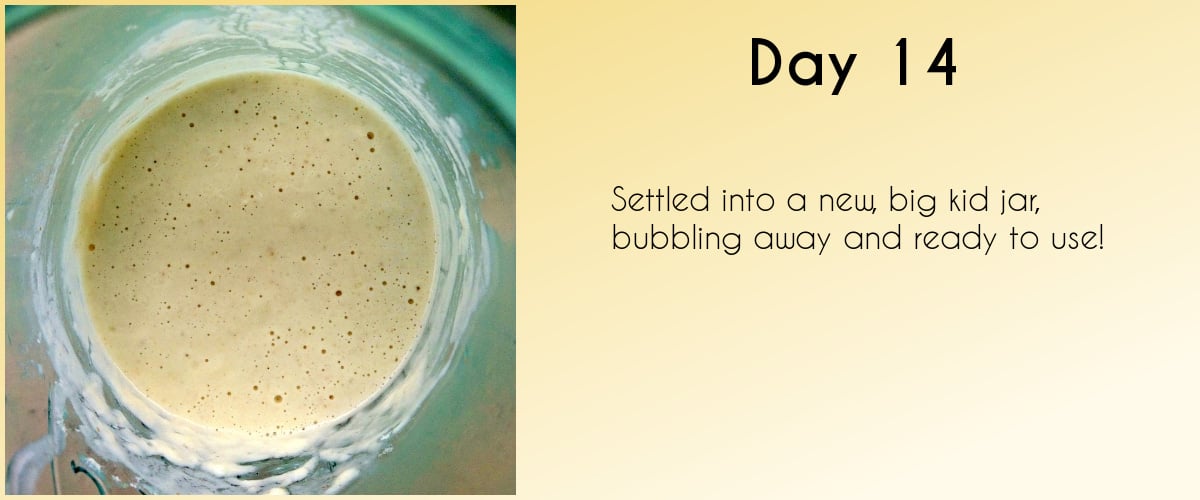
Lesson: Stick with it, even when it seems as though you aren't making any progress.
Epilogue: Wilbur grew up to make many, many loaves of delicious sourdough bread.
For tips and advice for the care and feeding of an established sourdough starter, including how to maintain it, and how to revive a neglected starter, read Sourdough Starter: Care & Feeding.
Stages of a Healthy Sourdough Starter
When you want to bake with sourdough starter, you first need to determine if your recipe calls for Fed, Active, Ripe, or Unfed Starter. (For example, my Easy Sourdough Bread recipe calls for Unfed Starter)
- Fed Starter – Fed Starter is active, healthy starter that has been fed within about 2 hours. By hour 2, it will be producing little bubbles on the surface.
- Active Starter – Starter is Active about 5 hours after feeding. By hour 5, you should be able to watch large bubbles actively rising through the Starter and making their way to surface.
- Ripe Starter – Starter is considered Ripe about 8 hours after feeding. The volume has doubled, and the top is just beginning to show signs of sagging under its own weight.
- Unfed Starter – Unfed Starter is healthy, vigorous Starter that has not been fed for 12 hours or more. By hour 12, it collapsed after Ripening, and is ready to be fed again or put in the fridge until next time. (Note that this is NOT neglected Starter that hasn’t been fed in days.)
- Discard – Sourdough discard is the portion of your sourdough starter that you get rid of when you do a feeding. It should be healthy and vigorous, with some small bubbling activity
If you aren’t up to making bread, you can always use up extra Starter by making pancakes, waffles, etc.
When baking, always reserve at least 8 ounces of Starter to feed and keep the process going.
Easy Sourdough Recipes

Want More Free Recipes?
Subscribe to our newsletter to get family-friendly recipes and cozy living ideas in your inbox each week!
Find us on Instagram, Pinterest, and Facebook, too.
Thank you for visiting the Good Hearted Woman. Remember to bookmark this site, and come back soon!
Originally published August 27, 2013. Post has been updated with new content and images to improve reader experience.



Leave a Reply