

This easy egg poaching technique allows you to cook multiple eggs at once, reduces feathering to a minimum, and results in a perfect poached egg with a runny yolk and no raw white remaining.
Jump to:
What is the Best Egg Poaching Technique?
Egg Mold Cups: Nope
I never really liked poached eggs as a kid. But then again, I wasn't eating real poached eggs: I was eating little rubber UFO-shaped pucks posing as poached eggs. My mom poached our eggs in a little aluminum poaching pan, and (like many cooks of her era) she cooked them until they were "good and done"; more suitable for skipping across a pond than eating.
I have since tried using silicone poaching cups as well. Some folks think these updated egg molds are absolutely awesome, but in my experience, they create a weird rubbery crust on the egg white, which is not the texture I'm looking for. (Same goes for oven-poaching in molds and muffin tins.)
Stovetop Maelstrom: Nope
When I started cooking for myself, I somehow knew that poached eggs could be better than the ones my mom made. However, when I first tried to poach an egg, I got some poor advice: "Create a swirling pool of boiling water and slide the egg into the middle."
Unsurprisingly, sliding a raw egg into a pan of boiling, swirling water did not yield the results I hoped for. At all. The roiling water churned with lacy white egg-feathers, and the egg itself emerged an unnatural shape.
Still Water: Yes!
It was years before I attempted to poach an egg again, and it was only then I discovered how astonishingly easy it is to cook a velvety soft poached egg (without creating a maelstrom on your stove top). All you need are a few simple tricks!
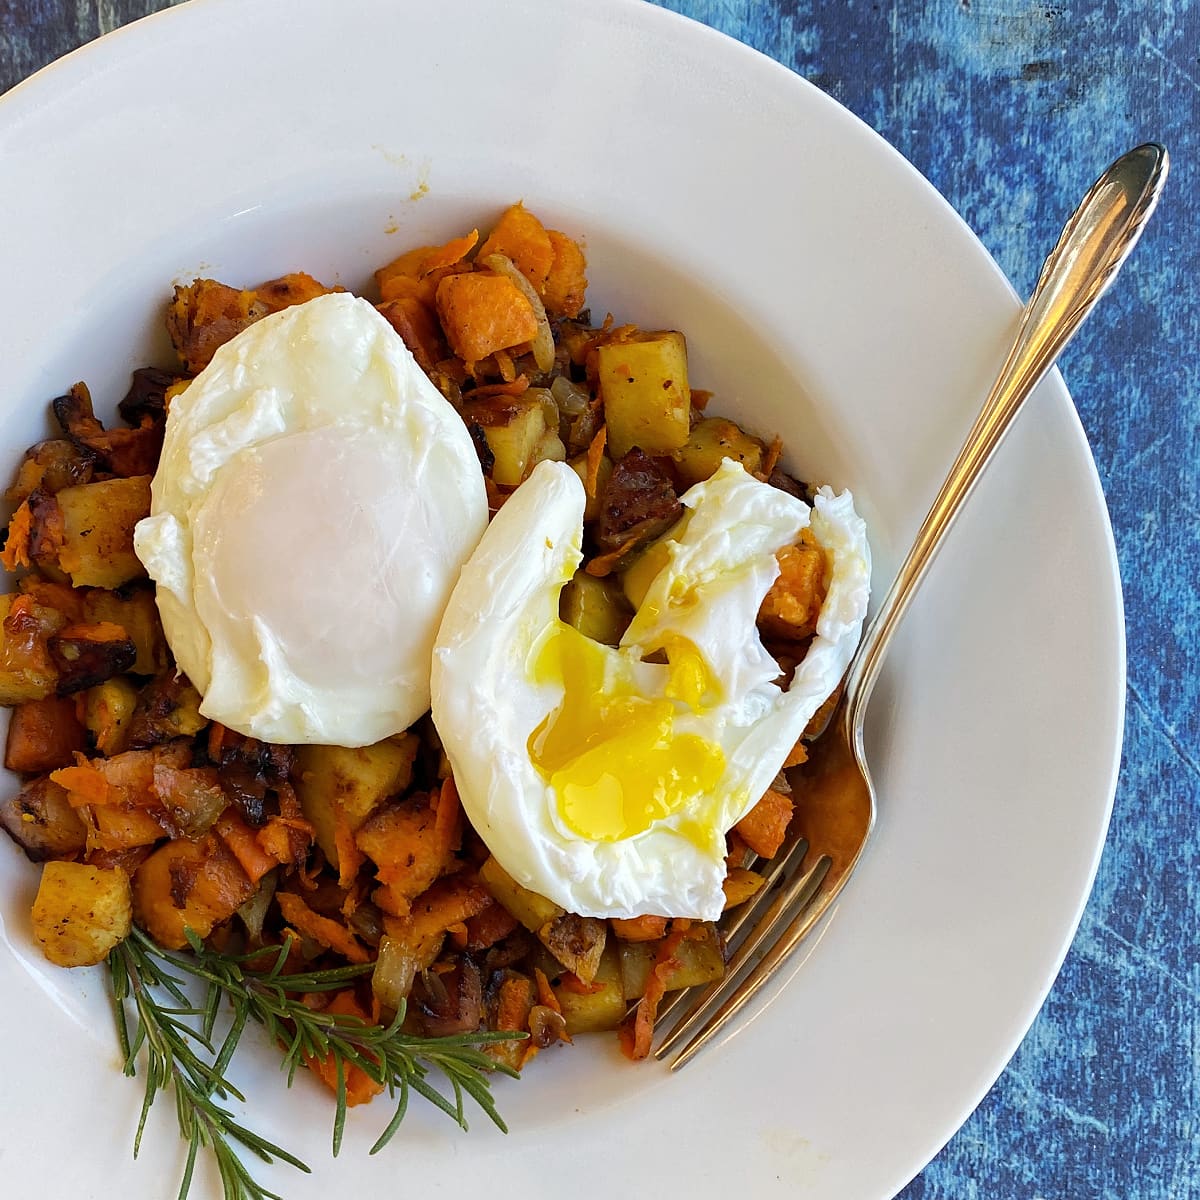
This easy still-water poaching technique allows you to cook multiple eggs at once, reduces feathering to a minimum, and results in a perfect poached egg with a runny yolk and no raw white remaining.
P.S. If you are someone who uses and loves the swirling-water or egg mold poaching method - Yay you! Keep doing what works for you! This post is for the rest of us.
What Makes this Still Water Poaching Method Work
When you poach an egg, you are essentially adding a liquid to a liquid and hoping that one of the liquids sets up before it mixes with the other. When done incorrectly, you can end up with a pot full of egg-white feathers and foam instead of a soft egg yolk surrounded by smooth, firm white.
There are four ways to reduce this feathering:
Use Fresh Eggs
You will get much better results with fresh eggs. In fresh eggs, the yolk is firm and sits up high, and the white is thick and closely surrounds the yolk. Older eggs have thinner, more watery whites, and a flatter yolk that breaks more easily.
TIP: Use older eggs for soft- and hard-boiled eggs. They are easier to peel when cooked than fresh eggs are.
Add Vinegar
This is science in action! Adding a small amount of vinegar to the poaching water helps the proteins in the egg white to denature (i.e., unwind) more quickly and link up to form a network of proteins, thus setting the egg white. The quicker the proteins denature the less feathering there will be. (Want to learn more? Check here.)
Just do it - it works.
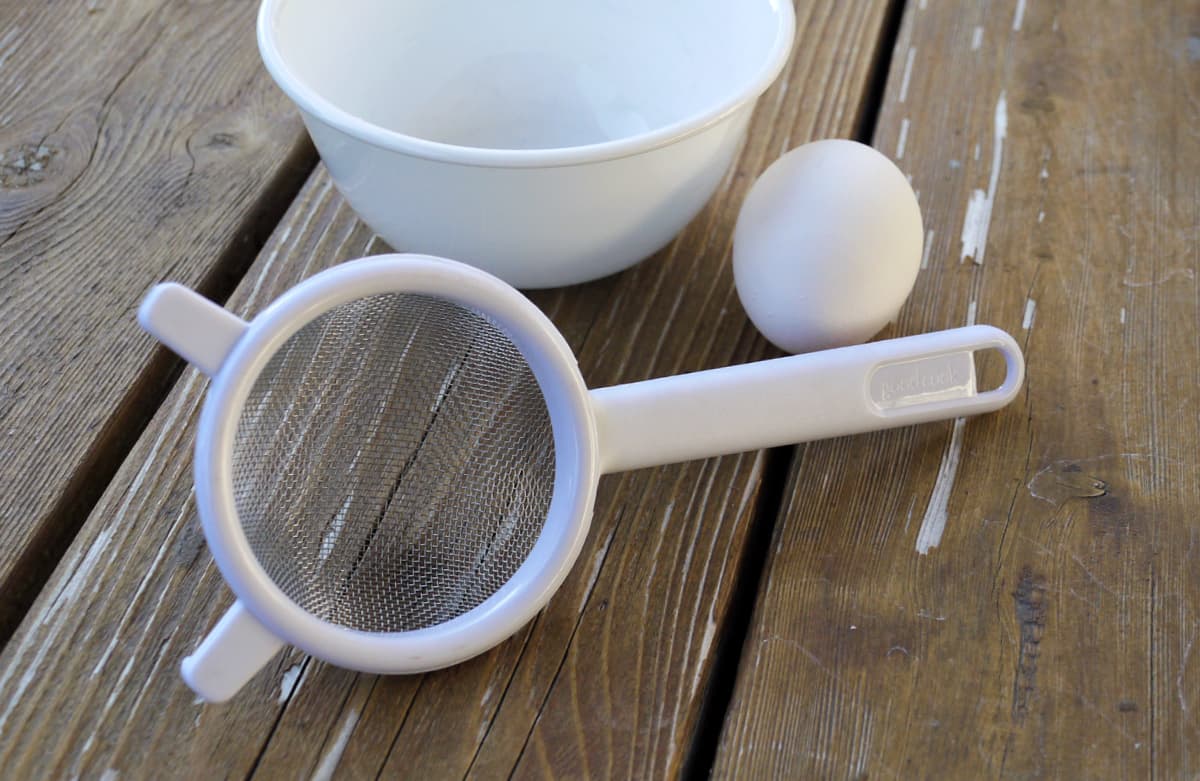
Use a Sieve
For about a couple of dollars, you can buy what I consider the key to perfectly poached eggs. A small kitchen sieve (i.e., tea or cocktail sieve) allows you to strain off any watery white from the egg, and also gives you the perfect vessel from which to gently roll the egg into the simmering water.
Simmer, Don't Boil
The water must be simmering in order to be hot enough for the egg to immediately begin to cook when it submerges, but it shouldn't be boiling so hard that the bubbles move the egg around the pan.
In fact, you don't want anything to move the egg in the pan, especially for the first minute. That's means no shaking, no stirring, and for Pete's sake, no swirling!
How to Poach a Perfect Egg
Fill a medium saucepan or deep skillet with 2 inches deep with water. Add 2 teaspoons of vinegar for every quart of water used.
Bring the water to a rolling boil and then reduce heat so that it's just barely simmering. There should still be bubbles on the bottom of the pan, but the surface of the water should look relatively calm.
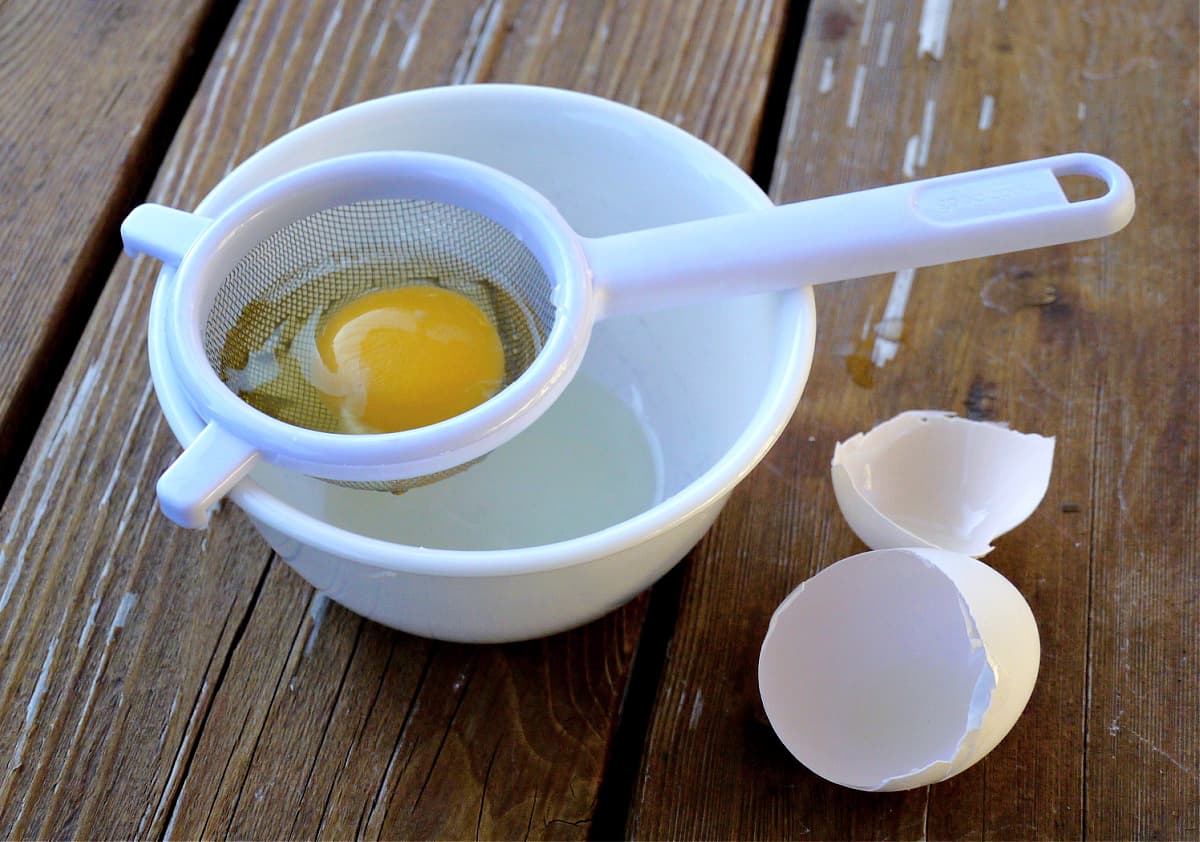
Crack an egg into a small wire sieve and allow watery albumin to drain off. (Don't worry; the white and yolk will stay intact inside the sieve.)
Holding the egg in the sieve just above the water, gently roll the egg out of the sieve and into the water. After the egg hits the water, leave it alone.
You can put about four into the pan at the same time, but be sure they all have enough room.

In the beginning of the poaching process, the egg will slide to the bottom of the pan and may stick a bit. After the egg poaches for a minute, use a slotted spoon to unstick it from the bottom of the pan if necessary.
Allow the egg to poach about two minutes, and then use a slotted spoon to lift it up out of the water. Gently poke it with your finger to see if it is done to your liking.
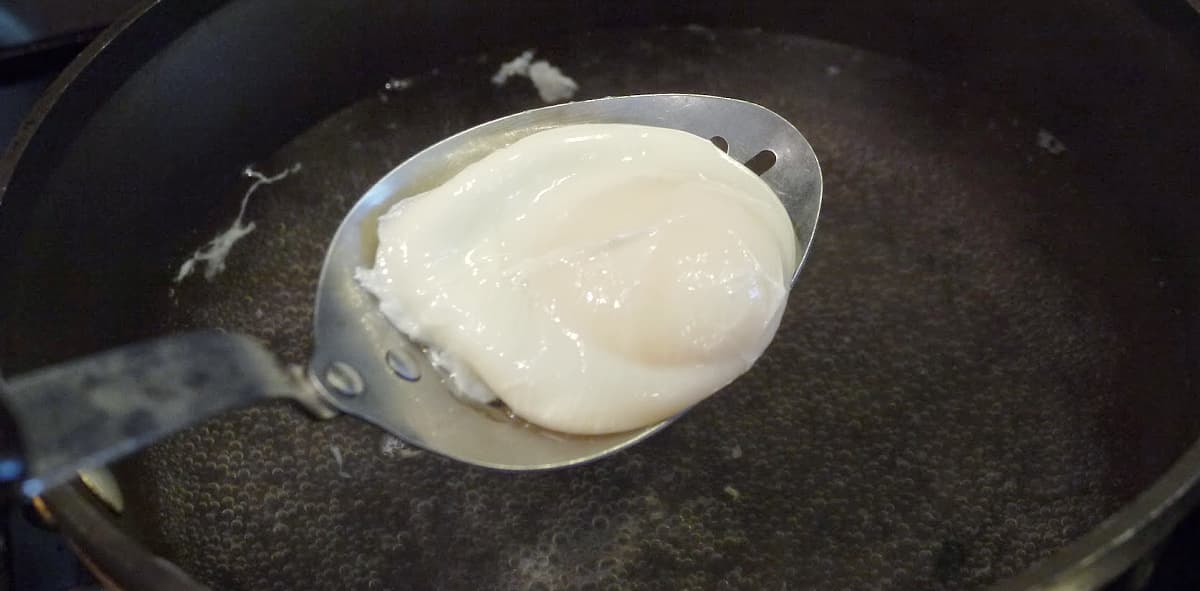
If the egg is ready, remove it to a plate. If it needs to cook longer, simply lower it back into the water for another minute and check it again.
That's it. It seems like it should be more complicated, but it isn't. Try it a couple of times and you too will be poaching like a pro.
FAQs & Expert Tips
Poaching times depend on the size of the egg and its temperature (refrigerated or room temp) going into the water.
Generally, for a very soft yolk, poach the egg about 2 minutes; Medium soft ~3 minutes; Firm ~4 minutes.
No. Using a ratio of 2 teaspoons vinegar per quart of water, the vinegar is imperceptible in the cooked eggs.
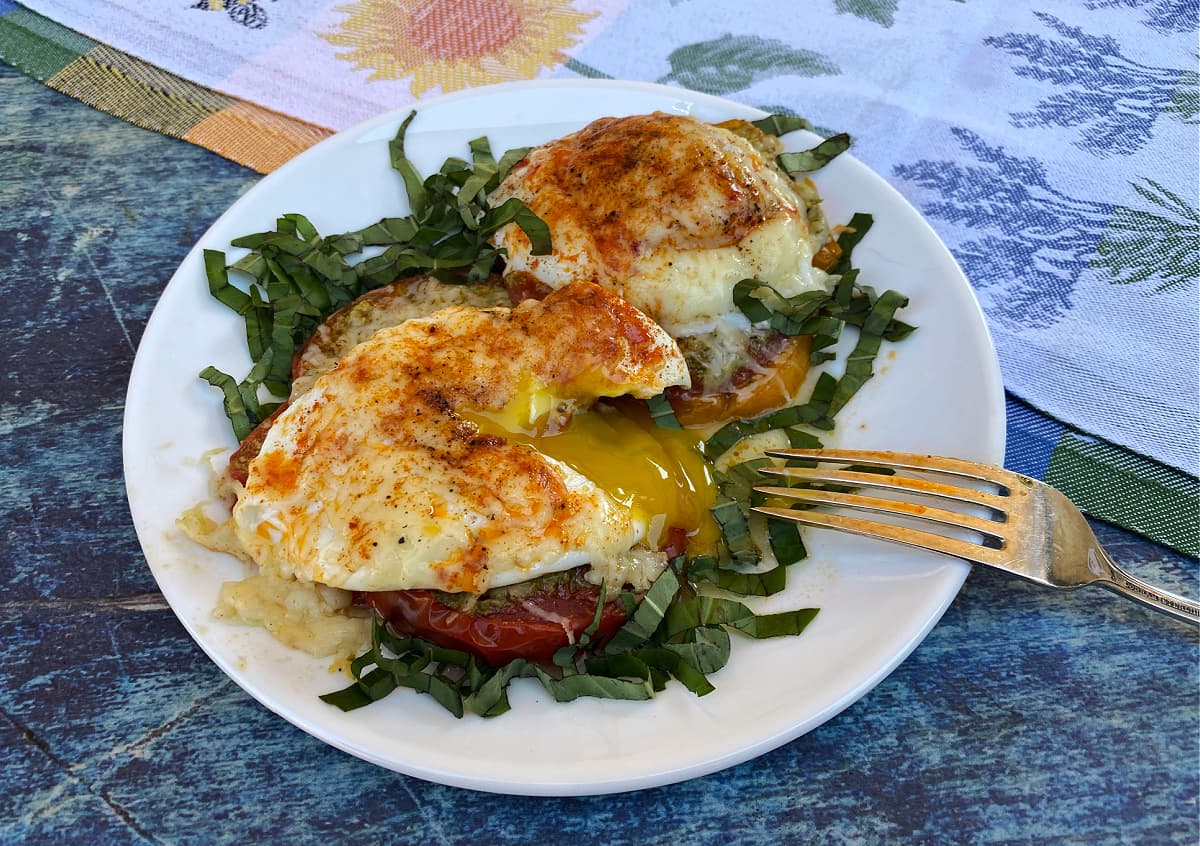
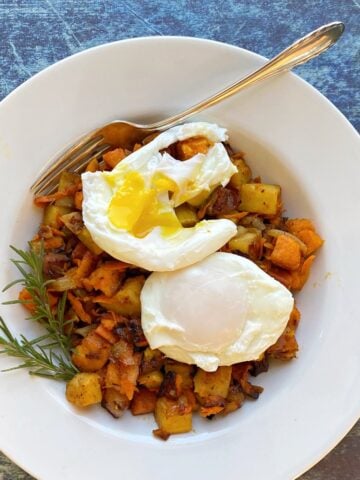
Poached Egg Recipes


Want More Free Recipes?
Subscribe to our newsletter to get family-friendly recipes and cozy living ideas in your inbox each week!
Find us on Instagram, Pinterest, and Facebook, too.

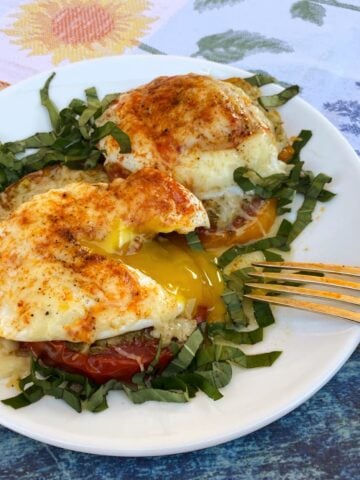
How to Poach an Egg
Equipment
- 1 medium saucepan or deep skillet
- 1 small wire sieve
- 1 slotted spoon
Ingredients
- 4 large eggs more or less, as desired
- 1 quart water or more
- 2 teaspoons vinegar white, red, or cider vinegar
Instructions
- Fill a medium saucepan or deep skillet with 2 inches deep with water. Add 2 teaspoons of vinegar for every quart of water used. Bring the water to a rolling boil and then reduce heat so that it's just barely simmering. There should still be bubbles on the bottom of the pan, but the surface of the water should look relatively calm.
- Crack an egg into a small wire sieve and allow watery albumin to drain off. (Don't worry; the white and yolk will stay intact inside the sieve.)
- Holding the egg in the sieve just above the water, gently roll the egg out of the sieve and into the water. After the egg hits the water, leave it alone.You can put about four into the pan at the same time, but be sure they all have enough room.
- In the beginning of the poaching process, the egg will slide to the bottom of the pan and may stick a bit. After the egg poaches for a minute, use a slotted spoon to unstick it from the bottom of the pan if necessary.
- Allow the egg to poach about two minutes, and then use a slotted spoon to lift it up out of the water. Gently poke it with your finger to see if it is done to your liking.
- If the egg is ready, remove it to a plate. If it needs to cook longer, simply lower it back into the water for another minute and check it again.
Notes
Nutrition
This website provides approximate nutrition information for convenience and as a courtesy only. You are solely responsible for ensuring that any nutritional information provided is accurate, complete, and useful.
Thank you for visiting the Good Hearted Woman. Remember to bookmark this site, and come back soon!
Originally published December 2, 2014. Post has been updated with new content, images, and instructions to improve reader experience.


Colleen says
These tips for making poached eggs really work. I recommend using this technique because you'll get perfect eggs every time!
Brandi says
The recipe includes all of the tips and tricks you need to get these right. I'm going to be using this method time and time again.
Gina says
Thanks so much for the great tips. I now can make the perfect poached eggs at home which are a favorite of mine!
Dina and Bruce says
These eggs turned out perfect! Served on toast last Sunday! No more soggy bread!
dana says
Great tips! I loved poached eggs and it's such a bummer when they fall apart. Bookmarking this!
Stevo says
Renee - You truly are a Good Hearted Woman! Now I can make perfectly poached eggs! Your technique works great! Thank you so much. - Stevo
Renée ♥ says
My pleasure, Stevo!
Lila Rose says
My mother would always fix me poached eggs when I visited and they were always perfect. I have never been able to cook them like she did and now maybe I can. Thank you for sharing this and I will try it maybe for dinner tonight. I can eat eggs any time. Thank you again, precious daughter. I am so proud of what you are doing with your blog.
Renée ♥ says
Thanks, Mom. As always, we had Huevos Rancheros for New Years Day brunch today - wish you were here. ♥
kelsey says
oh yum! that egg looks perfect! i do like a good poached egg and this guide is super helpful!
http://www.ladiesinnavy.com
Keryn Campbell says
What fabulous advice. I love poached eggs so will definitely be giving this a try.
Lauren says
I will have to give this another try. I had a delicious egg benedict on a waffle this weekend. It was fantastic and I want to try and make it at home. That means I need to get the poaching to work.
Lindsey K. says
The vinegar is key, and I knew about that one, but the sieve is GENIUS! I've always used little cups to gently place the eggs, but that didn't solve the wispy watery whites problem, hahaha 🙂
Jenni says
That is a perfectly poached egg for sure! I love the sieve idea. I recently tried and LOVED a tip I saw somewhere... you stir the water to make sort of a tornado (simmering, not boiling and with vinegar) and then drop the egg right there in the middle. Works great!
Renée ♥ says
The swirling water thing did not work at all for me, but if it works for you, great! I subscribe to the "calm waters" theory of poaching - the less turbulence the egg undergoes, the better.
Bill Volckening says
I will have to try it. Thus far, mastery of the perfect poached egg has eluded me.
Jenni Kupelian says
Okay, this has eluded me for years, THANK YOU.
Rachel says
This is perfect!! I haven't ever really perfected this, but I am now inspired to try again. Thanks for sharing!
Pech says
Ooo I am liking this series!
Marlynn [UrbanBlissLife] says
This is an EGGcellent tutorial! 😉 It really is a great visual how-to. I admit that when I get rushed or lazy, I don't do everything you're supposed to in order to get great poached eggs, and the result shows. I love poached eggs on pretty much everything: salads, pastas, breakfast hash. Love your theme this week!