

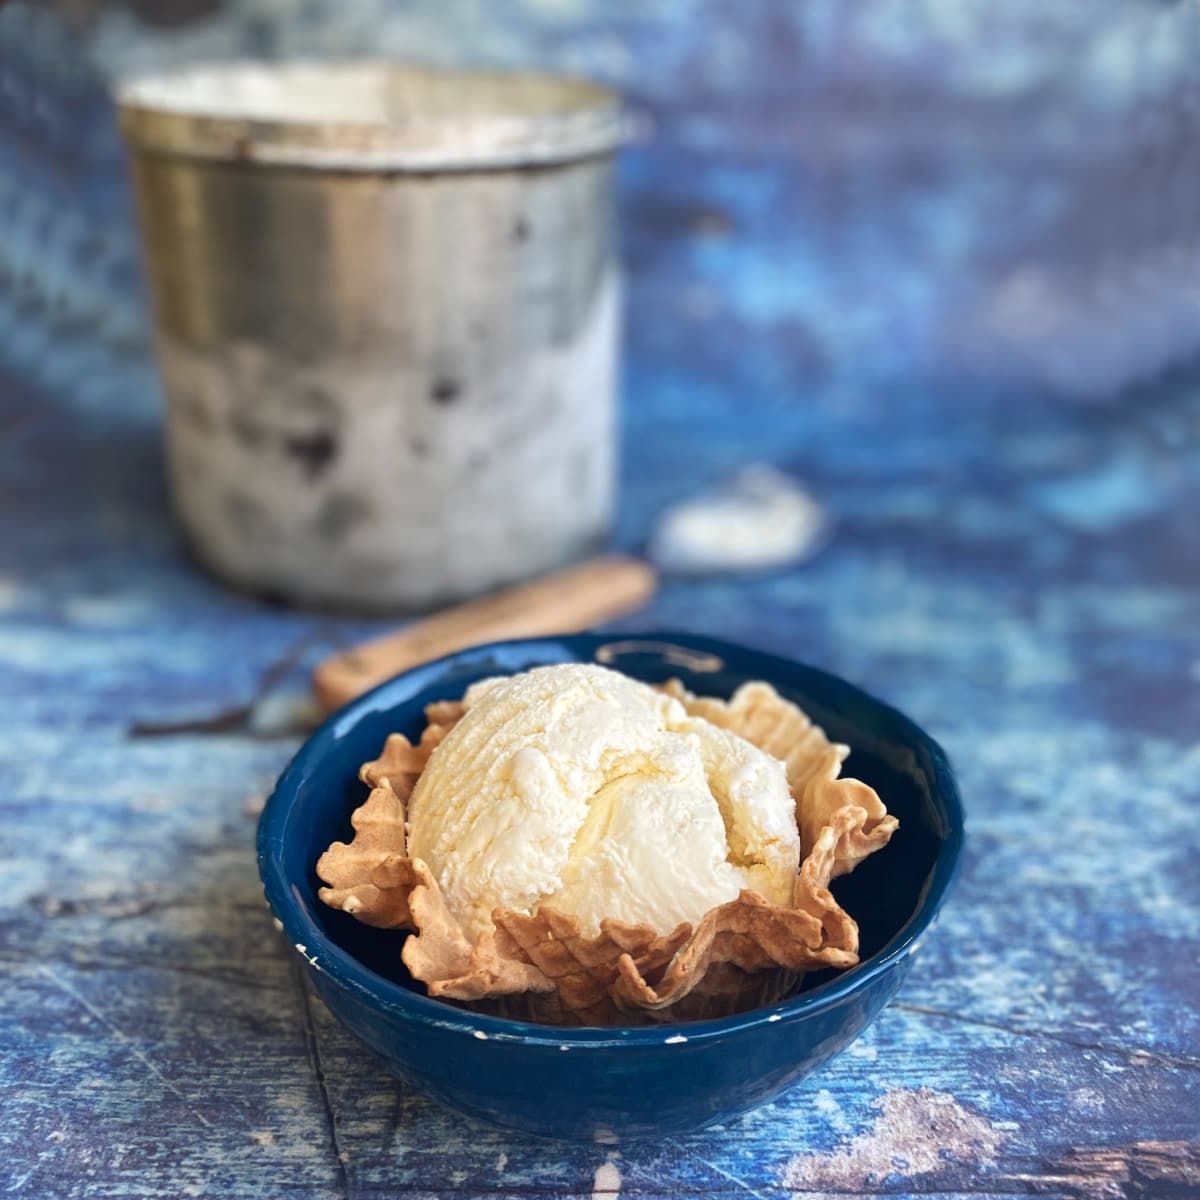
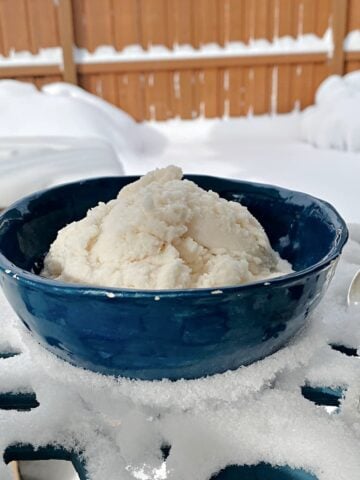
Smooth, rich, and fabulously creamy, this old-fashioned custard-style Homemade Vanilla Ice Cream recipe is simply the best ice cream ever!
This my mother's recipe, passed down through at least four generations of my family. It is the homemade ice cream I grew up on, and the one my children and grandchildren will remember. There is none better.
Jump to:
To make ice cream for a crowd (and memories to go with it), churn this easy ice cream recipe in a large, old-school, bucket-style ice cream freezer. For a smaller batch, simply cut the recipe by half and make it in a modern table-top ice cream machine.
Custard-Style Vanilla Ice Cream Ingredients

- Dairy: Making homemade ice cream is not the time to go lowfat! For the creamiest ice cream, use heavy cream (or half-and-half) and whole milk. The lower the fat content of your liquids, the more chance your ice cream will turn out too "icy."
- Sugar: Use plain granulated white sugar. We don't recommend using sugar substitutes.
- Vanilla: Use a good, high-quality vanilla extract. The alcohol in the extract will also help to keep the water in the ice cream mixture from crystalizing.
- Eggs: We use USDA large egg (EU medium).
- Salt: Use table salt or fine sea salt.
See recipe card for quantities.
How to Make this Homemade Vanilla Ice Cream Recipe
These directions outline how to make this ice cream in a large bucket-style crank or electric ice cream maker. If you plan to use a smaller, more modern ice cream maker, simply cut all the ingredients in this recipe by half (i.e., 2 eggs, 2 cups of cream, 2 cups of milk, etc.), and follow the directions for freezing that come with your machine.
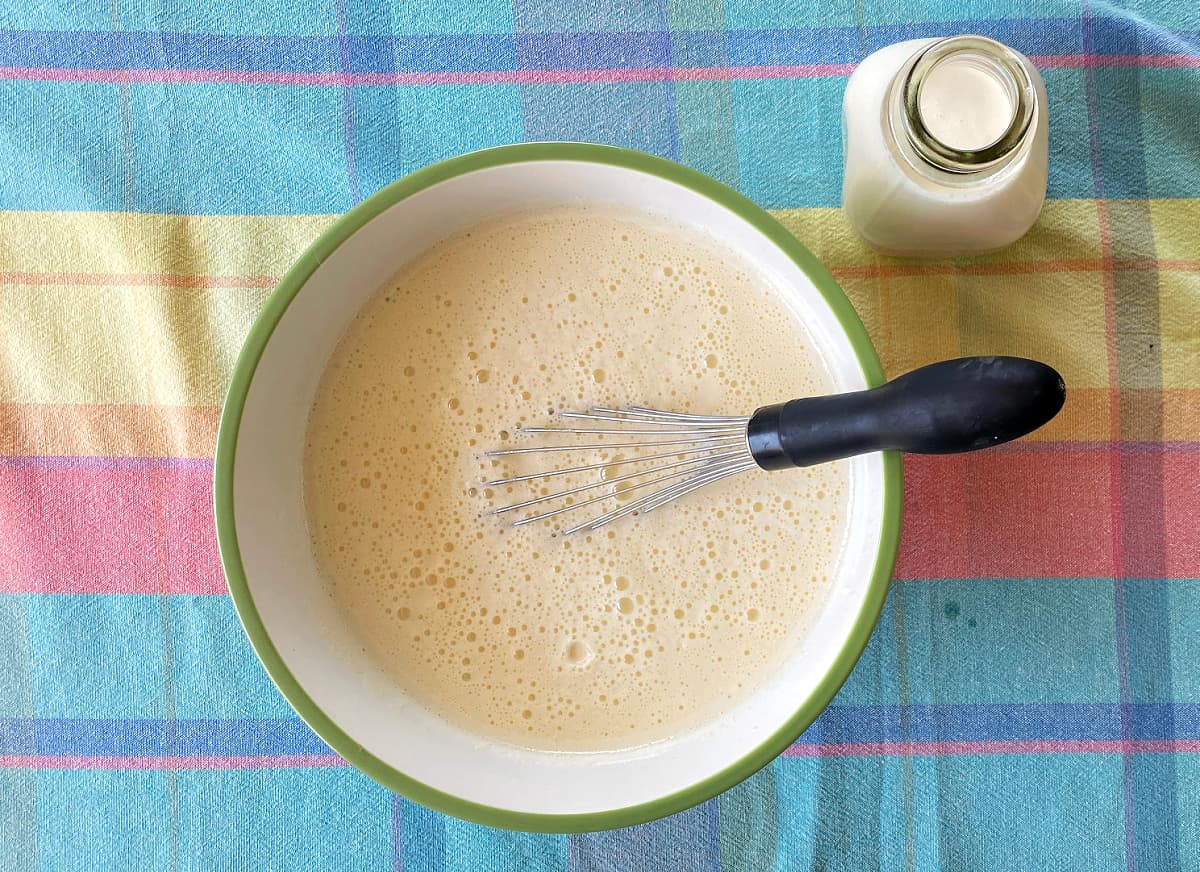
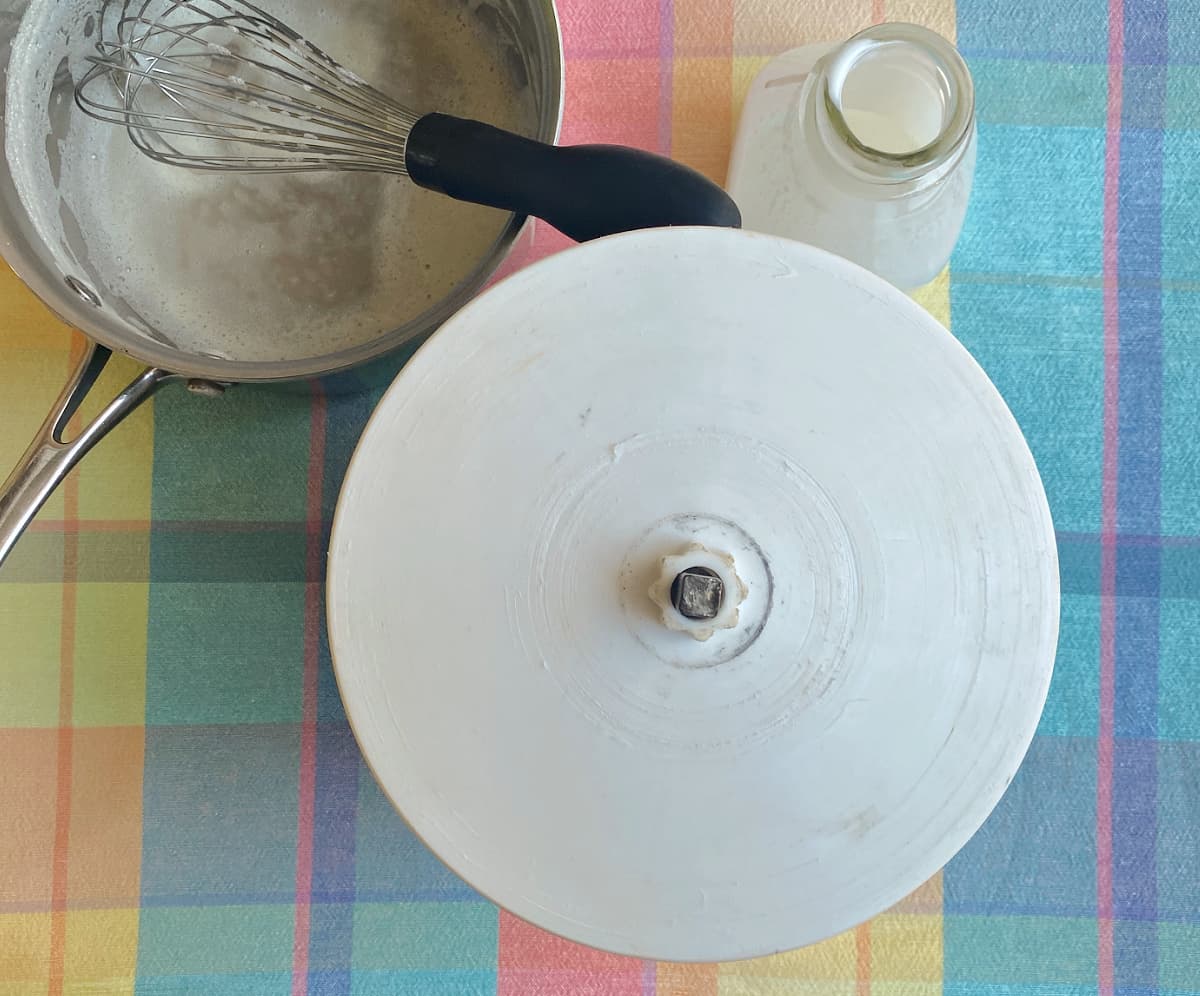
Whisk together all ingredients except cream until frothy. (You can also do this step in a blender.)
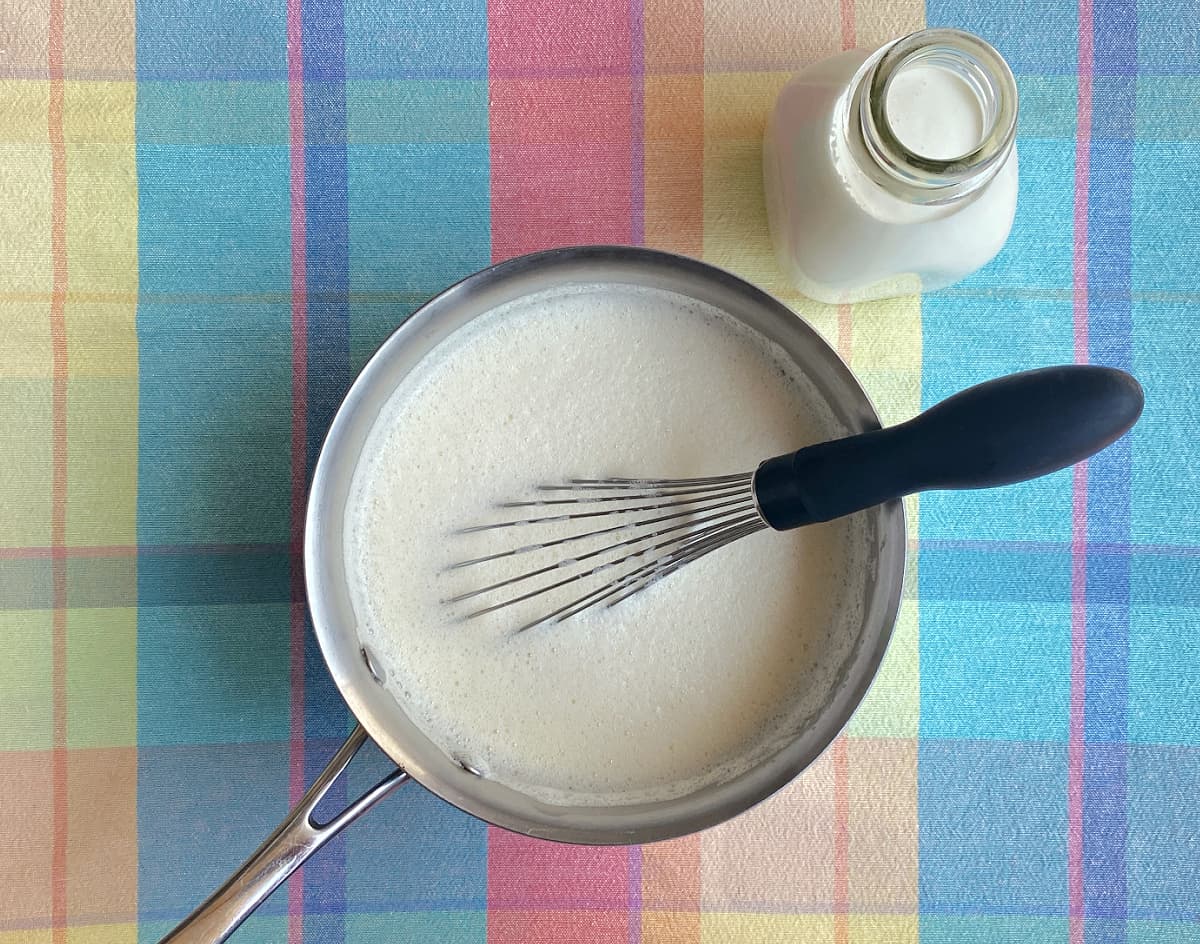
Pour the mixture into a medium saucepan, and heat over medium-low heat, whisking constantly. Bring the temperature up slowly, just until tiny bubbles begin to form around the edges of the saucepan. (The mixture should register 180°-185°F [82°-85°C] on an instant-read thermometer.) Remove from heat.
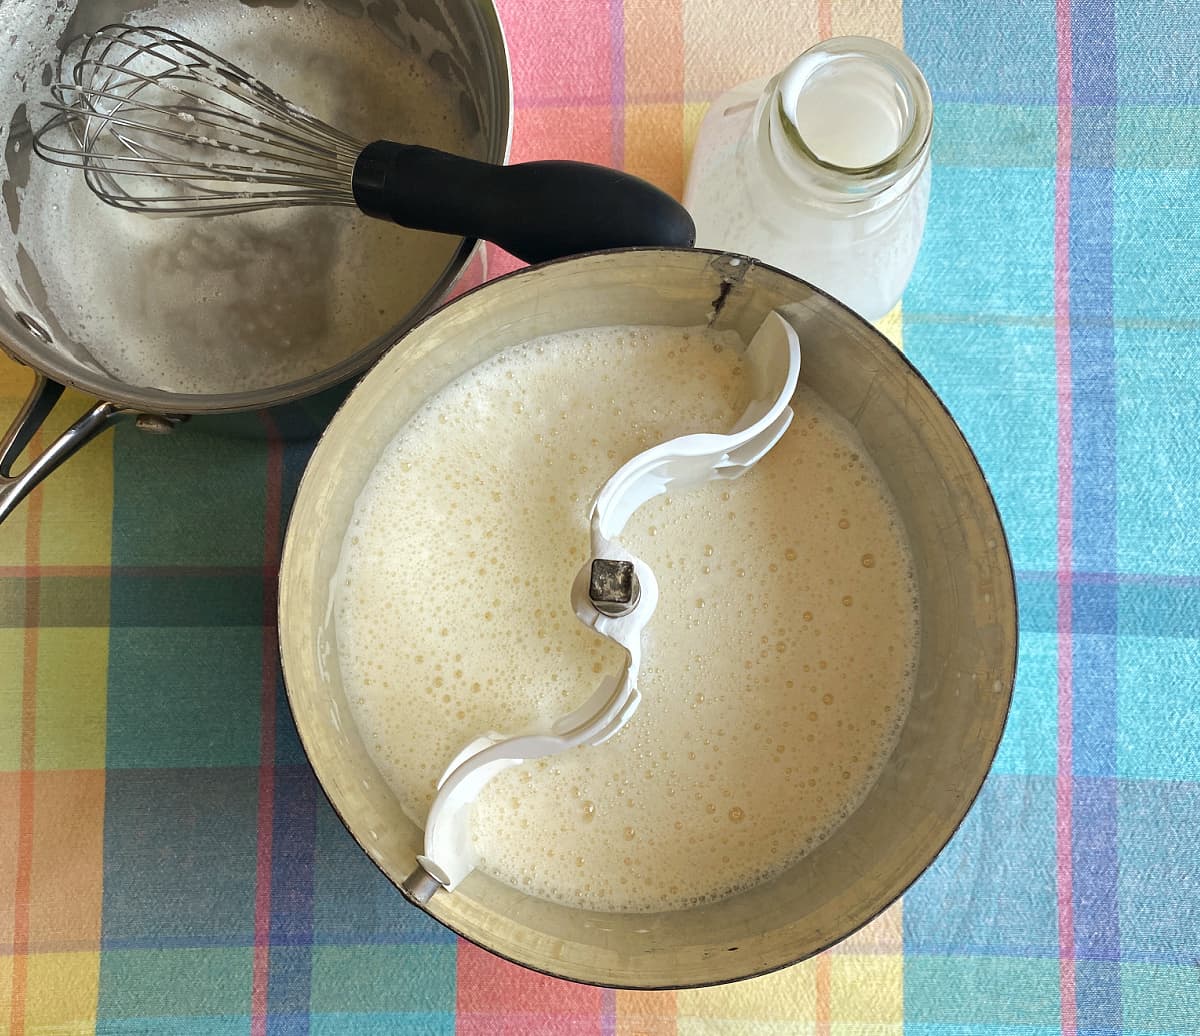
Once the custard is prepared, pour the mixture into a chilled ice cream freezer canister. Stir in the heavy cream and allow the mixture to chill in the refrigerator for at least an hour.
Once the mixture has chilled, position the dasher in the canister.
Cover the canister with the lid, and place it into the ice cream maker's bucket.
Attach the churn mechanism, and then layer on cubed ice and rock salt until it reaches about ¾ of the way up the side of the canister.
The amount of ice and salt you use will depend on the size of your freezer and the ambient temperature, among other things. We usually layer about 4-5 inches of ice and then a large handful rock salt, and repeat until the freezer bucket is nearly full.
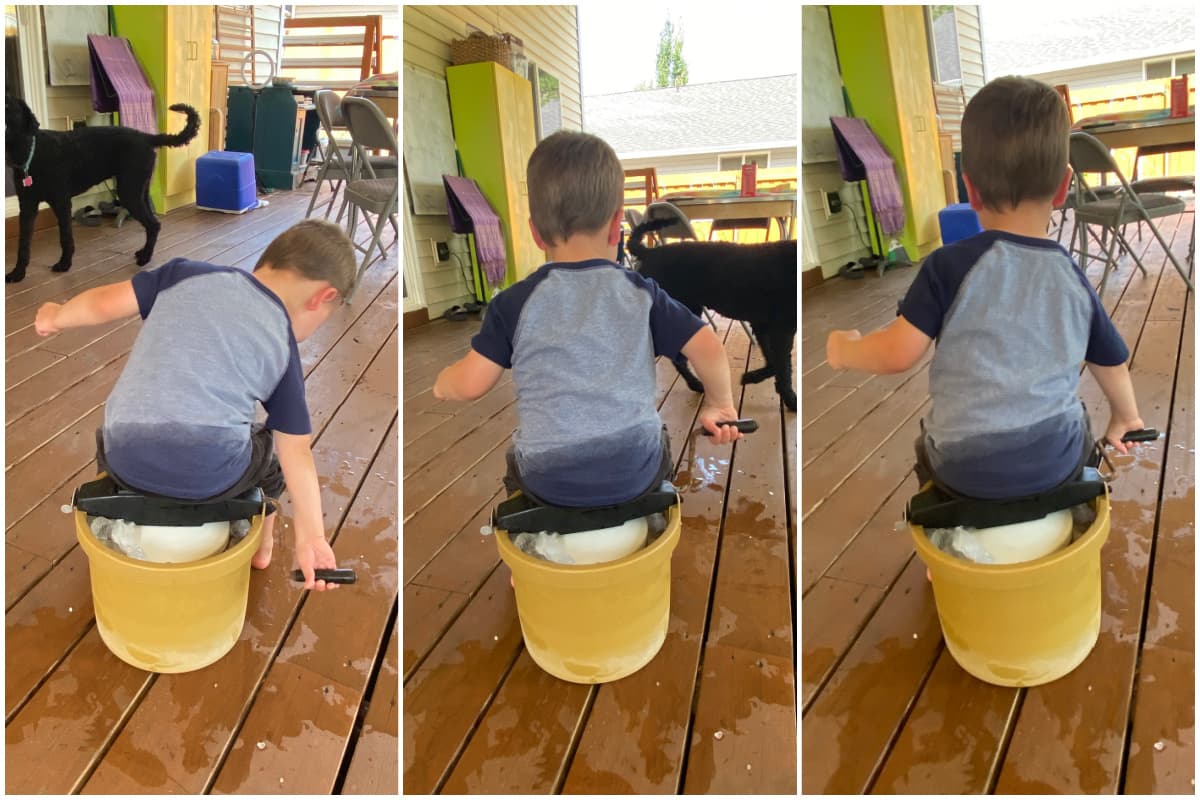
After the ice and salt are added, churn the ice cream.
- Electric Churn: Simply plug the ice cream maker in and let it do its job.
- Hand-crank: Let your smallest, youngest helpers start the cranking first, and work up to the older ones as the ice cream begins to get harder to crank.
You may need to add more ice as you proceed. Keep the ice level just below the top of the canister.
Electric ice cream machines will usually have an auto-stop; however, you can also "hear" the ice cream set as the machine works harder to churn it. If you are churning manually, check when the mixing becomes very difficult.
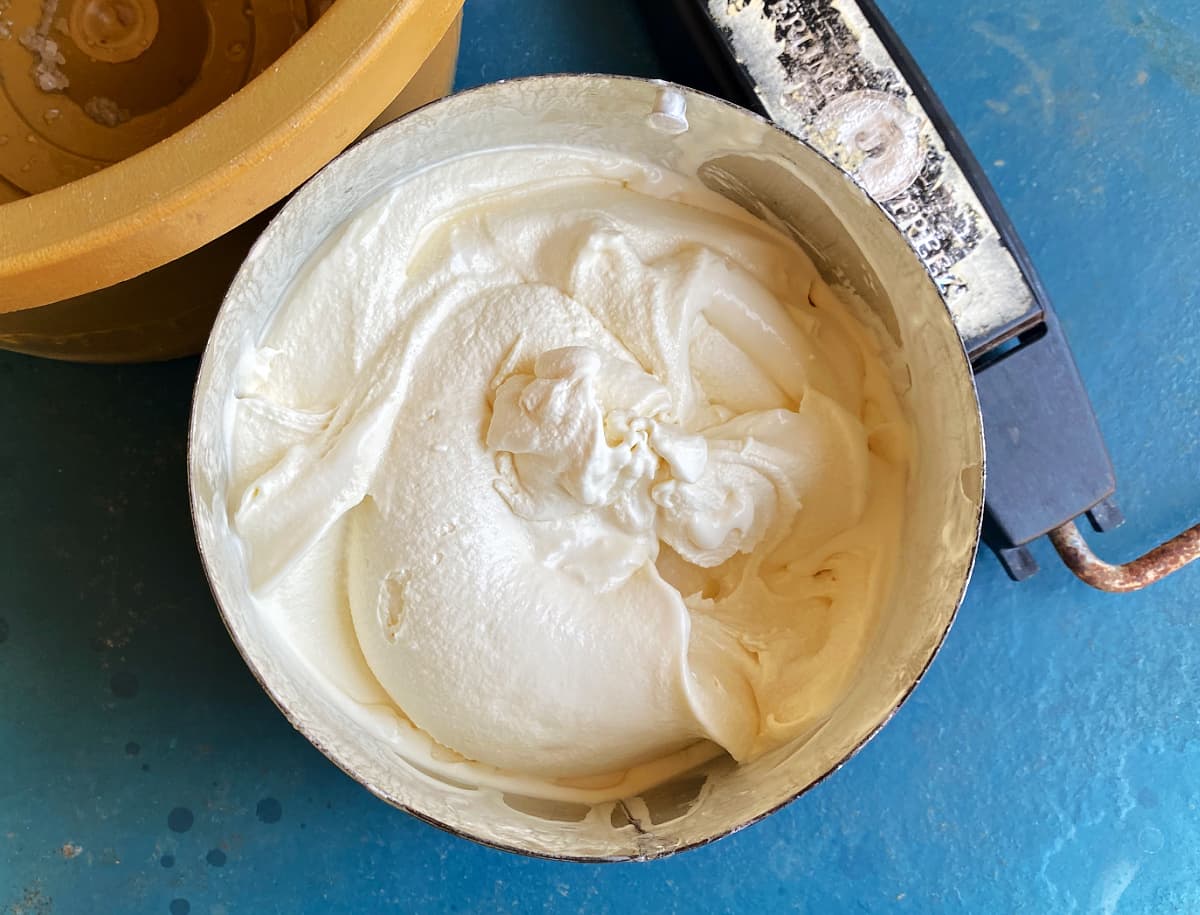
To check the ice cream, brush all the ice and salt off the lid and carefully remove it. The mixture inside should have the same consistency as thick soft-serve ice cream. If it is too soft, replace the lid and crank it a little longer.
When the ice cream is done, remove the dasher. (We always let the kids share the "Christmas tree".)
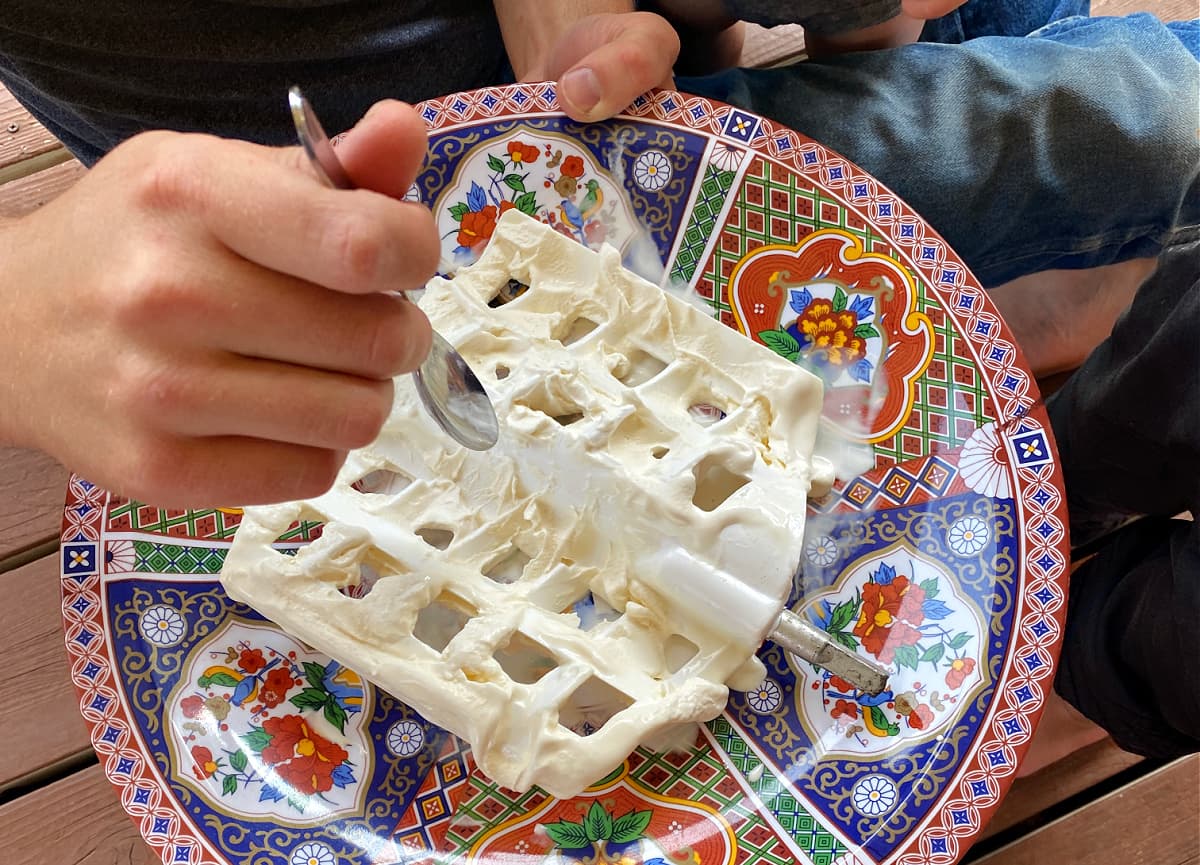
It usually takes about half an hour to churn a batch of homemade ice cream. Once the ice cream is done churning, it's ready to eat.
For scoop-able ice cream, place the mixture in the freezer and allow it to cure for about 4 hours.
Substitutions
Heavy Cream: You can successfully sub in half-and-half for the heavy cream.
Vanilla: Sub in two vanilla beans for the vanilla extract. To do this, slice vanilla beans down the middle, and scrape out the tiny "vanilla sand" inside.
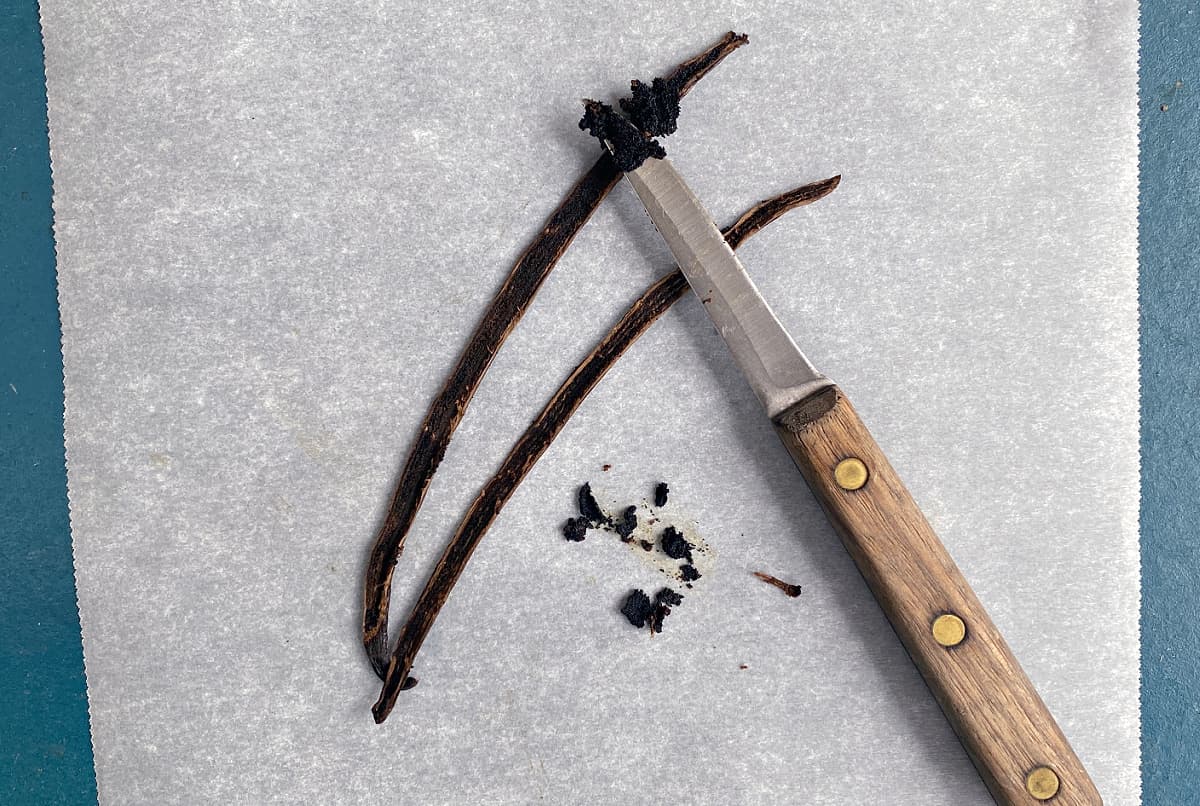
Add the vanilla sand and the sliced bean pods directly to the ice cream mixture before heating it. Remove the vanilla bean pods before churning.
Variations
Dairy-free Vanilla Ice Cream: For dairy-free vanilla ice cream, try making our coconut milk-based, dairy-free vanilla ice cream! It's ridiculously creamy, and as smooth as cool velvet.
This ice cream recipe makes a perfect base for infinite ice cream flavors.
Equipment
Our old-fashioned crank ice cream maker, a survivor from my childhood, is perfect in the summertime when ice cream-making is a family event and we need large quantities. It is also excellent for making memories.
There are times, however, when you don't need a gallon of ice cream, and you don't want to spend half an hour or more on the back porch cranking the machine. Our newer, electric ice cream maker is a perfect solution for such times. It makes up to two quarts of ice cream, gelato, and other frozen fare, making it the perfect size for couples or small families.


If you plan to use a smaller, "modern" ice cream maker, simply cut all the ingredients in this recipe by half (i.e., 2 eggs, 2 cups of cream, 2 cups of milk, etc.), and follow the directions for ice cream that come with your machine.
Storage
Store homemade ice cream in an airtight container for up to three weeks. To help prevent ice crystals, press a sheet of plastic wrap, parchment, or waxed paper directly on the surface before putting the lid on.
Time is not a friend to homemade ice cream. After a couple of weeks, ice crystals may form, and the texture can become grainy.
Top Tip
For Raw Cookie Dough Eaters Only
This may be controversial, but I'm going to say it anyway: the only time I ever actually "cook" the custard for this ice cream is when we are serving it to young kids or folks with compromised health. (My mom never cooked it.) We simply mix it up and pour it into the freezer to churn. My entire family, including my grown kids, have all eaten raw ice cream our entire lives and never had a problem.
That said, cooking the custard does appear to stabilize the mixture, and we do find that it lasts longer in the freezer than uncooked ice cream.
WARNING: CONSUMING RAW OR UNDERCOOKED EGGS MAY INCREASE YOUR RISK OF FOODBORNE ILLNESS, ESPECIALLY IF YOU HAVE CERTAIN MEDICAL CONDITIONS.
FAQ
Rock salt lowers the freezing (i.e., melting) point of ice. Rock salt doesn't keep the ice from thawing when you're making ice cream: it lowers the freezing point of the liquid left behind.
More Ice Cream Recipes

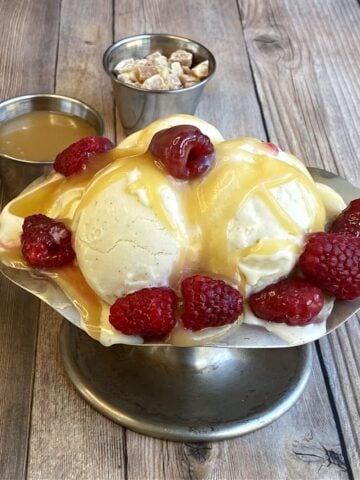
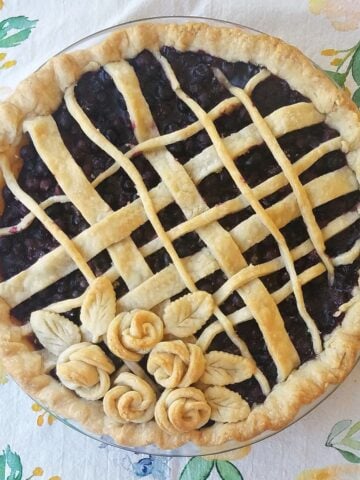
Pairing & Serving
Homemade vanilla ice cream is scrumptious on a slice of warm pie or fruit cobbler, and it makes heavenly ice cream sandwiches, too!

Want More Free Recipes?
Subscribe to our newsletter to get family-friendly recipes and cozy living ideas in your inbox each week!
Find us on Instagram, Pinterest, and Facebook, too.

Homemade Vanilla Ice Cream
Equipment
- 1 Blender (optional)
- 1 saucepan
Ingredients
Ice Cream Base
- 4 large eggs
- 2¼ cups sugar
- 4 cups milk whole or 2%
- 4 cups heavy cream
- 2 tablespoons vanilla extract
- scant ½ teaspoon salt
You will also need:
- 7-10 pounds cubed ice more or less
- 2 cups rock salt "ice cream salt"; more or less
Instructions
- Whisk together all ice cream ingredients except cream until frothy. (You can also do this step in a blender.)
- Pour the mixture into a medium saucepan, and heat over medium-low heat, whisking constantly. Bring the temperature up slowly just until tiny bubbles begin to form around the edges of the saucepan. Remove from heat. The mixture should register 180°-185°F [82°-85°C] on an instant-read thermometer.
- Once the custard is prepared, pour the mixture into a chilled ice cream freezer canister. Stir in the heavy cream and allow the mixture to chill in the refrigerator for at least an hour.
- Pour the prepared custard mixture into the ice cream freezer canister and position the dasher.Cover the canister with the lid, and place it into the ice cream maker's bucket.
- Attach the churn mechanism, and then layer on cubed ice and rock salt until it reaches about ¾ of the way up the side of the canister. The amount of ice and salt you use will depend on the size of your freezer and the ambient temperature, among other things. We usually layer about 4-5 inches of ice and then a large handful rock salt, and repeat until the freezer is full.
- After the ice and salt are added, churn the ice cream.• Electric Churn: Simply plug the ice cream maker in and let it do its job.• Hand-crank: Let your smallest, youngest helpers start the cranking first, and work up to the older ones as the ice cream begins to get harder to crank.You may need to add more ice as you proceed. Keep the ice level just below the top of the canister.
- Electric machines will usually have an auto-stop; however, you can also "hear" the ice cream set as the machine works harder to churn it. If you are churning manually, check when the mixing becomes very difficult.To check the ice cream, brush all the ice and salt off the lid and carefully remove it. The mixture inside should have the same consistency as soft-serve ice cream. If it is too soft, replace the lid and crank it a little longer.
- For scoop-able ice cream, place the mixture in the freezer and allow it to cure for about 4 hours.
Notes
Nutrition
This website provides approximate nutrition information for convenience and as a courtesy only. You are solely responsible for ensuring that any nutritional information provided is accurate, complete, and useful.
Thank you for visiting the Good Hearted Woman. Remember to bookmark this site, and come back soon!


Susan says
I plan to try this for the 4th of July celebration. After I mix all the ingredients and chill for at least 1 hour…how long can I chill at this point? A few hours (to make in the morning and use after supper in the evening? 24 hours to make the night before? Thanks for the recipe and thank you in advance for your feedback on this question.
Renée B. says
You’re very welcome, and I’m so glad you’re planning to make this for the 4th of July! Yes, you can absolutely chill it for several hours or even up to 24 hours with no problem. Hope it’s a hit at your celebration — Happy 4th!
Susan says
Thank you for your response! I will give it a try and let you know how it turns out!
DMB says
I've never had much luck churning ice cream. Something ALWAYS goes wrong. NOT this time, I am happy to say. The recipe is well written. All ingredients are clear. I didn't have to find some exotic ingredient(s) that aren't carried on the shelves of our local grocer. The instructions made sense and they are RIGHT.
So, armed with all that I prepared the mixture and put it in the ice cream canister. The first good sign was the mixture did not fill the canister. Good, room for expansion. Yeah, I know, in a COLD container. As the ice cream thickens it expands, probably with a little air.
I got fed up hand cranking a long time ago. I'm allowed, I'm 77. So I have an electric. EXCELLENT! I put the dasher in the container, covered it, put it in the bucket, surrounded it with ice and salt and plugged it in. I checked periodically and topped up the ice and salt to keep the ice melting. The motor stopped so I knew it was as done as that motor was going to get it. It came out nice and thick. My plan was to remove and freeze it overnight to thicken it up. It was a lot like soft serve as it came out of the canister. So I put it in plastic containers with a sheet of Cling wrap on top touching the ice cream to prevent it ice crystals from forming on top. It was brilliant. I made a strawberry compote that I use for pancakes and waffles as a topping. This recipe is a keeper!
THANK you Renee!
Renée B. says
Thank you so much for sharing your success story! It sounds like you've mastered the art of homemade ice cream, and topping it off with a homemade strawberry compote sounds heavenly. Here's to many more batches of perfect ice cream in your future!