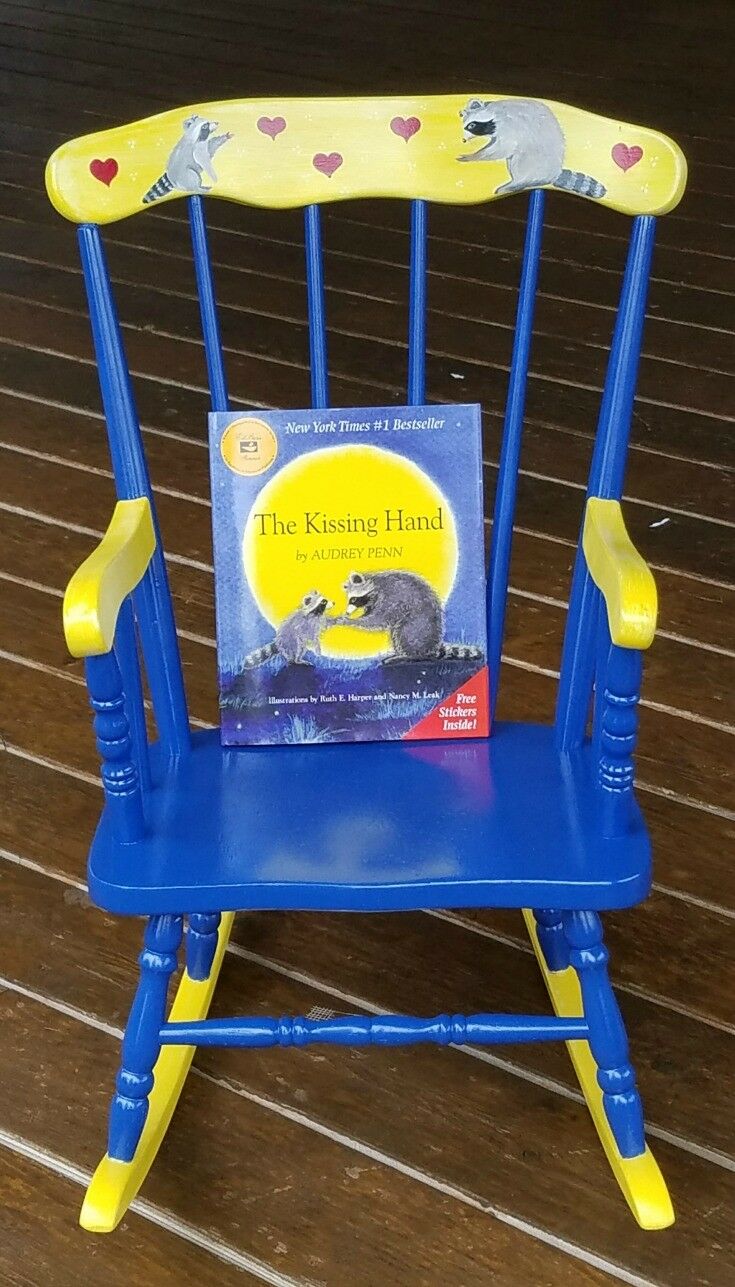
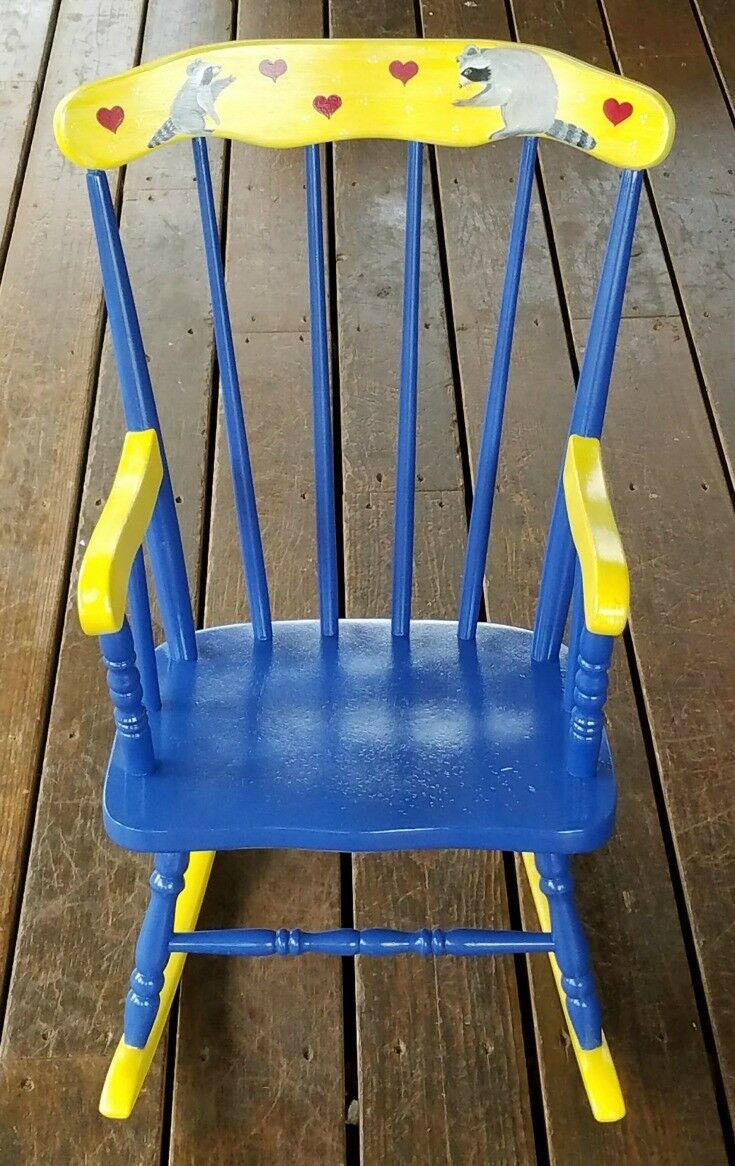
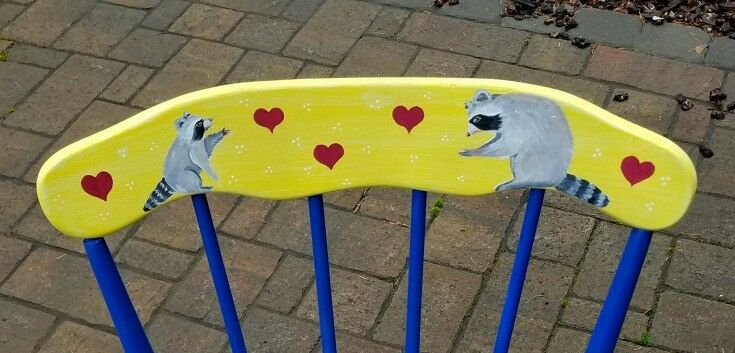
This adorable "Kissing Hand" Share Chair makes an enduring teacher gift or classroom school auction project. (Or make it for your favorite kiddo!) Post includes everything you need to know, including easy step-by-step instructions, free patterns & printables.
Jump to:
What's the Story Behind this DIY Project?
We draw names for Christmas, and a few years ago, I was thrilled when I drew our niece Lauren's name. Lauren is a first grade teacher, and I knew exactly what I wanted to make for her - the perfect teacher gift: a Share Chair for her classroom!
To personalize Lauren's Share Chair, I did a little detective work and learned that "The Kissing Hand" is one of her favorite children's books, so I took my theme from that.
A share chair, sometimes called an "author's chair," is a special chair that students sit in when it is their turn to read their written pieces or share something special with the class.
As I was planning out Lauren's share chair, I realized that this DIY would make a perfect elementary teacher gift or school auction project, so I decided to share it with your here!
Make It a Class Project!

After you have added the raccoons to your chair, have some fun! Instead of painting hearts, let each child in the classroom make a fingerprint heart on the chair. Add names with a fine-point Sharpie to make your Share Chair even more personal!
What You Need for this Project
Materials
The following is a list of the all materials that I used for this project.
You can change this list up to personalize your teacher gift or class school auction project ever more, however you wish, but this will give you a starting point. Most of these items are available at your local craft or hardware store, but I've included links here just in case. Supplies can also be found at Blick Art Materials, Joanns, and Michaels.
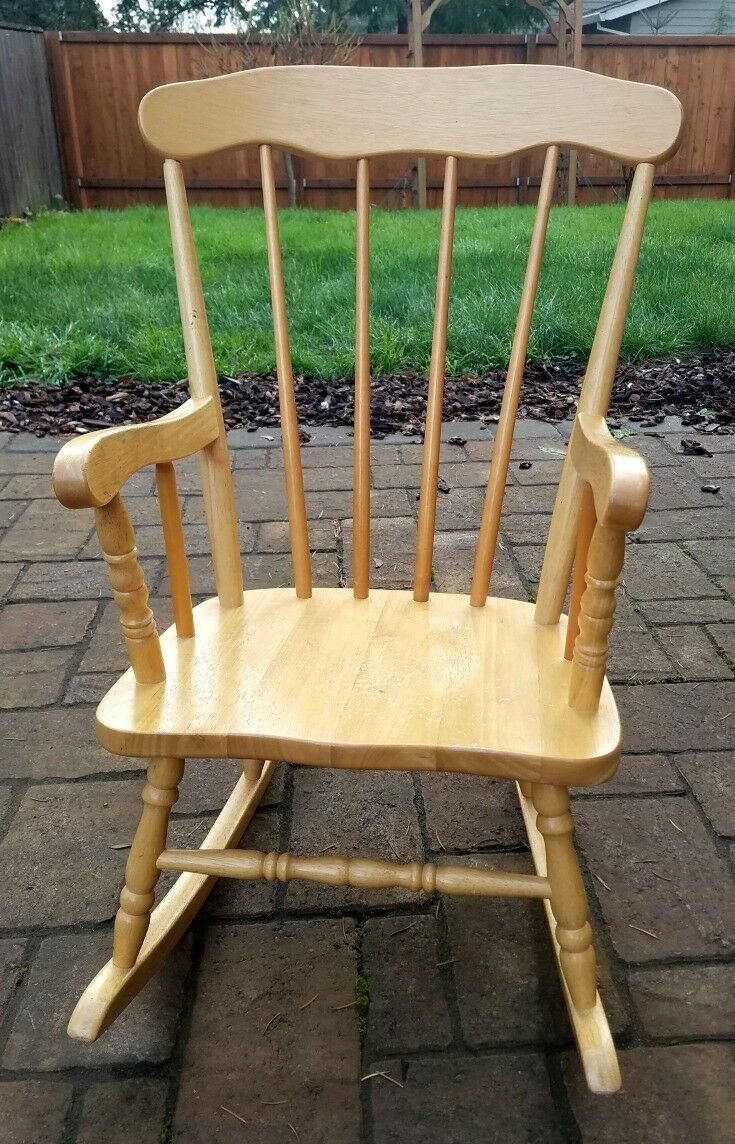
★ Chair: Because you will be giving it a whole new face, the chair you use for this project does not need to be new, but if you purchase a used one, be sure that the joints are solid. (No one wants a wonky chair!)
In order to keep the cost of this project low, I shopped around until I found the chair I used for this project for $5.99 at Goodwill.
If money is not an issue (or you just can't wait for one to show up at your local thrift store) you can undoubtedly find a solidly crafted, reasonably priced chair online or at your local superstore that will work well for this project.
★ Krylon ColorMaster Paint & Primer (Iris): I searched and searched for the just the right blue to anchor this project. This Iris color is perfect.
★ Krylon ColorMaster Paint & Primer (White)
★ Krylon Crystal Clear Acrylic Coating
★ Yellow Acrylic Craft Paint: Chair arms, back, and lower rungs or rocker
★ Plastic wrap
★ Acrylic Craft Paints - for painting details, raccoons, etc.
★ Depending upon which approach you choose for the raccoons, you will also need:
- #6 Round Brush - For painting raccoons by hand. {See Step 7, Option #1}, OR
- Mod Podge - For decoupaging raccoons using a printed image. {Image provided. See Step 7, Option #2}
How to Make a Classroom Share Chair
Customize It
You can customize this Teacher Gift / Auction Project DIY for your favorite children's book!
- Note that the process detailed in this DIY can be used to create a special chair based on any children's book.
- Simply pick two dominant colors and a couple of simple images and/or motifs from the book of your choice, and go for it! The process for prepping and painting the chair will be the same, no matter what colors/motif you choose.
Step 1: Sand Chair
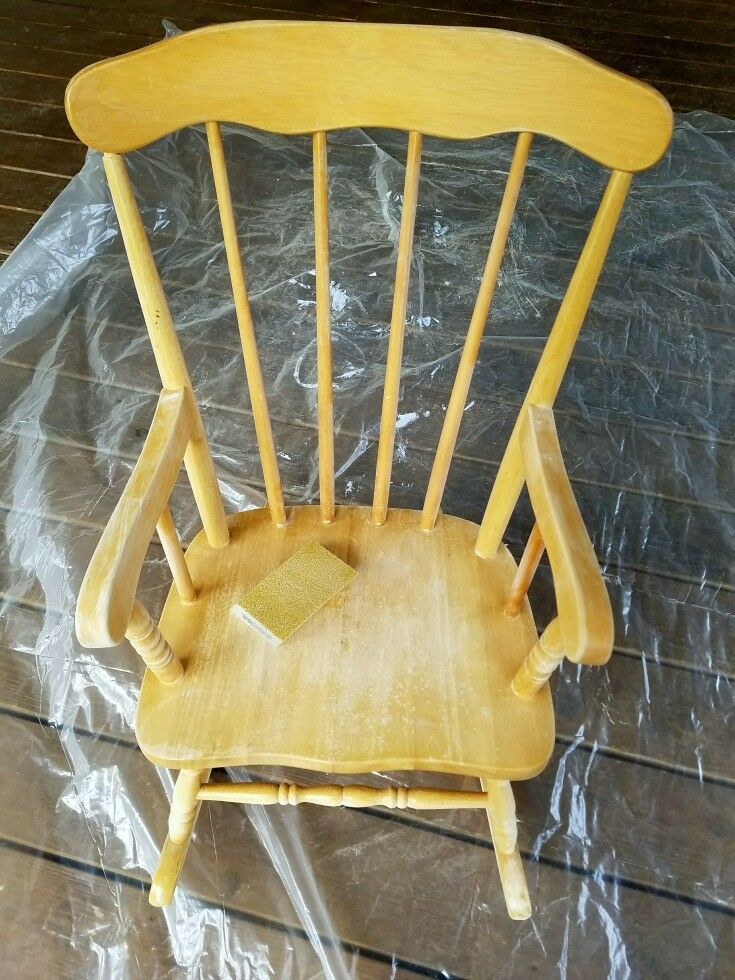
Using the sanding sponge, lightly sand the chair. Sanding sponges are great for this project, because they are easy on your hands and conform readily to curves. You do not need to remove all of the existing finish: the point of this step is to create some "bite" on the wood's surface so that the paint can adhere more effectively.
Remove Sanding Dust
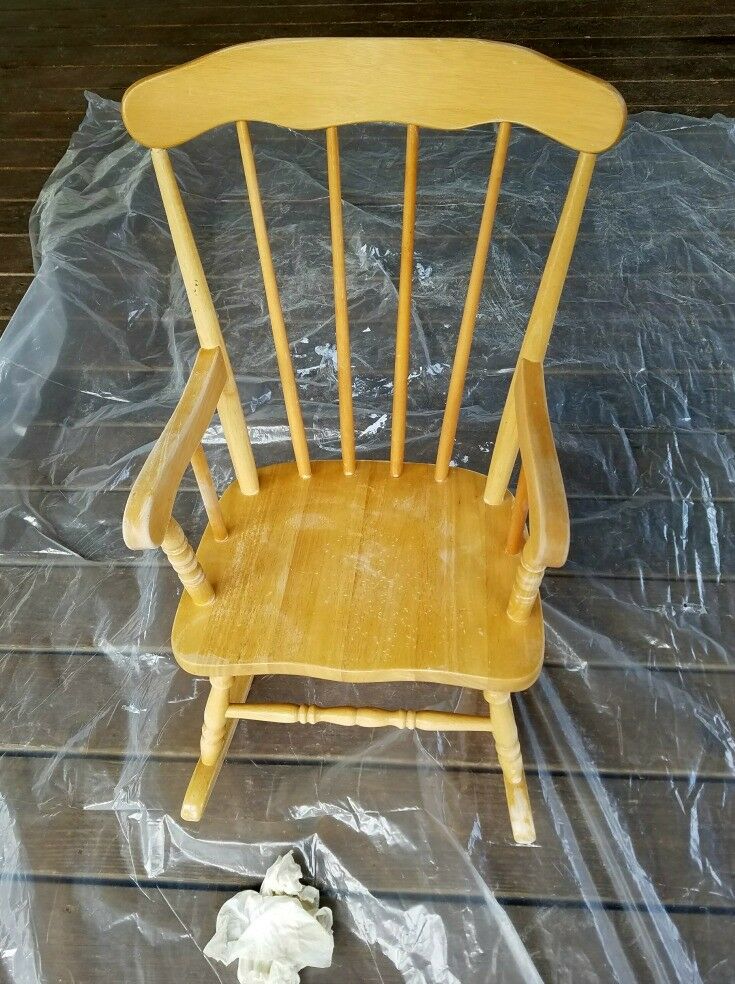
Using a tack cloth, wipe the entire surface of the chair to remove any dust from sanding. This is an important step: if you skip it, when you paint the chair, the surface will feel gritty. DO NOT use a damp towel to remove sanding dust: this will raise the grain on the wood and make your chair all rough and bumpy.
Apply Base Coat & Primer
In a well ventilated area, apply two coats of White Krylon ColorMaster Paint & Primer using smooth, light strokes. (One can of paint will be plenty for two coats.) Wait about 15-30 minutes between coats.
Allow your sparkly new white chair to set out for at least a few hours (or better yet, overnight) after you apply the second coat to allow the paint to "cure."
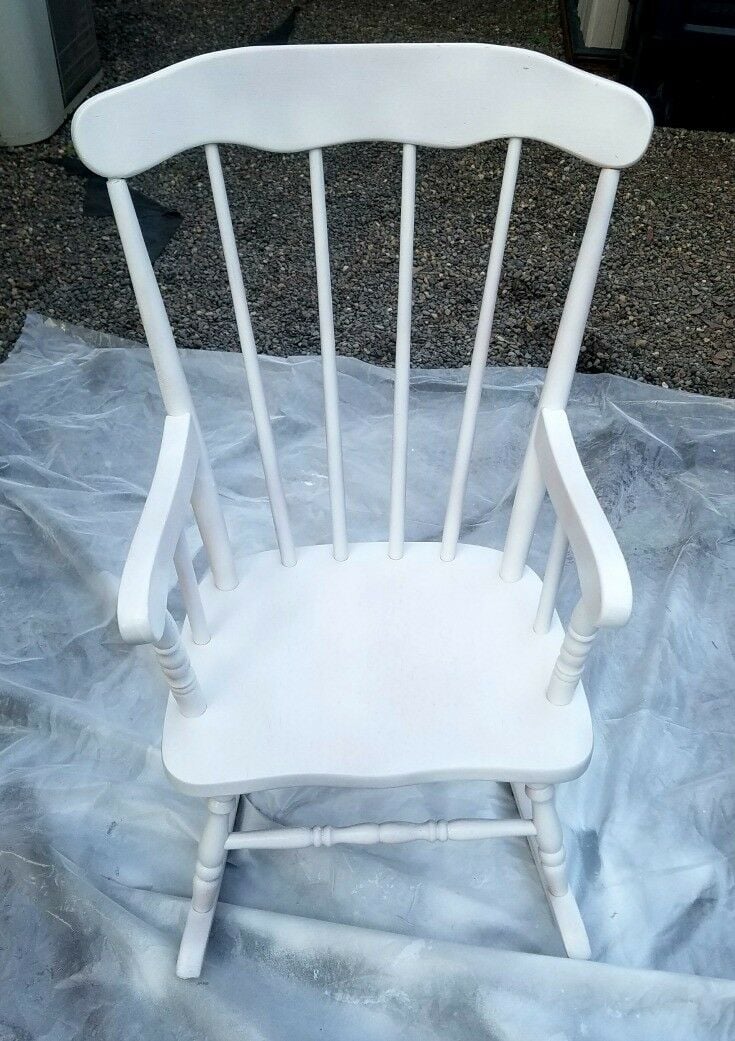
When the white paint has completely cured, use #1 or #0 steel wool to gently smooth the surface. Remove any dust or steel wool debris with a tack cloth. Now you have a clean, white chair to work your magic on.
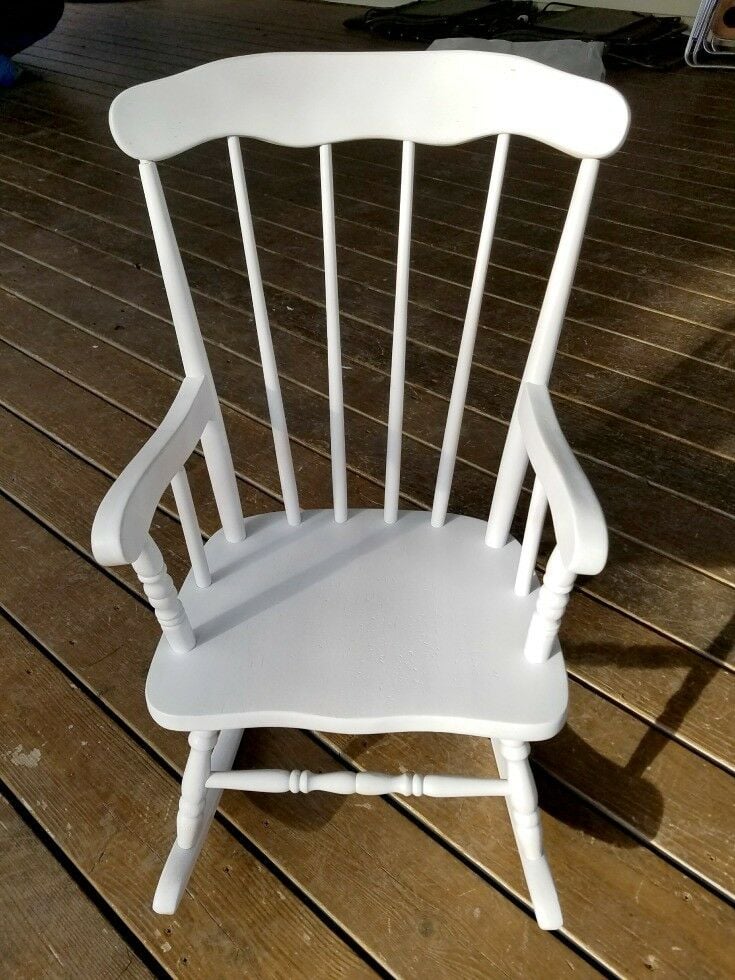
Mask Off Contrasting Areas
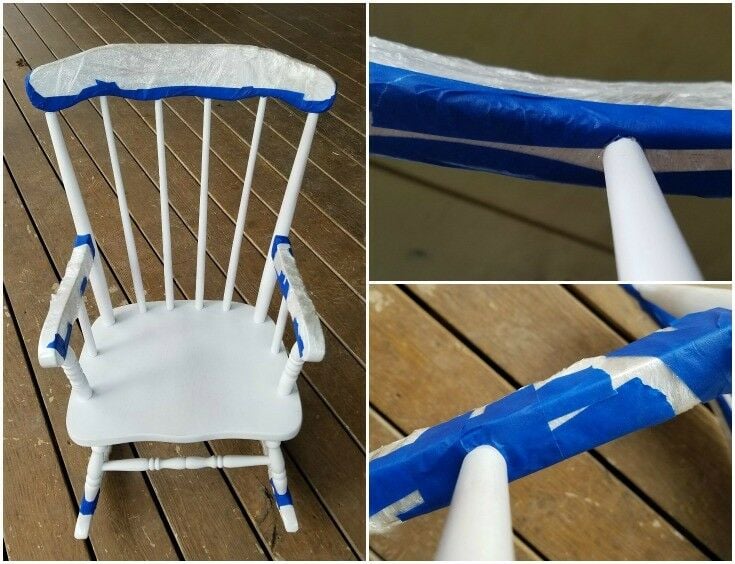
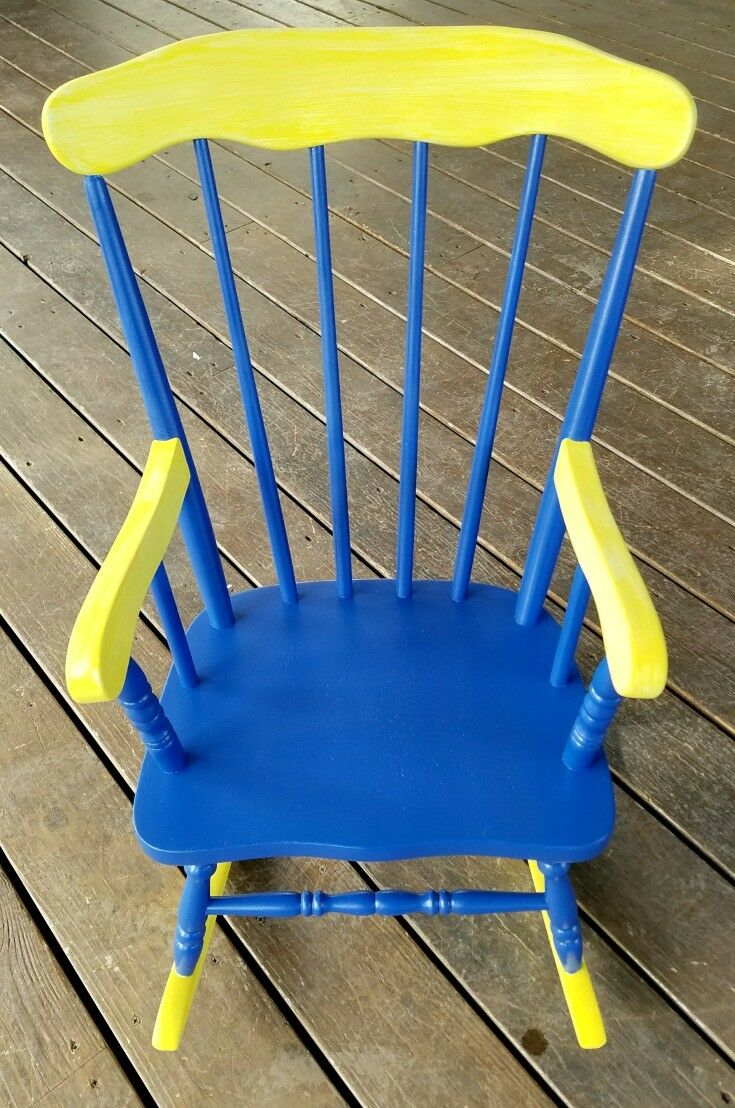
Using painter's tape and plastic wrap, carefully mask off any areas that you wish to paint yellow. Take your time with this step: a careful job at this stage will save you tons of time later in touch-ups.
Paint Blue Chair Parts
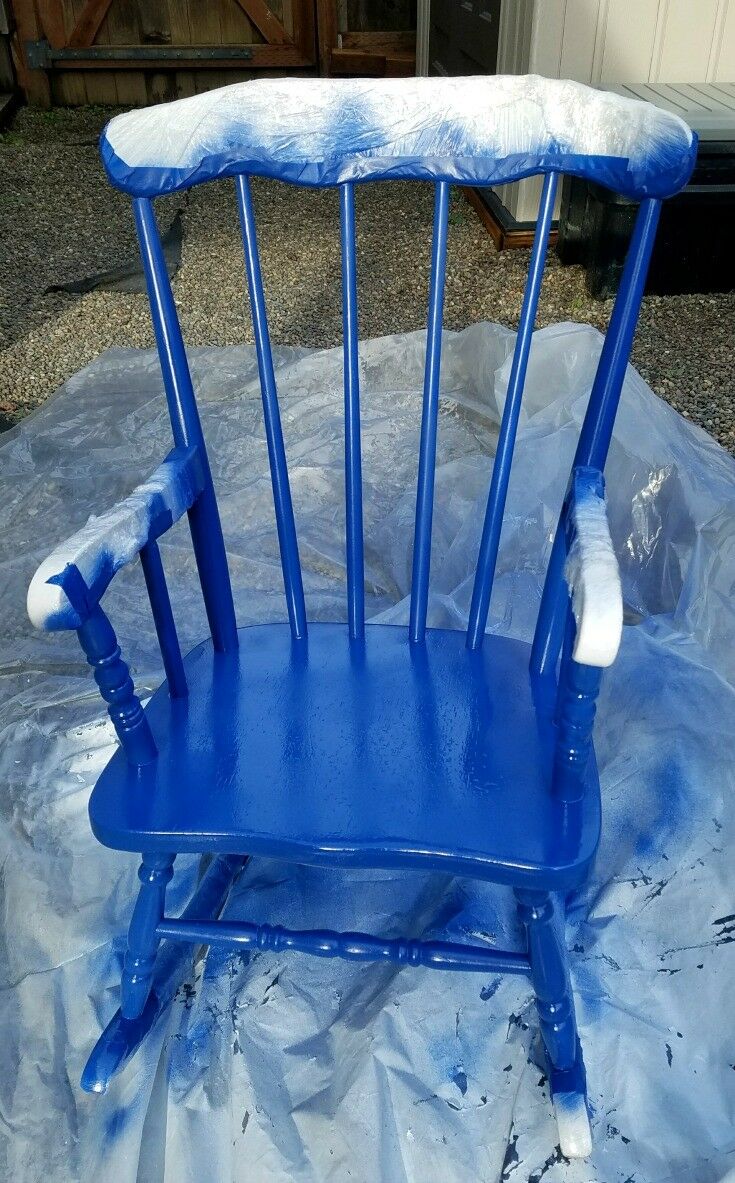
Apply two coats of Iris Krylon ColorMaster Paint & Primer, waiting 15-30 minutes between coats. Allow chair to set out for at least a few hours after you apply the second coat. Carefully remove masking tape and plastic.
When the blue paint has completely cured, use the steel wool to smooth gently the surface. Remove any dust or steel wool debris with a tack cloth.
Paint Yellow Chair Parts
Using a foam brush and the yellow acrylic craft paint, paint the remaining areas that had been previously masked with long, smooth strokes. Because I wanted a light, bright feel to these areas, I only applied on one coat of yellow paint, allowing the white undercoat to peak through slightly. For a more "solid" feel, apply two coats.
Raccoons & Hearts
Option 1: Hand-painted Raccoons
If you choose to paint the raccoons for this special teacher gift yourself, rest assured that doing so is very easy to do!
Below is a short list of the supplies I used for painting the raccoons, etc. This list is offered only as a guide: you can, of course, use any brushes and colors you choose. That being said, a #6 round brush is my all-time favorite brush for painting simple images like the raccoons on this chair. I find it to be the most versatile, useful brush in my (embarrassingly large) collection; moreover, I did not use any other brushes for the details on this project.
- #6 Round Brush
- Acrylic Craft Paints {2 oz. bottles}
♦ Red {Hearts}
♦ White {Base mix, eyes, tail highlights, dots}
♦ Black {Base mix, eyes, mask, tail, etc.}
♦ Golden Brown {Base mix}
♦ Lavender {Base mix, highlights}
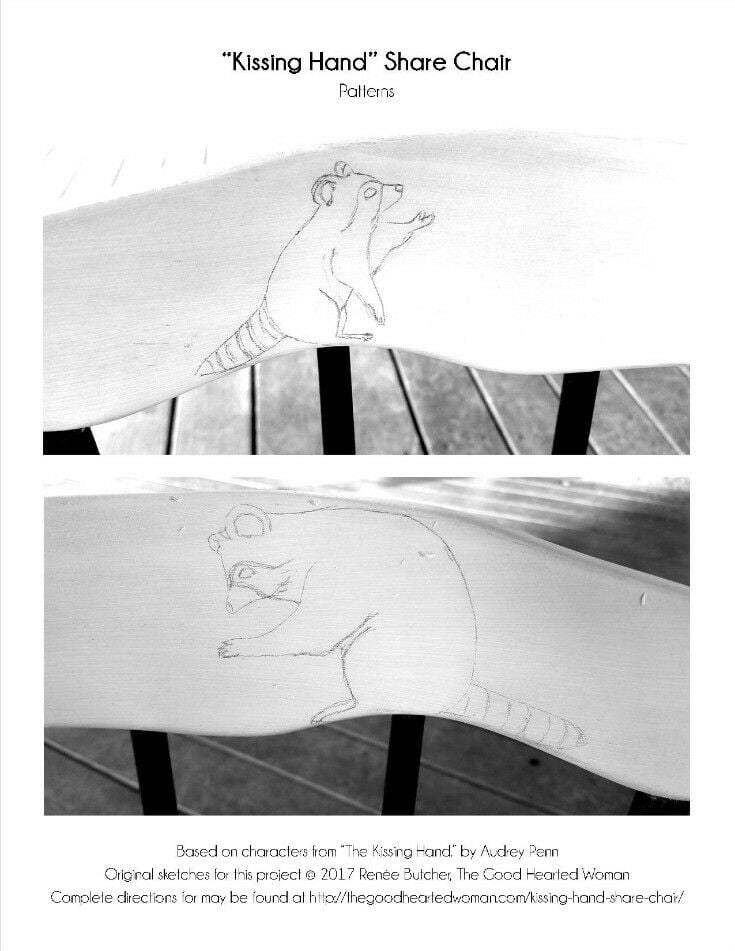
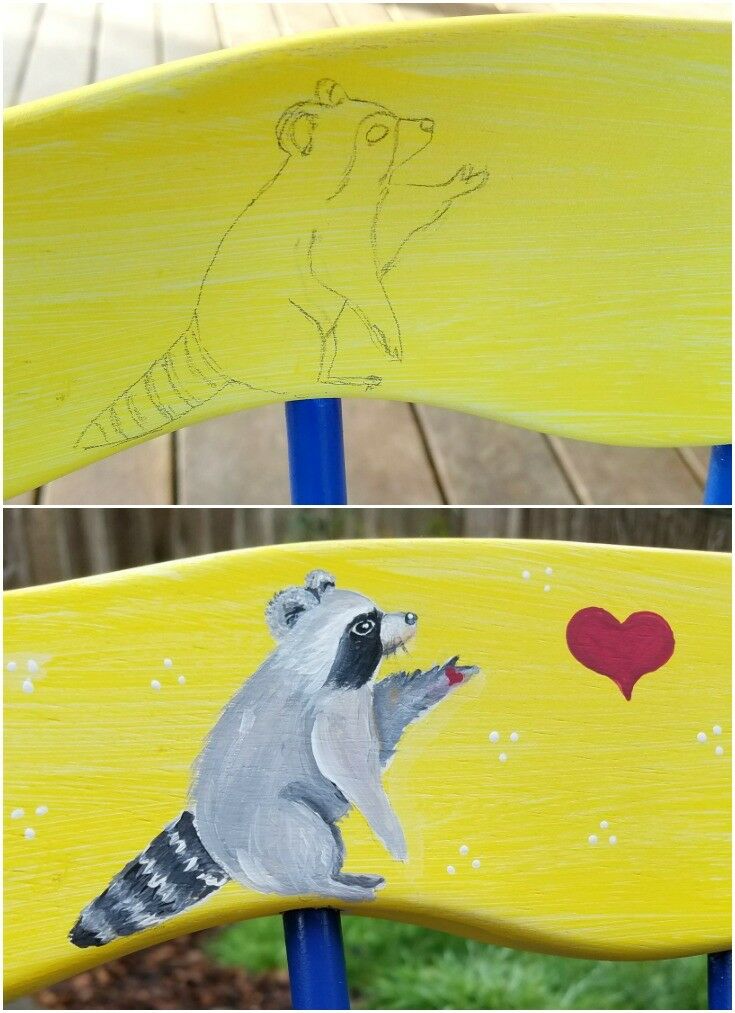
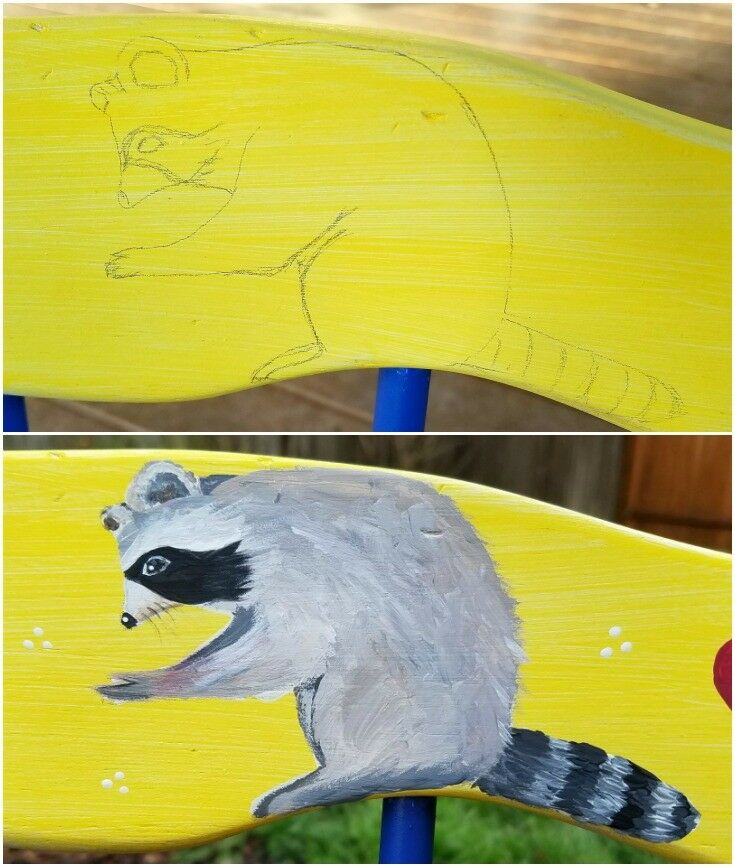
I free-handed the design onto my chair using a #2 pencil while eyeballing a picture from the book. However, if you would like to transfer the image directly, simply print out this free pattern and use a sheet of graphite paper (which is a lot like old-fashioned carbon paper, but without the mess) to transfer it to your chair.
I wish that I had been more meticulous about taking pictures of the raccoon-painting process, but once I got started, it all happened pretty quickly. Just squeeze out your paints onto a palate or paper plate and start up. If you aren't sure of yourself, do a couple of trial runs on a piece of scrap wood or a paper plate.
For the raccoon bodies, I mixed a base color using the just a touch of black, a lot of white, some golden brown, and a little lavender. (If my base color was a cake, proportionally the white would be the flour, the golden brown would be the sugar, the lavender would be the eggs, and the black would be the salt.)
The trick to this "raccoon-base" is to not mix it all too thoroughly, and just keep picking color up with your brush and applying it in the direction that you want the fur to go, adding low lights and highlights along the way.
Acrylic paints are very forgiving, so if you make a mistake or don't like how it turned out, you can always just let it dry and paint over it.
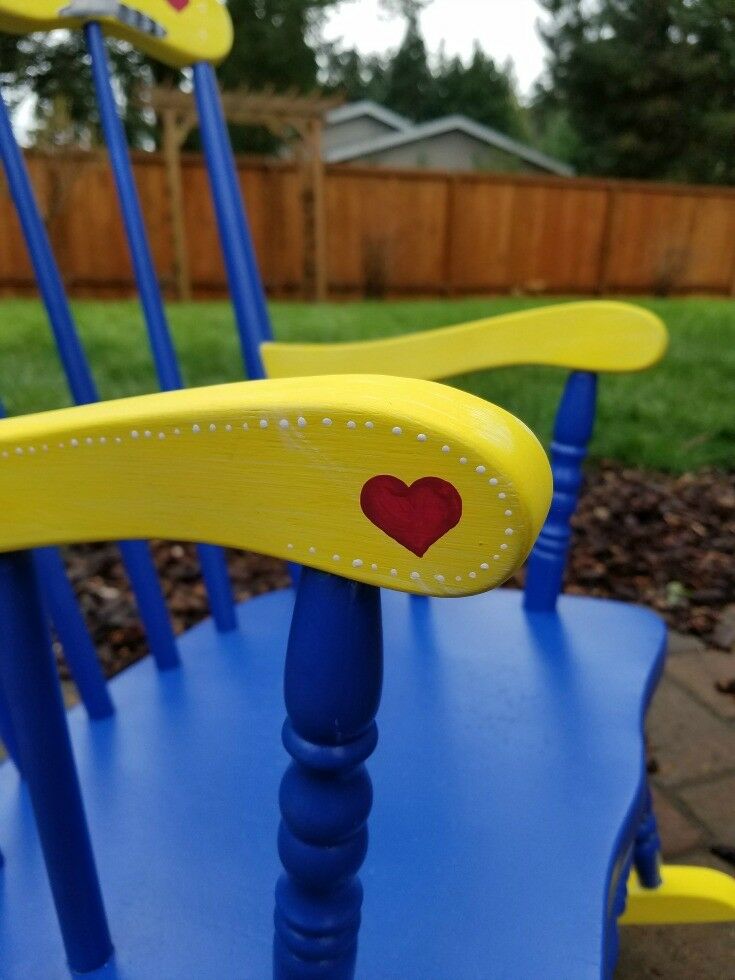
Pro Tips: Dip the end of a foam brush in red paint to create the round top portions of the larger red hearts, and then use a stylus (or an old, dry pen) to pull the paint down for the point of the heart. (Back in my tole painting days, we used to call these "Dolly Parton Hearts.")
Use a stylus dipped in white acrylic paint to create fine highlights on the raccoon noses, eyes, and detail dots.
Option 2: Decoupage Downloaded Image
If you want to make this Share Chair as a special teacher gift or school auction project, but think your painting skills aren't quite up to it, you're probably way overestimating the difficulty of painting raccoons.
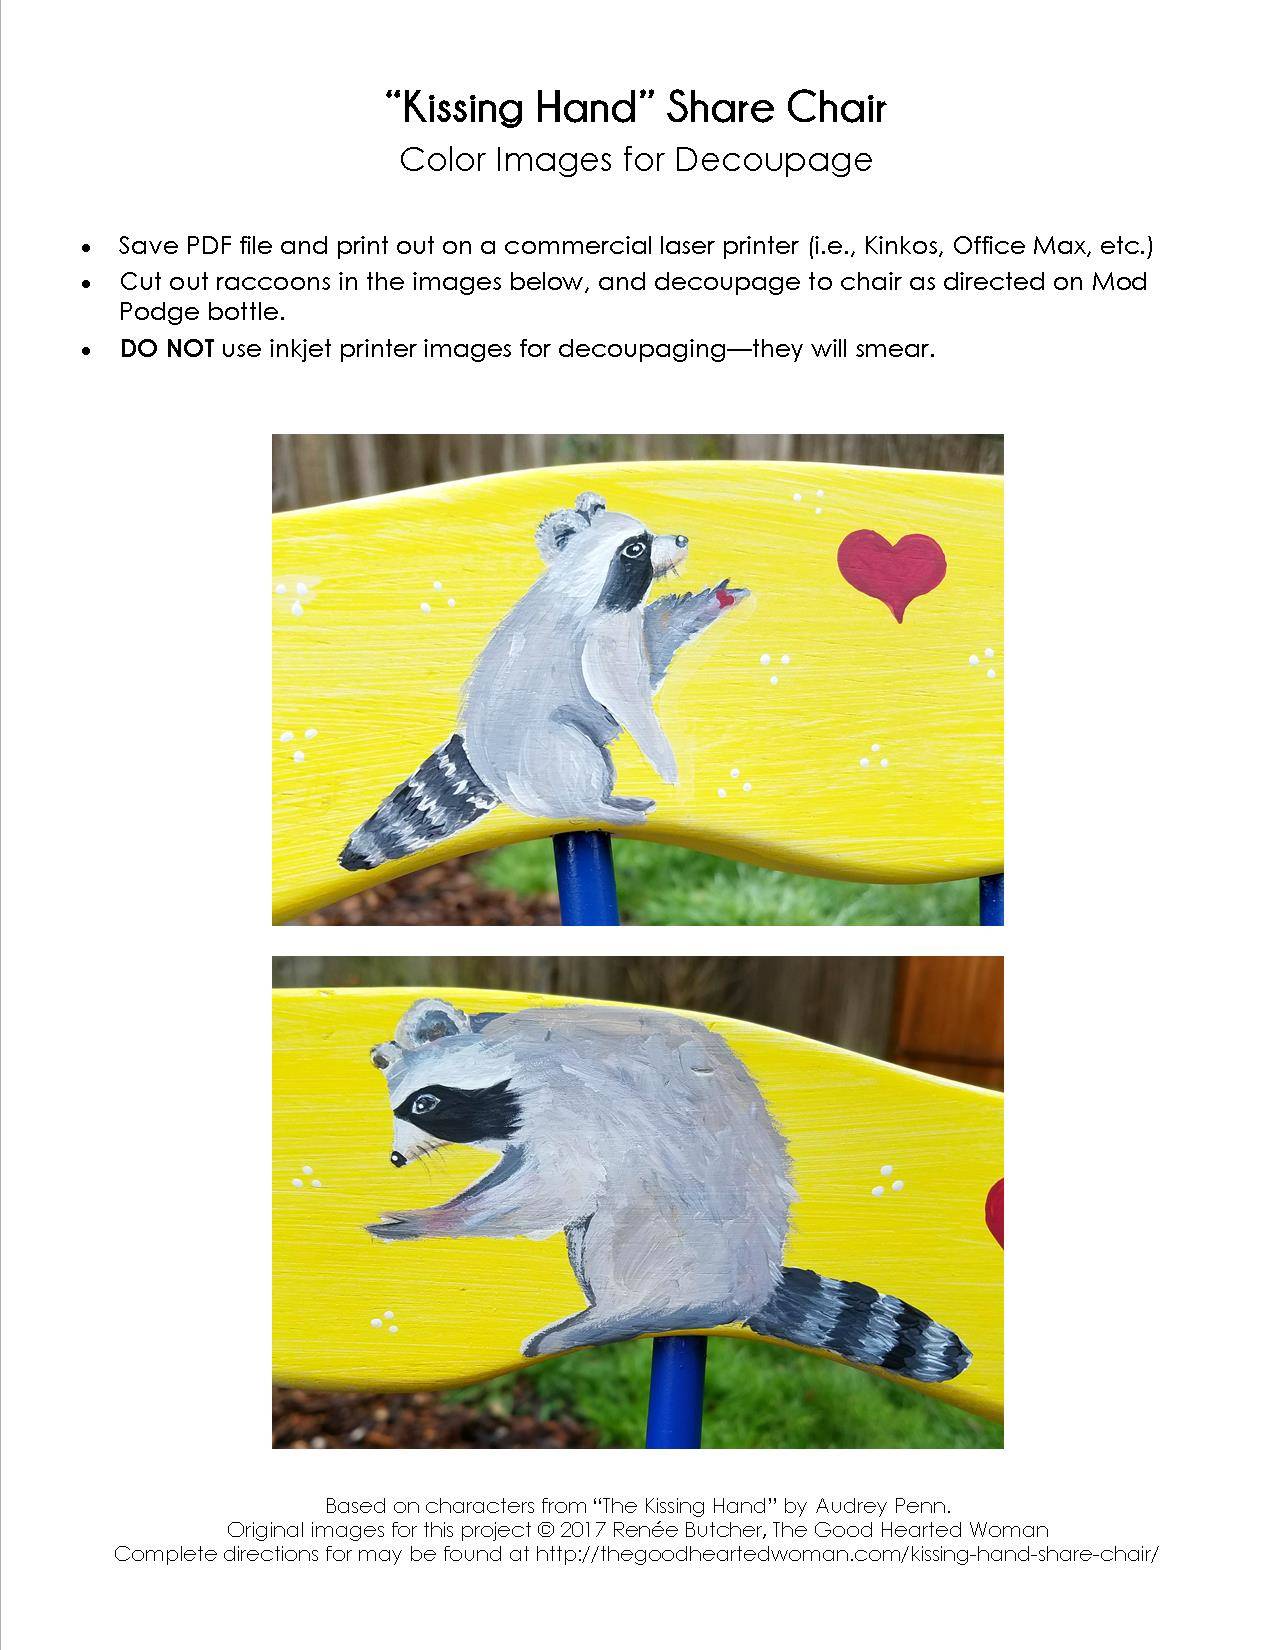
However, I get it - not everyone paints stuff with small brushes. In that case, you may want to grab a bottle of Mod Podge and decoupage a color-copied image onto your chair.
In this case, I've created a PDF file with my raccoon images that you are free to use for that purpose. Simply follow the directions on the Mod Podge bottle to decoupage the raccoons onto your chair.
(Legal blahblah: The images in the PDFs provided in the post are for personal use only. They may not be altered, shared, or used for profit or for any purpose other than that outline here without written permission. Moreover, I explicitly do not endorse using color copies from the book for this option, both out of respect for "Kissing Hand" illustrators Ruth Harper & Nancy Leak's beautiful artwork and for US copyright laws.)
If you go the decoupage route, you will only red and white acrylic paint, for the heart and dots.
After you have added the raccoons to your chair, have some fun! Add a details (i.e., hearts, dots, etc.) for interest, and make it your own!

If you are thinking of creating this for a special teacher gift or as a school auction project, instead of painting the decorative hearts, have each child in the classroom make a fingerprint heart on the chair.
Apply Clear Sealer
This is the final step. Apply two coats of Krylon Crystal Clear Acrylic Coating, waiting at least 30 minutes between coats. When the chair is done, allow it is set out in a well ventilated space for a couple of days so that the "spray-can paint" smell has a chance to dissipate.
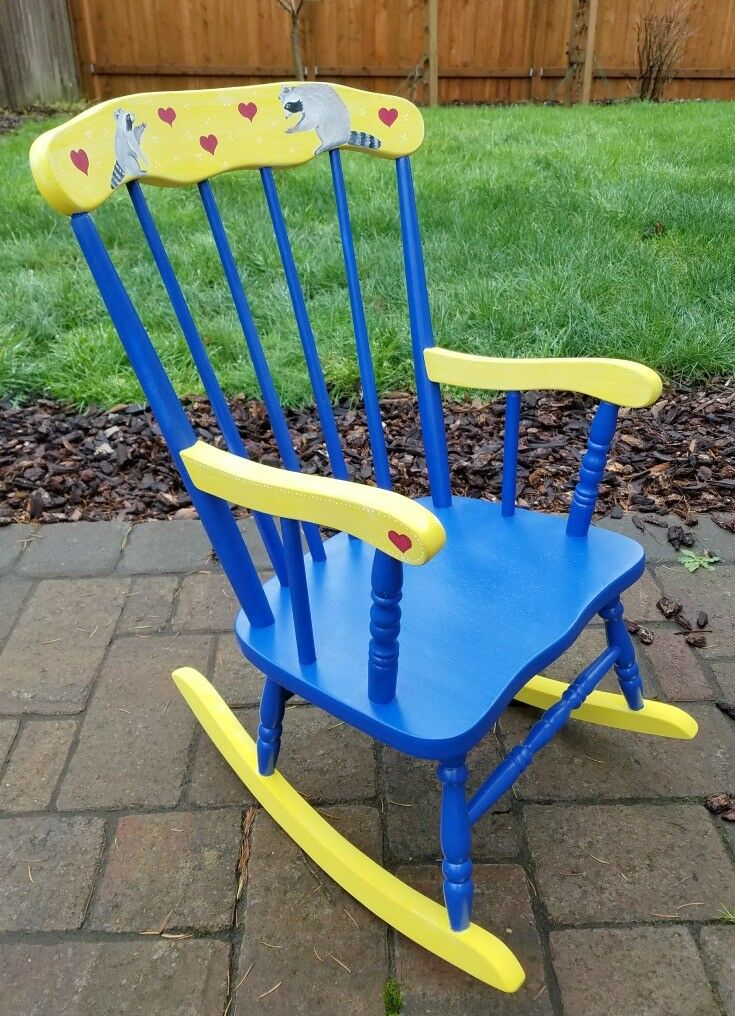
This is a fun, easy, and relatively fast DIY / school auction project. It literally took me (at least) twice as long to create this DIY tutorial as it took to make this DIY teacher gift, in terms of actual "hand-on" time. It is such a satisfying project too, and results in a gift that will be treasured for years to come.
More DIY Projects

Want More Free Recipes?
Subscribe to our newsletter to get family-friendly recipes and cozy living ideas in your inbox each week!
Find us on Instagram, Pinterest, and Facebook, too.
Thank you for visiting the Good Hearted Woman. Remember to bookmark this site, and come back soon!



ninjaDIY says
Hello there, what a nice craft we have here ... congrats!
I love how it totally changed the life of this chair. It looks beautiful, you can see that it was made for someone you love 🙂
Well done, thanks for sharing!
Adrian
katriza says
Wow what a cool idea to do with my boys! Such a thoughtful gift to teachers too! So cool!
Lily @militaryfamof8 says
This is such a cute idea for Teachers! I would love to make this for my son's Teacher 😉
and it's a little early, but for a future grandchile!
Yona Williams says
This chair came out beautifully! I love the lil' raccoons and the color scheme. The heart on the chair arm is such a special touch. I'd have a hard time parting with this.
Heather says
Wow, this turned out wonderful. What a thoughtful gift for a teacher.
Brittany says
Aww this is the cutest rocking chair! I love doing rooms in adorable book themes like this!! Love it!
lydia says
This is such a cute DIY! I love that it's based off the book. Also, your racoons look amazing!
Renée ♥ says
Thank you for the kinds words ♥
katie says
This is so cool! I love design and the artwork is just amazing! What a great project!
Renée ♥ says
Thank you!
Amanda Love says
What a beautiful project to make! You make it look so easy to do! I can definitely create the basic designs, not sure if I can do the raccoons. They're so adorable.
Renée ♥ says
The free printable images that are linked make it super easy to do the raccoons if you don't want to paint them.
Elizabeth O. says
This is lovely! It's a nice addition to a child's bedroom. I love the design. I'm not sure if I can pull that off but I do think it's beautiful.
Renée ♥ says
The free printable images that are linked in this post make it a pretty easy project to pull off. You should try it!
Mary says
Oh my goodness I love this chair!!! You are so crafty. What an awesome and thoughtful gift!
Cindy Ingalls says
What a special gift. I love all the attention to detail. I'm sure your niece and her kids get a lot of use out of this chair.
Maxene says
what a nice gift. I have to look up this book and buy, I am a sucker for peoples' favorite children books that I have not read/heard of. thanks for sharing
Kristina says
Love the colors! This is just beautiful and looked like a fun project! I'd love to do something like this for my little ones!
Jessica Joachim says
The chair turned out so cute! It would be a fun project to do with my daughter here soon too, she would love helping me paint! And the book seems really adorable as well.
Janel B says
Oh I loved reading this book to my kids when they were little. Your chair came out beautifully.
Terri Steffes says
I love this story and the chair is so cute. Your instructions are super clear and the designs are amazing.
Waz says
I'm not familiar with that book, but I love what you've done with this chair. How cute! Looks like it was so much work!
Erin says
Wow! I am impressed. This is so sweet and really well done. Not sure I've got those skills myself but I love the idea of pretending I could be that crafty! 🙂
Catherine @ Ten Thousand Hour Mama says
What a labor of love! Sometimes my older daughter kisses my palm when I put her to sleep so I can feel my kissing hand while we're apart at night. SWOON. I'm sure Lauren and her students will adore this chair!
Create/Enjoy says
Well-done project, and a lot of work! Refinishing furniture is so empowering. 🙂 That decoupage looks great!!
robin rue says
I am so incredibly impressed by this. What a lucky teacher to receive such a wonderful gift. The time and though put into this is just amazing 🙂