Easy instructions for how to make a whimsical Fairy Garden Terrarium, with ideas for the changing season. Invite a little Magic into your home!
Jump to:
What's the Story on this DIY?
When I was a kid, I spent many summers at Camp Namanu in Sandy, Oregon, and it is still one of my favorite places on Earth. It is a place where anyone, regardless of age, can hold out hope that Magic is still alive and well in this world.
The Fairies & Elves of Camp Namanu
For more than 90 years, one of the unbroken threads that has woven Namanu campers together is its rich tradition of forest folklore. From the moment each of us, as campers, clambered off that sweltering bus for the first time and skipped up onto the well-worn planks of Uncle Toby’s Storyhouse – whether that was ten years ago or sixty – one of the first things we learned about was the camp’s resident fairies, elves and other magical folk.
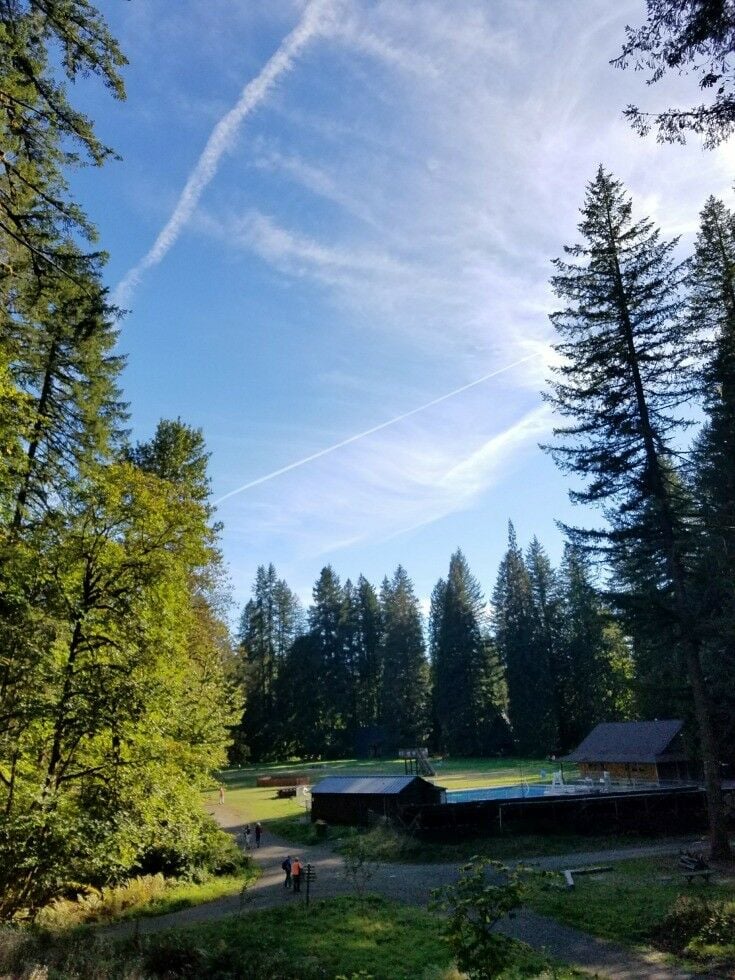
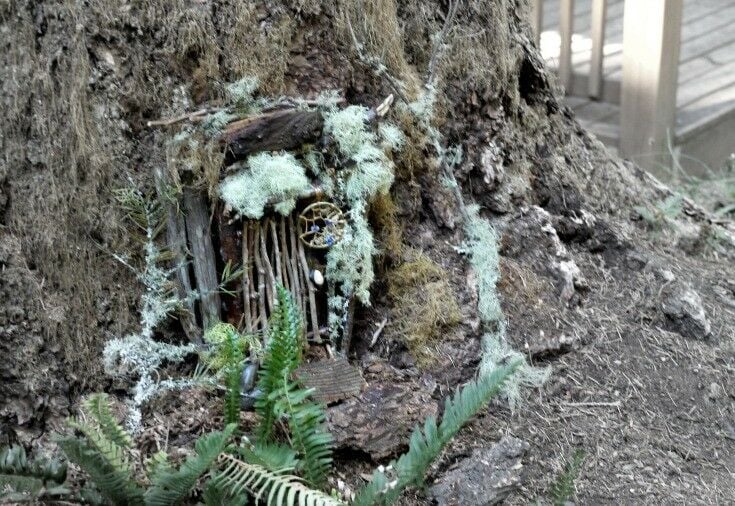
We learned about Mr. Skriggleboggle, the elf who lives in a little house at the top of Guardian Fir and answers campers’ questions all summer long. We were introduced to Gertrude, the wood fairy who has lived in a Worcestershire Sauce bottle hanging from the ceiling at Raker Lodge since World War II. There is a flashlight fairy, and a flagpole elf; in fact, there is an enchanting-someone keeping watch over practically every facet of camp life.
And just how has this forest Magic survived for nearly a century in a difficult, cynical world, you might ask? Because, though many of us are now ever so much older than twenty, the flame that was lit in our childhood hearts so long ago still flickers brightly – and in our mind's eye, the fairies still dance - somewhere far across the Meadow.
DIY Inspiration
Camp Fire kids are a crafty bunch, and every year at the Namanu Alumni Reunion, I'm always on the lookout for DIY inspiration to bring home and share. The inspiration for this DIY came from an item at our annual alumni auction. The moment I saw this glass-block fairy garden (created and offered for auction by Mary C.), I knew what I was going to do.
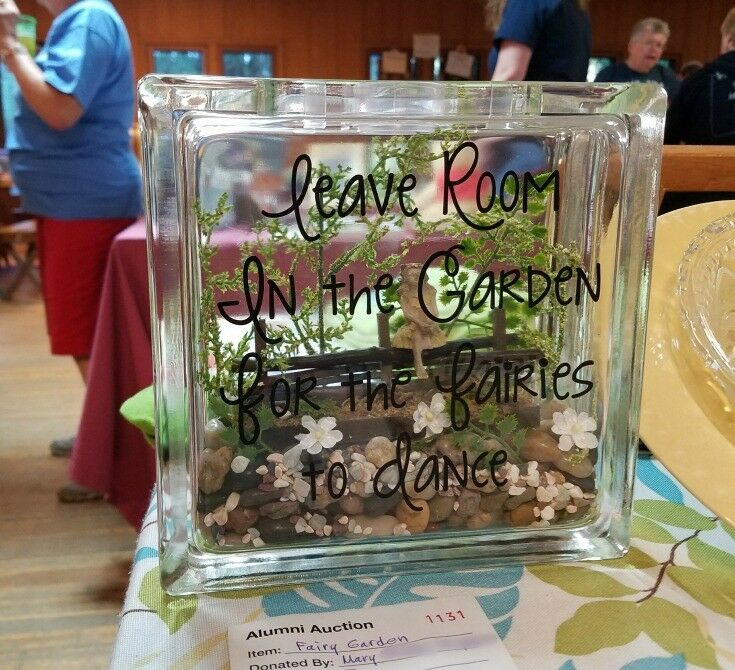
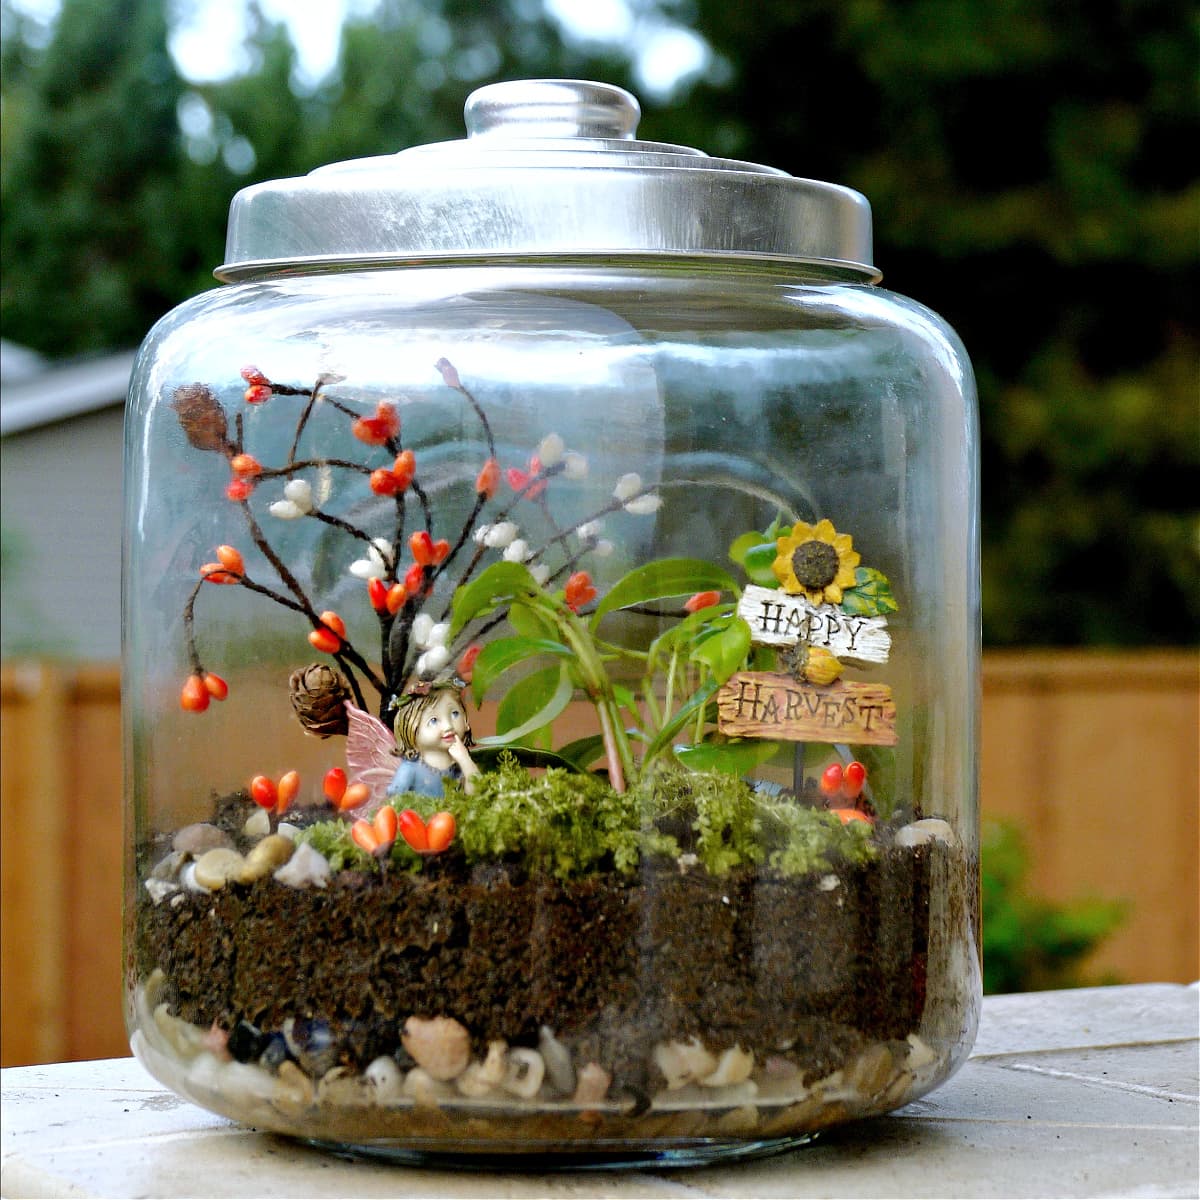
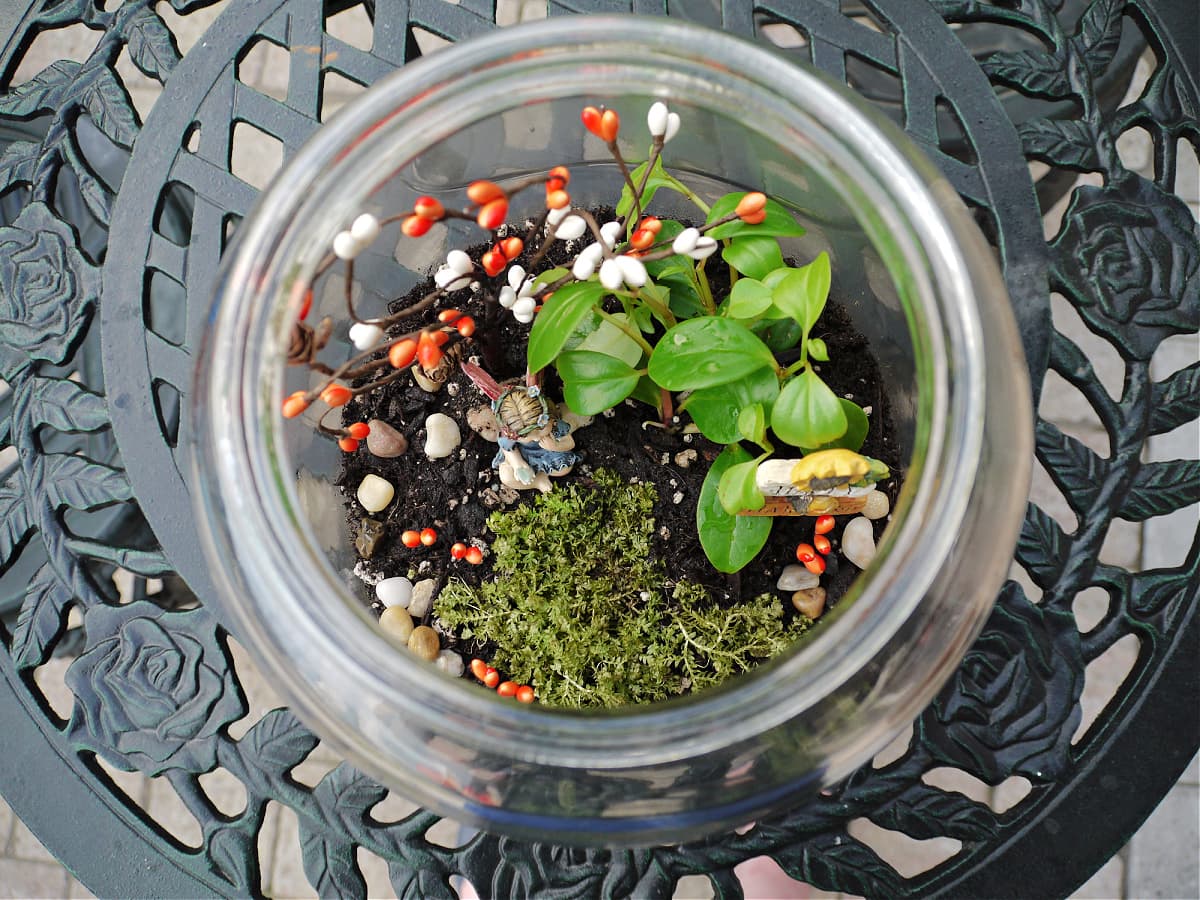
I loved Mary's idea, but I wanted to create something living that could change with the seasons, so I created a whimsical fairy garden terrarium!
What You Need to Make a Terrarium
Materials
- Large glass planter, jar, or other vessel
- Pebbles – enough to cover the bottom of the container 1″-2″
- Potting Soil
- Fairy Garden Miniatures (at least one fairy!)
- Seasonal Miniatures
- 2-3 small, terrarium-friendly plants
Tools
- Tools
- Large Bowl
- Spoon (for mixing soil)
How to Assemble a Fairy Garden Terrarium
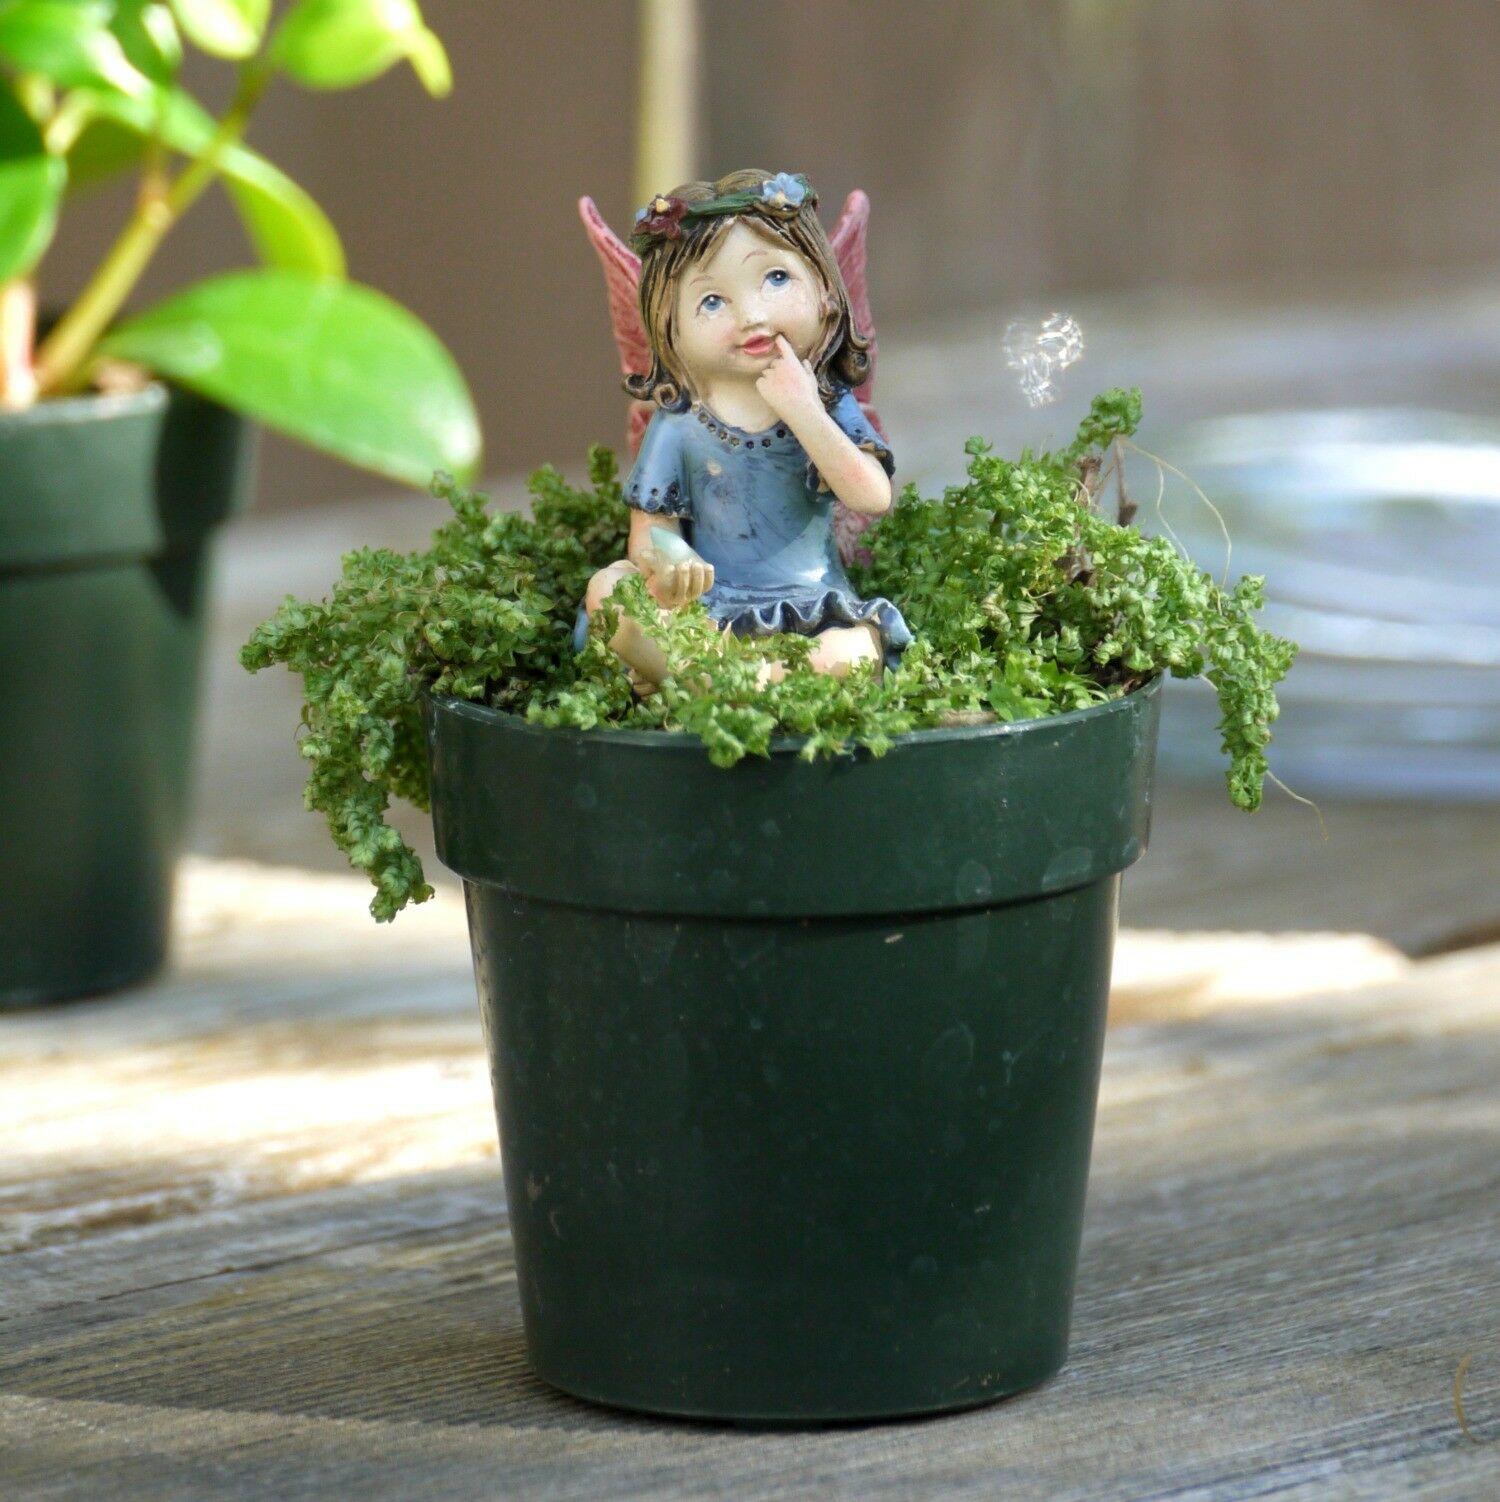
The first thing you need for any fairy garden is a fairy!
I found this inquisitive little charmer at Joann’s, and together we immediately set to thinking on where she should live. We agreed that a large, spacious jar would fit the bill nicely!
I chose a large jar with a lid, which will allow me to have greater control over the interior climate of the terrarium. Any large-ish glass vessel will work fine. (The jar I used use to be a cookie jar.)
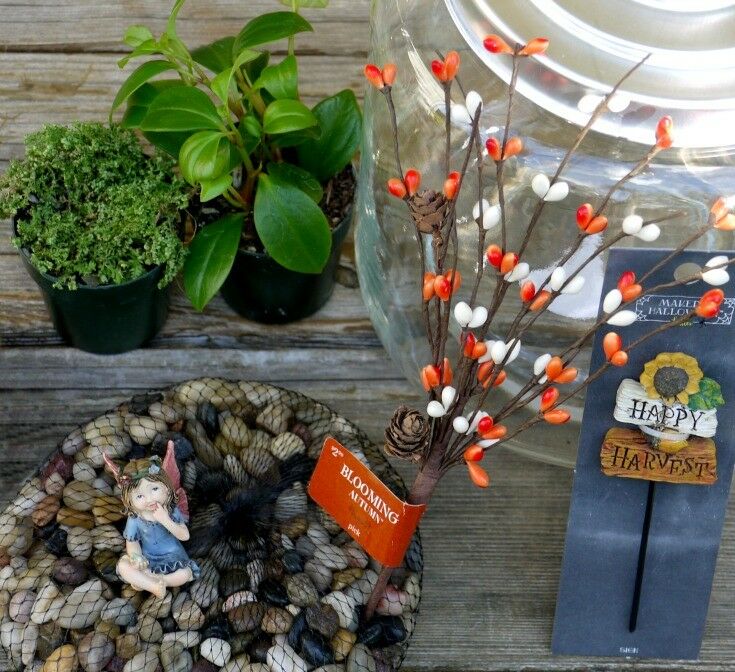
I also picked up a few autumn decorations. I have to admit; I had a hard time not buying everything in the fairy garden aisle! But really, it's important not to overdo it, because it doesn't take much to fill the floor of a terrarium, and you don't want it to look cluttered. Also, you want to leave some room for things to grow.
The first thing you need to do is fill the bottom of your terrarium with 1"-2" of small pebbles. This will assist with drainage. (TIP: Reserve a small handful of pebbles for decorative landscaping as you finish your terrarium.)
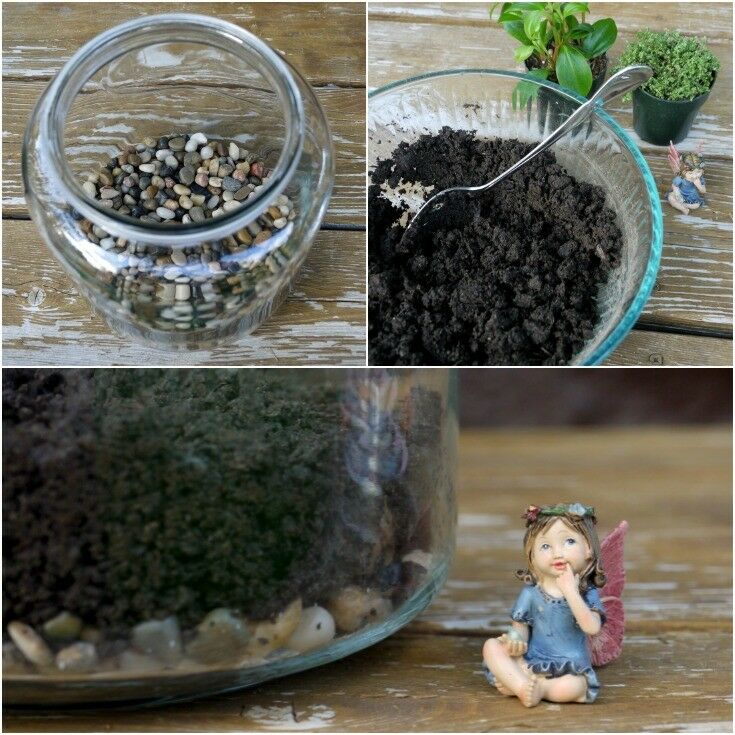
Mix some water with the potting soil in a large bowl first so that it is uniformly moist. I added a little sand to my potting soil to improve drainage too. On top of the pebbles, loosely pack 2-3 inched of potting soil in the terrarium.
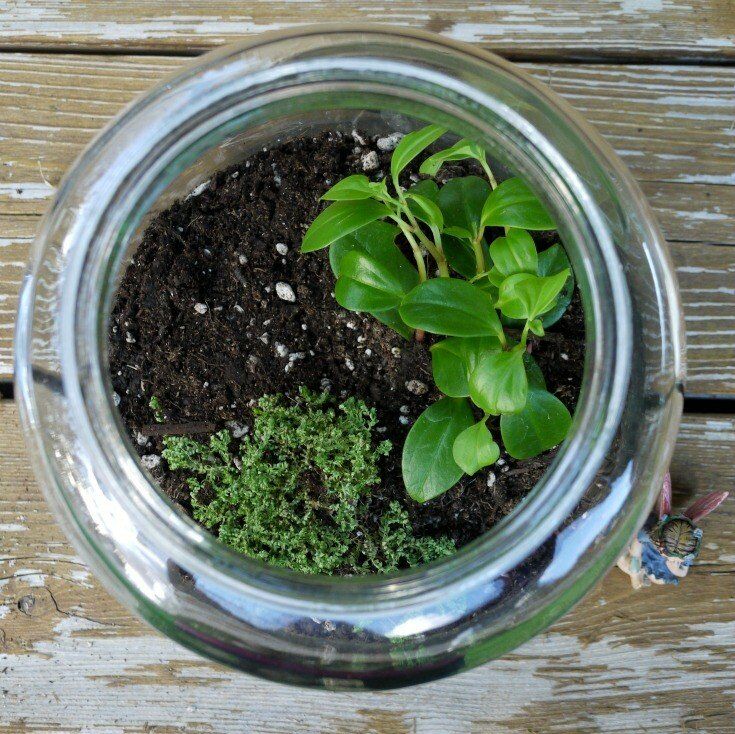
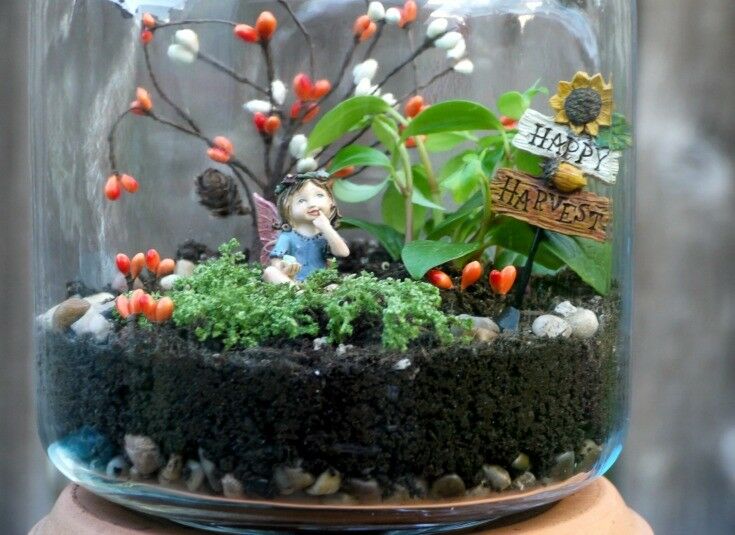
Now is the time you want to consider how your terrarium will go together. My terrarium has only two live plants - one for ground cover, and one for height. I left room for a seasonal decoration in the back, as well as a few little touches in the front. Having ample space will make it easy to change out decorations as winter and the holiday season approaches.
Lastly, I added the decorative seasonal pieces. The berry stalk (from the floral department) was a great choice. It was very inexpensive, and with it, I created an autumn tree for the back of my terrarium, plus I used the small pieces that I trimmed off the top to make the little "flowers" in the front.
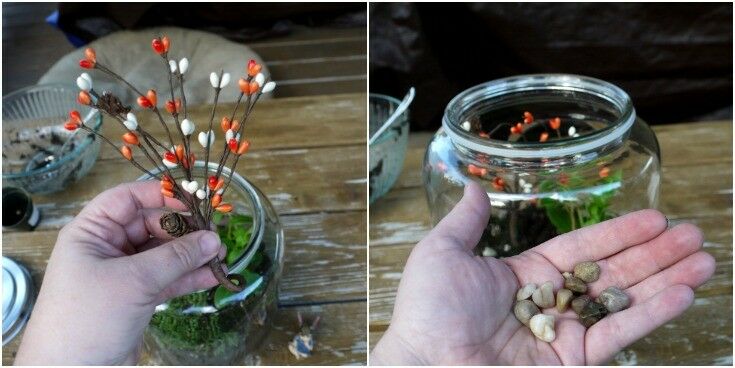
This is also the time to place those pebbles that you held in reserve.
Oh - I almost forgot! If there is a seal on the lid or jar that you are using, remove it. This will reduce condensation and allow a little air to flow if you choose to keep the lid on your terrarium.
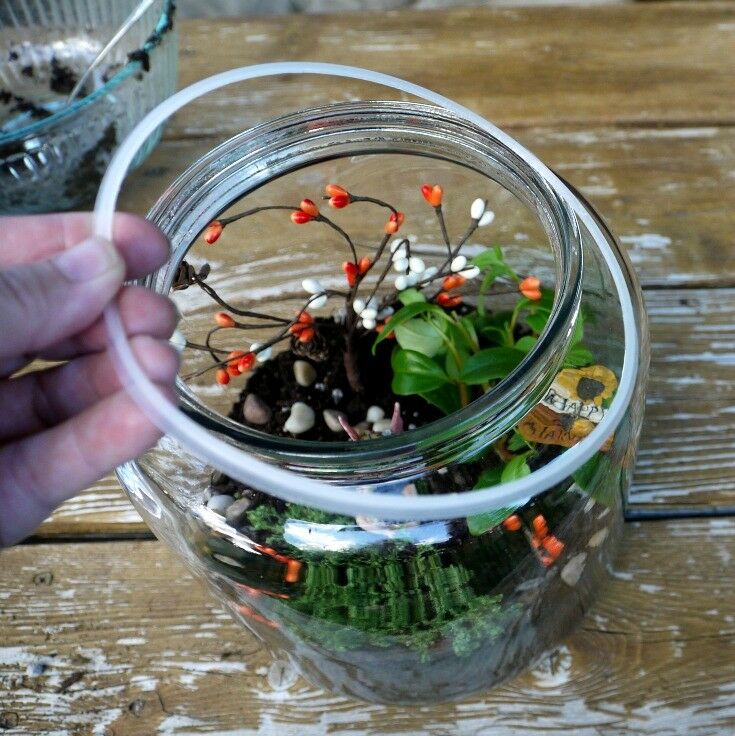
That's it. This is one of the easiest DIYs I've ever done. In fact, it probably took you longer to read this post than it will to create your own fairy garden terrarium. Just be sure to check the soil regularly and water as needed, and you will have a lovely little garden full of life for years to come!
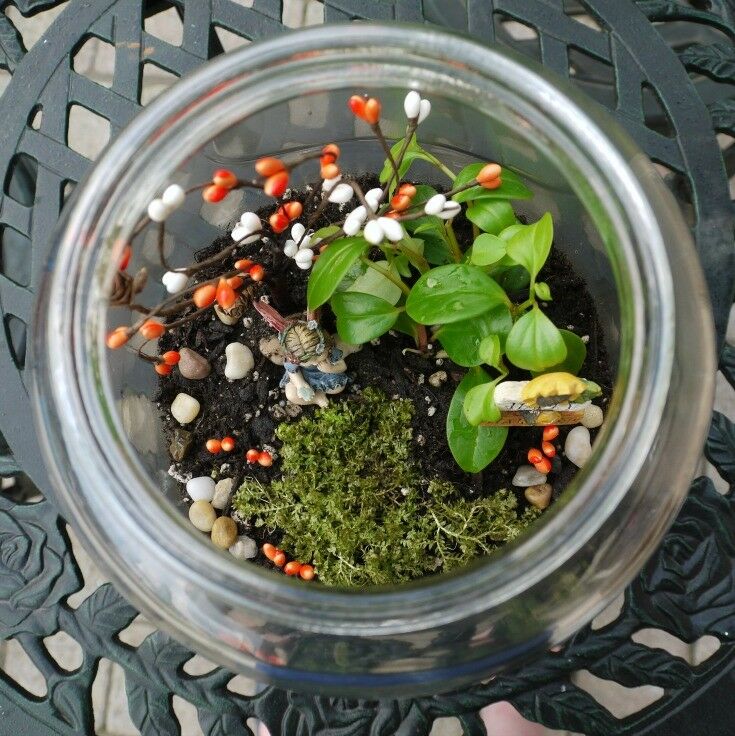
UPDATE 1/9/2023 - I ended up taking the top off of my terrarium, and it is still growing strong after almost 7 years!
Changing Seasons
Aside from its obvious adorable charm, one of the best parts about this little fairy garden terrarium is that, with just a few simple changes each season, it can easily be decorated and adapted for year-round enjoyment (i.e., holly-berries and snowflakes in the winter, tiny tulips and bunnies in the spring, etc.).
Expert Tips & FAQ
Selecting Plants for Your Terrarium
Succulents, mosses, and many tropical plants grow well in terrariums.
You can use just about any small plants for your terrarium; the most important thing is to choose plants that all have the same watering and light needs.
- Closed terrariums: Traditionally, terrariums are completely enclosed to trap moisture, like a tiny greenhouse. Choose plants for a closed terrarium that love moisture and humidity, like ferns and mosses.
- Open-top terrarium: Open, or modern, terrariums allow air to flow freely. They don't trap moisture, and work better for plants like succulents that like a dryer climate.
Plants that work well in terrariums include:
- African Violets
- Aluminum Plant (Pilea Cadierei)
- Artillery Fern (P. microphylla)
- Asparagus Fern (Asparagus setaceus)
- Baby Tears (Soleirolia soleirolii)
- Blue Chalkstick (Senecio serpens)
- Button Fern (Pellaea rotundifolia)
- Creeping Fig (Ficus primula)
- Croton (Codiaeum variegatum)
- Devil's Tongue Barrel Cactus (Ferocactus Latispinus)
- Heart Leaf Fern (Hemionitis arifolia)
- Hens and Chicks (Sempervivum tectorum)
- Lemon Button Fern (Nephrolepis cordifolia)
- Maiden Hair Fern
- Nerve Plant (Fittonia albivenis)
- Pilea Silver Sparkle (Pilea Glauca)
- Polka Dot Plant (Hypoestes phyllostachya)
- Prayer Plant (Maranta leuconeura)
- Pothos (Epipremnum aureum)
- Peperomia (peperomia caperata)
- Sphagnum Moss (Sphagnum capillifolium)
- String of Turtles (Peperomia prostrata)
- Air Plant (Tillandsia)
- Zebra Plant (Haworthiopsis fasciata)
More Namanu-inspired Posts

Want More Free Recipes?
Subscribe to our newsletter to get family-friendly recipes and cozy living ideas in your inbox each week!
Find us on Instagram, Pinterest, and Facebook, too.
Seasonal Fairy Garden Terrarium
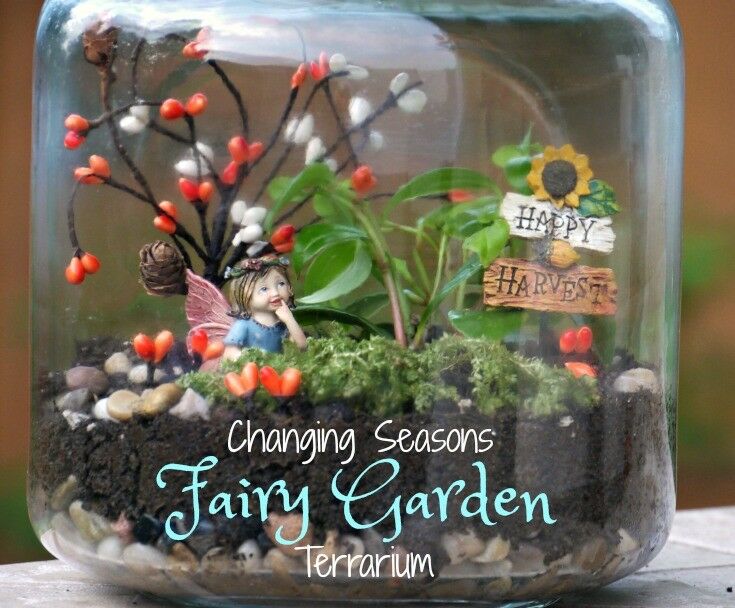
Trimmed with an easy rotation of simple holiday decorations, this fairy garden terrarium offers an easy way to put a little extra color and whimsy into the changing seasons.
Materials
Tools
- Large Bowl
- Spoon (for mixing soil)
Instructions
- The first thing you need for any fairy garden is… a fairy! I found this inquisitive little charmer at Joann’s, and together we immediately set to thinking on where she should live. We agreed that a large, spacious jar would fit the bill nicely!
- I chose a large jar with a lid, which will allow me to have greater control over the interior climate of the terrarium. (I got the one I used for this project at Joann’s, but any large-ish glass vessel will work fine.) I also picked up a few autumn decorations. I have to admit; I had a hard time not buying everything in the fairy garden aisle! But really, it's important not to overdo it, because it doesn't take much to fill the floor of a terrarium, and you don't want it to look cluttered. Also, you want to leave some room for things to grow.
- The first thing you need to do is fill the bottom of your terrarium with 1"-2" of small pebbles. This will assist with drainage. (TIP: Reserve a small handful of pebbles for decorative landscaping as you finish your terrarium.) Mix some water with the potting soil in a large bowl first so that it is uniformly moist. I added a little sand to my potting soil to improve drainage too. On top of the pebbles, loosely pack 2-3 inched of potting soil in the terrarium.
- Now is the time you want to consider how your terrarium will go together. My terrarium has only two live plants - one for ground cover, and one for height. I left room for a seasonal decoration in the back, as well as a few little touches in the front. Having ample space will make it easy to change out decorations as winter and the holiday season approaches.
- Lastly, I added the decorative seasonal pieces. The berry stalk (from the floral department) was a great choice. It was very inexpensive, and with it, I created an autumn tree for the back of my terrarium, plus I used the small pieces that I trimmed off the top to make the little "flowers" in the front. This is also the time to place those pebbles that you held in reserve.
- Oh - I almost forgot! If there is a seal on the lid or jar that you are using, remove it. This will reduce condensation and allow a little air to flow if you choose to keep the lid on your terrarium.
- That's it. This is one of the easiest DIYs I've ever done. In fact, it probably took you longer to read this post than it will to create your own fairy garden terrarium. Just be sure to check the soil regularly and water as needed, and you will have a lovely little garden full of life for years to come!
Notes
UPDATE 2/27/2020 - I ended up taking the top off of my terrarium, and it is still growing strong after almost 5 years!
Thank you for visiting the Good Hearted Woman. Remember to bookmark this site, and come back soon!





Mike says
Hello Renee, since childhood, I was very fond of the fairy gardens. It may be a good gift for someone. This is a cute idea to keep in mind. Thanks for sharing this fantastic post.
Kim Smith says
I love these! So cute and really personalized for what you want them to represent. I need to get to work so that I can get some going for gifts. I know my grands would love them.
Alex says
This is such a cute idea!!
Renée ♥ says
Thank you, Alex!
Melissa @Discobumblebee says
I love fairy gardens! This is so cute!
Erin @ Platings and Pairings says
What a magical place and story! I also love the terrarium you created - It's so whimsical and I love your idea to change it up with the seasons too!
Create/Enjoy says
How sweet! I LOVE summer camp and have wonderful memories of mine. One year a friend and I built a mini fairy garden outside our cabin! I took photos with my disposable camera. Aah, childhood!