
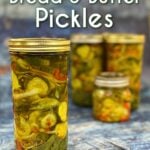
This crisp, tangy Bread and Butter Pickles recipe balances sweet and sour just right, with old-fashioned flavor and irresistible crunch. Perfect for canning season - and ideal for burgers, sandwiches, charcuterie boards, or snacking straight from the jar.

Jump to:
The Story Behind These Sweet & Tangy Pickles
I grew up in a family of canners and picklers. Every year during pickling season, we made Pop's dill pickles, and more often than not, a few batches of bread and butter pickles as well.
Bread & butter pickles are a type of sweet pickle made in a mixture of vinegar, sugar, and spices. Mr B and I have been perfecting our spin on this old-fashioned bread and butter pickle recipe for years now, and we love the inclusion of onions and peppers in the pickle mix.
Tangy and vibrant, you will find that these crisp pickle chips to be more balanced than traditional "sweet" pickles; especially the mass-produced, sticky-sweet ones you buy at the store. These are the pickles that will convert the pickle-haters in your life (if anything will).
What You'll Need
Ingredients
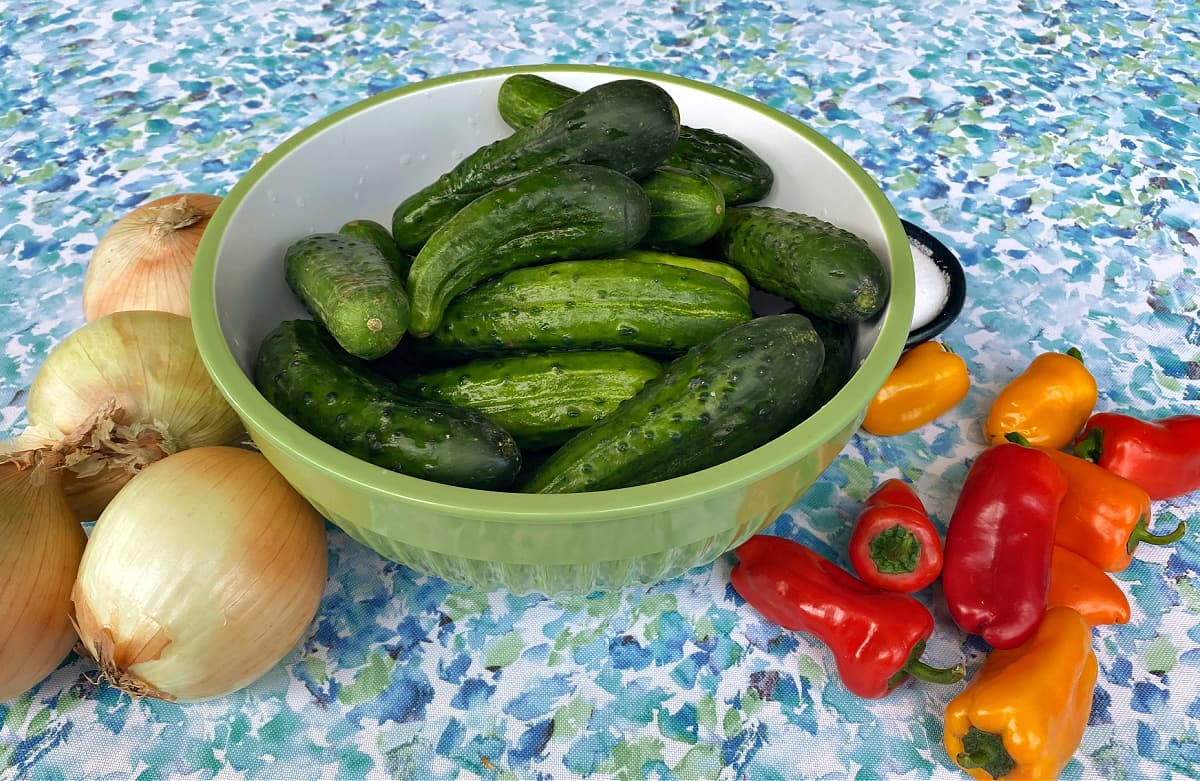
Cucumbers: Use the freshest pickling cucumbers you can find - they start losing moisture the moment they're picked. Look for firm, bright green cucumbers about 4 to 6 inches long.
Avoid grocery store cucumbers: They're often too large, full of seeds, and coated in wax, which prevents the brine from soaking in properly. If you don't grow your own, check your local farmers' market or contact a nearby farm - we always pre-order ours during pickling season because they go fast!
Pickling salt: Also known as canning salt, this pure granulated salt dissolves quickly and won't cloud your brine.
Don't substitute table or sea salt - they contain additives that can affect clarity and texture. If needed, you can use kosher salt; measured by weight, not volume.
Onions: Use medium sweet onions for the best flavor. Slice them from root to tip so they hold their shape during cooking.
Peppers: Small sweet peppers work great, though large ones are fine if sliced into ribbons.
Want a spicy batch? We always make at least one spicy batch! It's as simple as adding a sliced jalapeño or two to the mix. For more heat, use a Serrano or even a habanero. You can also add red pepper flakes to the brine.
Apple cider vinegar: Use standard 5% cider vinegar (the standard acidity range for most vinegars you buy in the store).
White vinegar: Use standard 5% white vinegar.
Spices: Always use fresh spices - it makes a big difference in the final flavor. Whole spices like mustard seed, celery seed, and cloves last 3-4 years. Ground spices (like turmeric) are best used within 2-3 years.
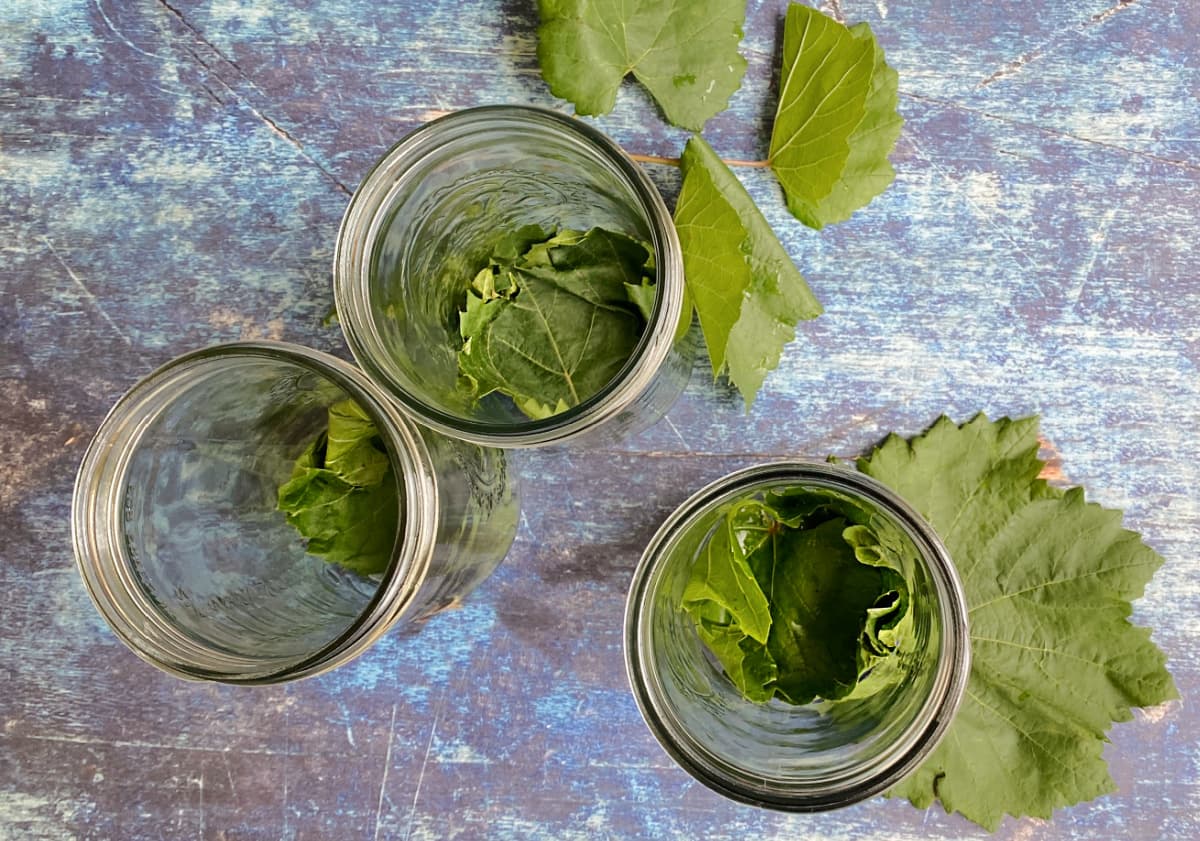
Grape leaves: We always include grape leaves in our pickles - they naturally help maintain crunch by releasing tannins that slow softening. (Some folks say removing the blossom end of the cucumber is enough to keep pickles crisp. We say: do both.)
You can usually find fresh grape leaves at farmers' markets or vineyards during canning season. Conveniently, grape leaves are abundant during the pickle-canning season. Find them at your local vineyard, farmers' market, or even your neighbor's backyard. Do not use jarred grape leaves.
Ice: We recommend using cocktail ice. Even better, if you have a Sonic nearby, get some ice there. They sell it in bags at a very reasonable price, and it is perfect for pickling!
Recommended Equipment
Jars: You can use any pint or pint-and-a-half (i.e., 24-ounce) jar for canning bread and butter pickles. (My favorite size jar for canning pickles is a 24-ounce wide mouth, straight side mason jar.)
We do not recommend canning bread and butter pickles in quart jars, because the processing time is much longer and it cooks the pickles too much, making them mushy.
Lids & rings: Use new lids. Clean rings can be reused, but check for dents and rust as they can prevent the jar from sealing properly.
Canner: You will need a water-bath canner with a canning rack and a lid.
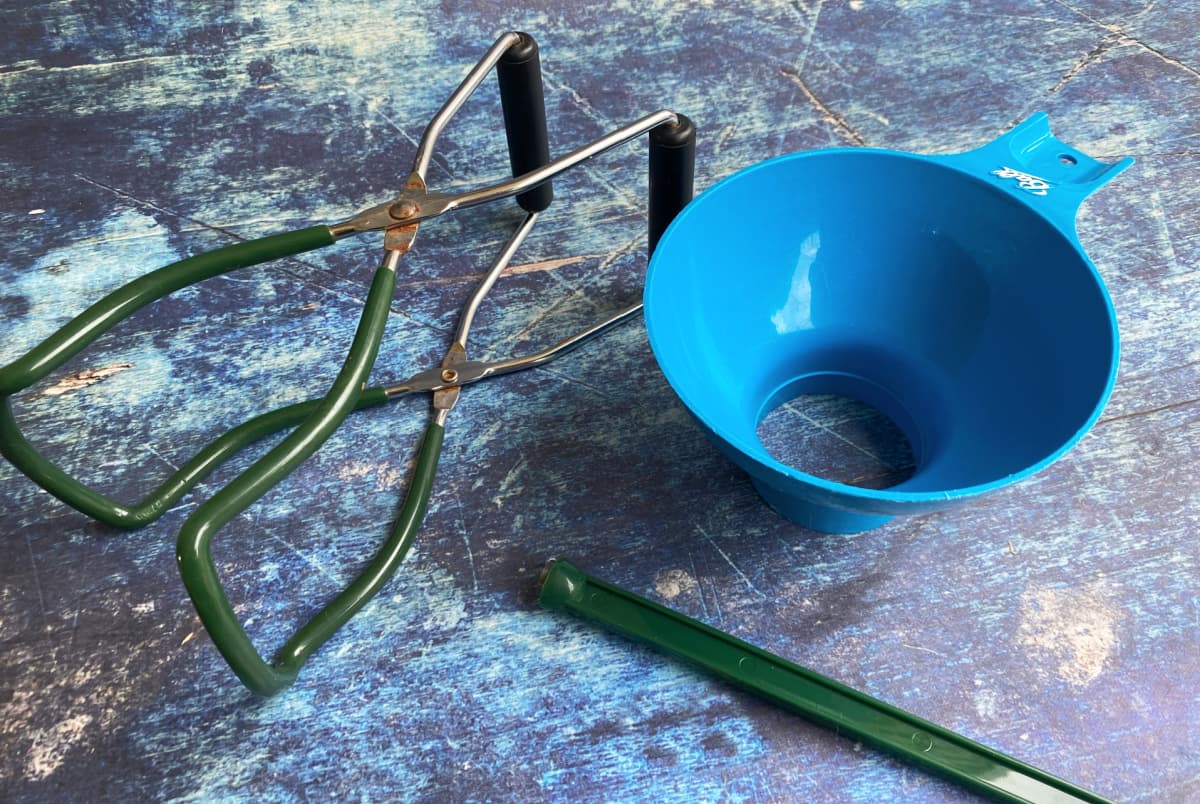
Canning tools:
- Canning funnel (Must-have)
- Jar lifter (Must-have)
- Lid lifter (Nice-to-have)
- Bubble remover (a chopstick will do the same job just as well)
Stockpot: You will need a stockpot that can hold at least 6 quarts (24 cups).
Colander: You will need a colander large enough to hold all of the cut vegetables at once.
How to Make Bread & Butter Pickles
If this is your first experience canning, or you haven't canned in awhile, you may want to check out this article on water bath canning at the National Center for Home Food Preservation website.
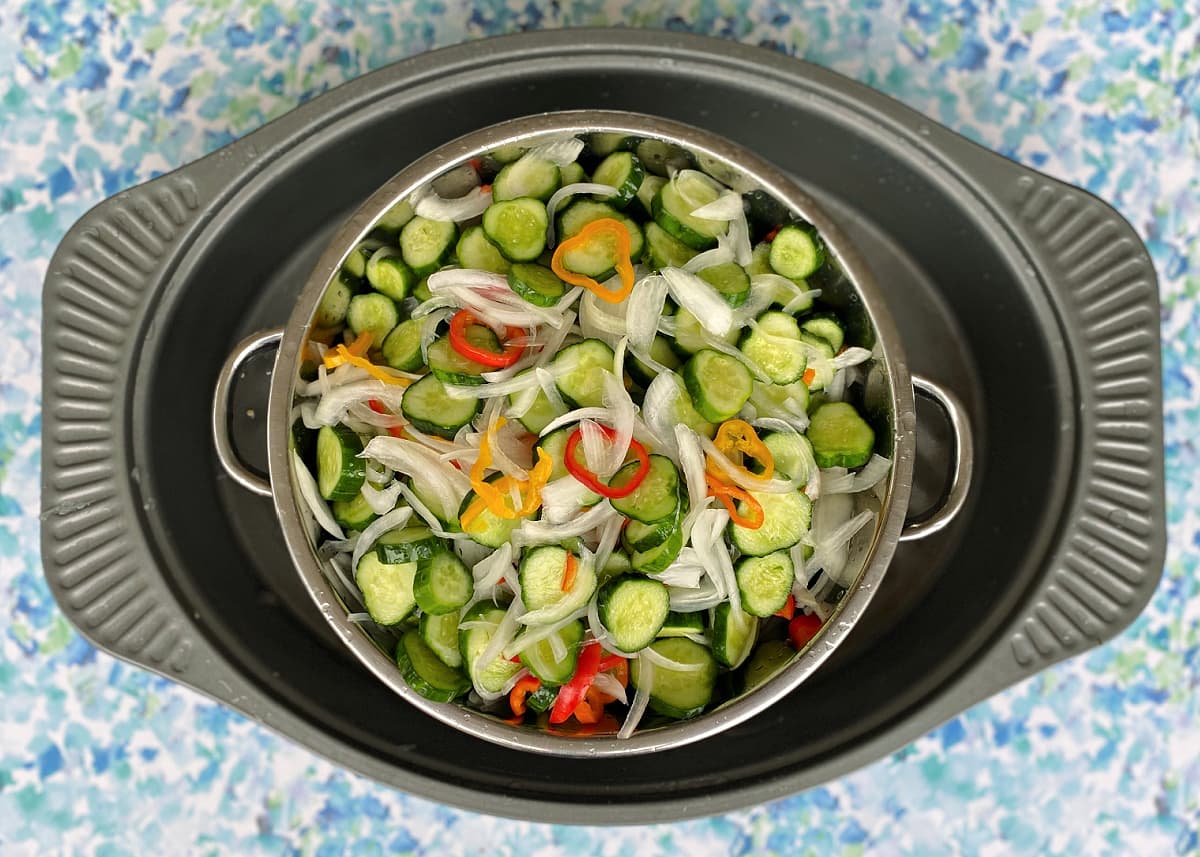
Step 1: Prep the Veggies
Wash your cucumbers and slice off the blossom ends - they contain enzymes that will turn your pickles mushy if you leave them on. Cut the cucumbers into ¼-inch rounds.
Peel the onions and slice them from stem to root, about ⅛-inch thick. Slice small peppers horizontally about ⅛-inch thick, as you would jalapeños when making nachos. If you are using larger peppers, cut them into ⅛ x 1-inch ribbons.
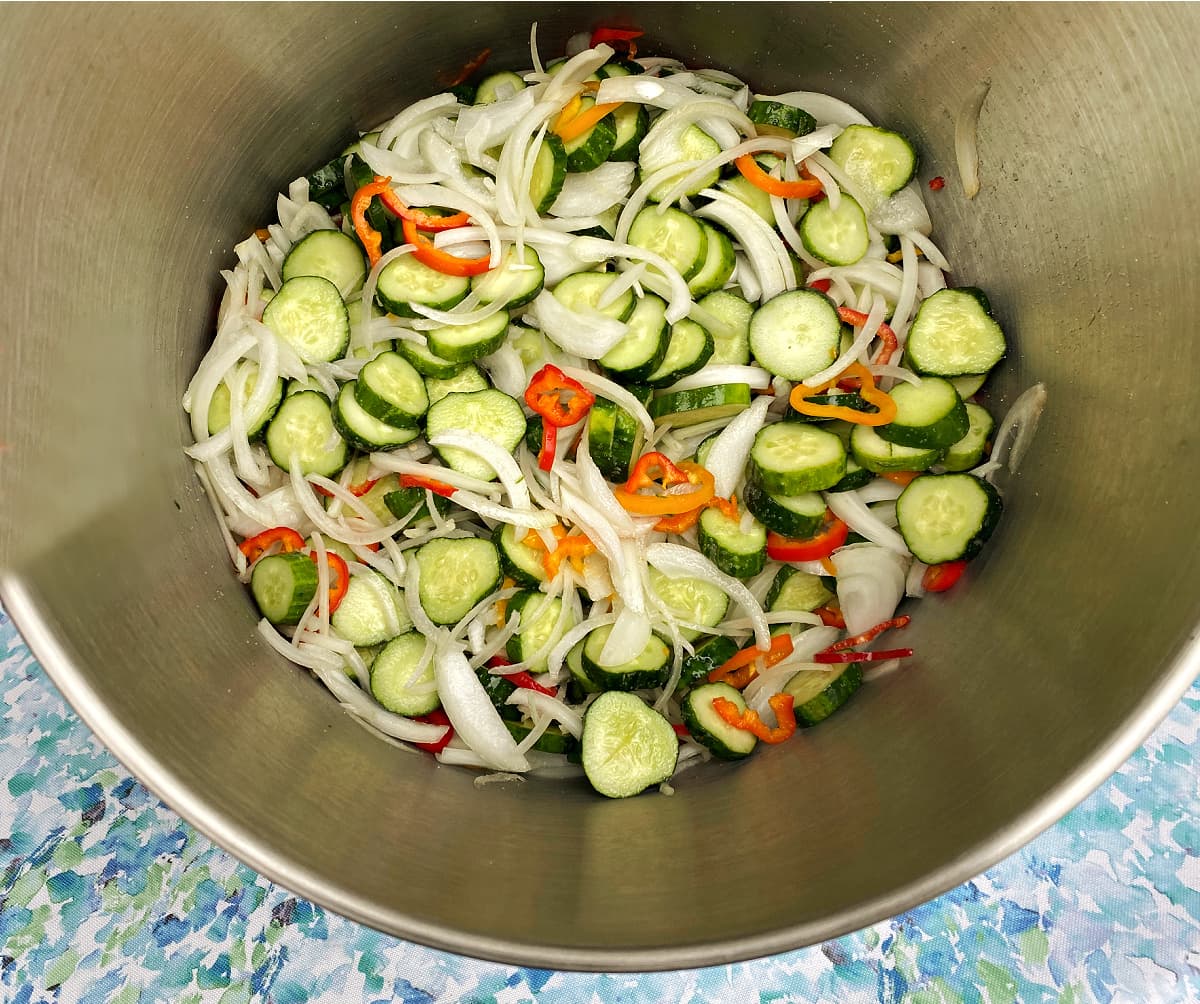
Toss all the veggies in a large bowl or stockpot. Sprinkle with pickling salt, then cover with ice and just enough cold water to get it slushy. Let it sit for about 3 hours - in the fridge if you have room.

Step 2: Prep Your Canning Setup
While the veggies are brining, get your jars, lids, and rings ready.
Fill a water-bath canner about half full with water and set it over high heat. Bring it to a boil then reduce heat to a simmer while you prepare the pickles for canning.
You never want to put hot liquid into a cold jar, or a cold jar into a hot water-bath - the sudden change in temperature can cause the glass to crack or shatter. Warming your jars and keeping your canning liquid hot helps everything stay safe and prevents ruined batches (and broken jars).
You can run jars through a hot rinse in the dishwasher and keep them warm until you're ready to use them. Simmer the lids and rings in a saucepan of water over very low heat until you need them.
If you don't have a dishwasher in which to keep the jars warm, put clean lids and rings on the jars (do not tighten!) and rest them on the canning rack above the water while it heats up.
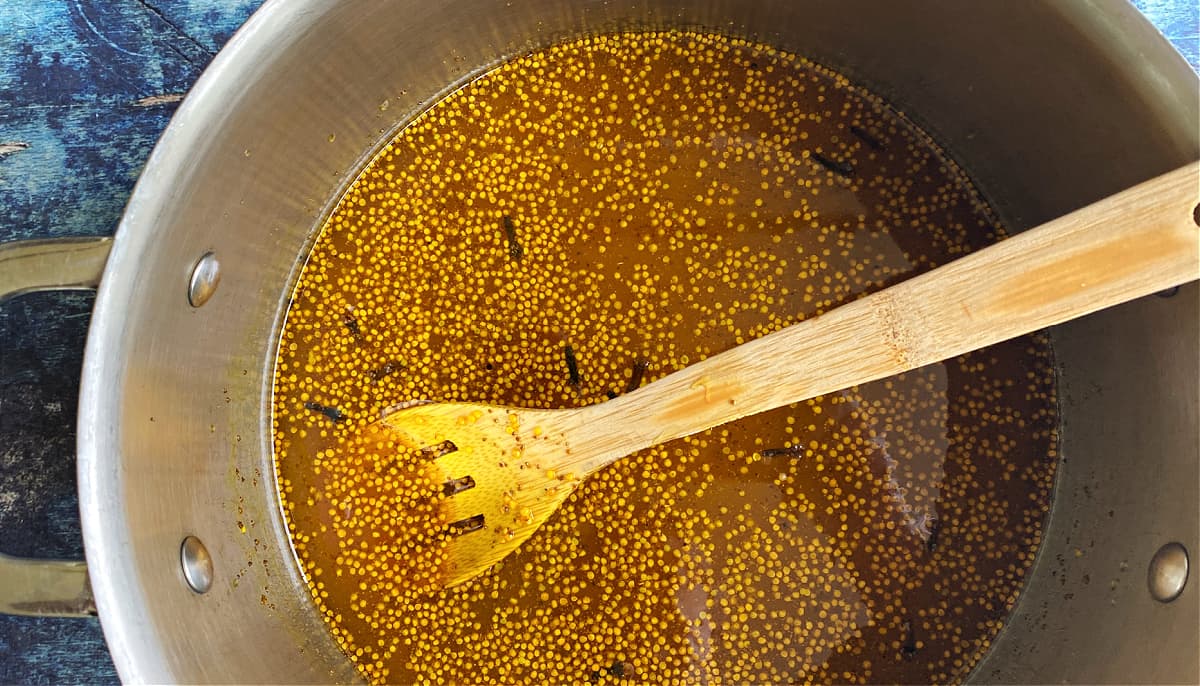
Step 3: Make the Pickling Brine
In a large stockpot, mix up the brine ingredients - sugar, spices, and both vinegars. Bring it to a boil, then reduce to a low simmer.
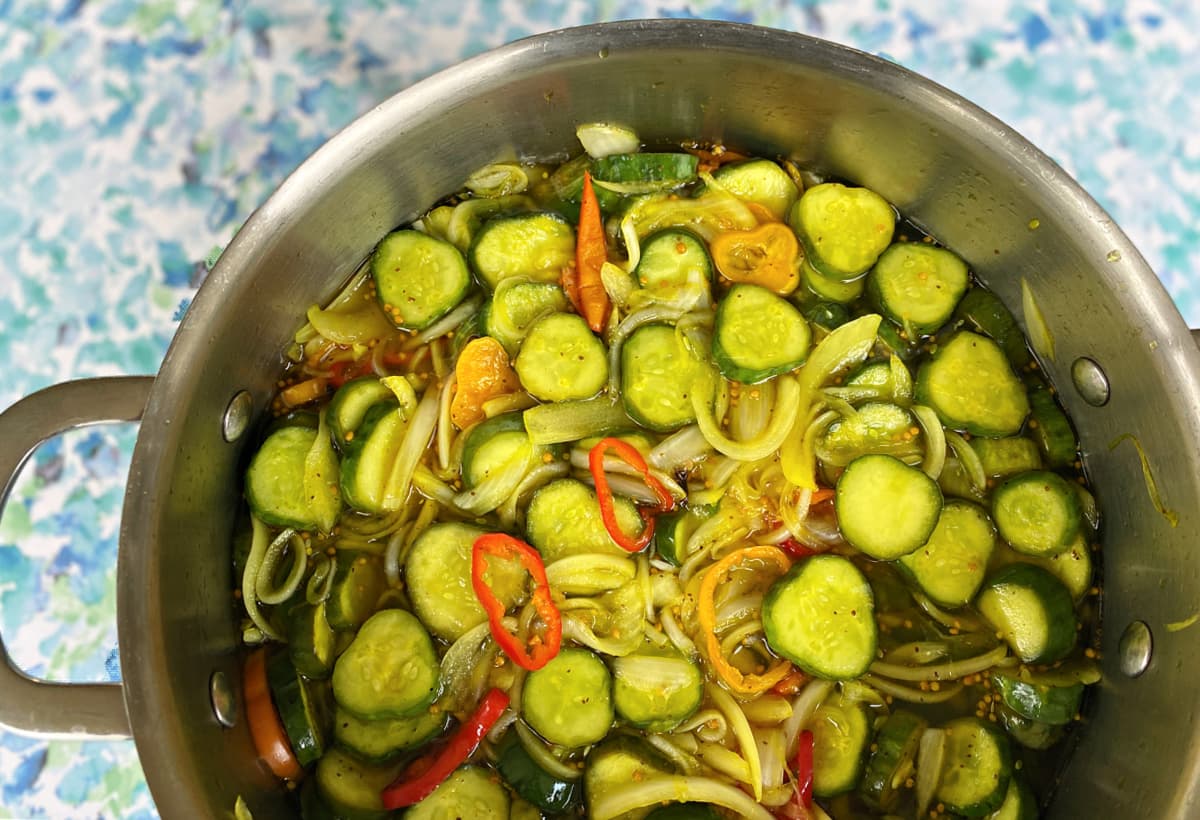
Drain and rinse the salted veggies thoroughly. We usually rinse the cucumber mix by draining it in a colander, then dumping the colander into a roasting pan, adding more water and draining it again.
Add the rinsed vegetables to the brine and heat just until it returns to a simmer. No need to cook them fully - just enough to warm everything up.
Use the jar lifter to carefully remove the jars from the canning rack and place them on a towel on the counter. Allow the hot jars to rest until completely cooled before storing.
Step 4: Pack the Jars & Process
Add a grape leaf or two to the bottom of each jar (optional, but they help with crunch!). Then pack the hot pickles and brine into warm jars using a funnel, leaving ½-inch headspace. Use a chopstick to release any air bubbles and top off if needed.
Wipe each jar rim with a wet paper towel or clean, wet cloth. Center a lid and ring on each jar and firmly finger-tighten. (Do not over-tighten.)
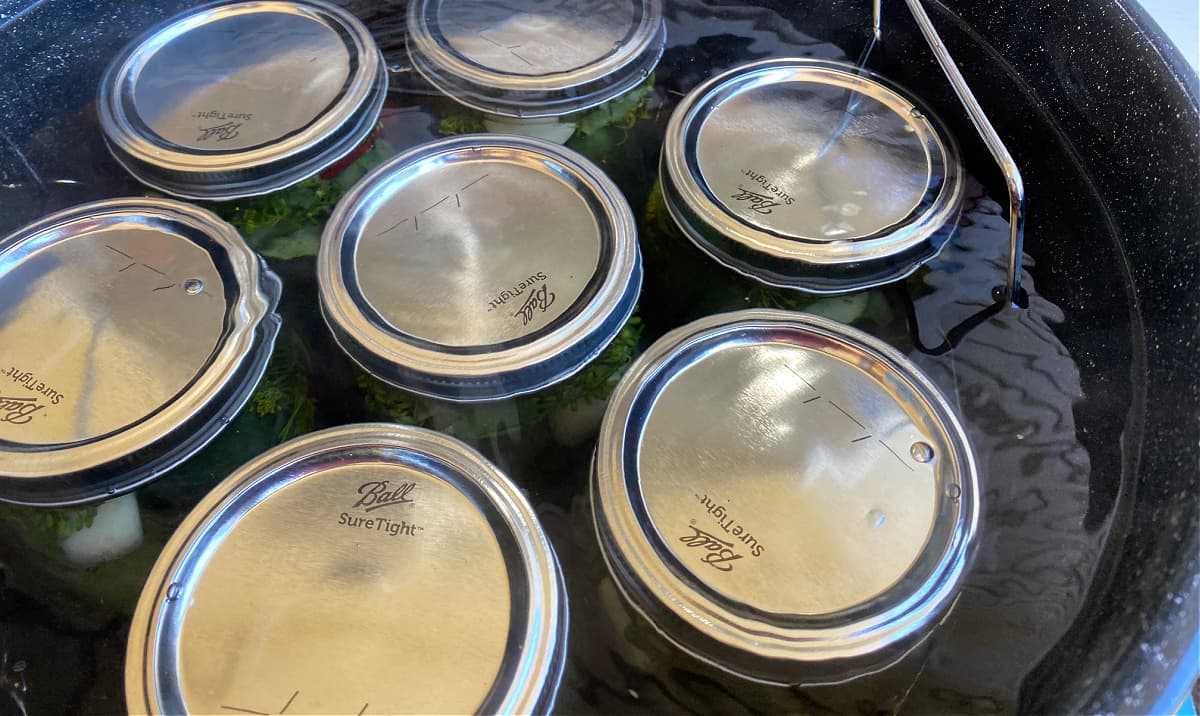
Using a jar lifter, carefully place jars in the canning rack, and then lower the rack into the hot water bath. There should be at least one inch of water over the tops of the jars. Add more water if necessary.
Return canner to high heat, cover, and quickly bring to a simmer, then reduce the heat slightly. Start timing after the water returns to a simmer; 180° - 185°F | 82° - 85°C.) and process for 15 minutes.
After the processing time is over, remove the canner from the heat and remove the canner lid. Carefully raise the canning rack out of the water (use pot holders!) and then wait 5 minutes before removing the jars from the canner.
Once the jars have cooled, test the seals. Store jars in a cool, dark location.
Bread and butter pickles can be eaten after 24 hours; however, they are best after 4-6 week, when the flavors have had a chance to mingle and mature.
Want to Make Them Spicy?
To make Spicy Bread & Butter Pickles, simply add a sliced jalapeño or two to the peppers in the mix. If you want them to be very spicy, add a Serrano or even a habanero pepper. You can also add some red chili flakes to the pickling brine.
Storage Tips
Store unopened, sealed pickles in a cool, dry, dark location.
Properly stored, an unopened jar of pickles will generally be good for about 2 years. After that, the pickles may be edible, but the quality will likely have deteriorated.
Extra Pickle Mix? Here's What to Do
Sometimes you have just a little extra pickle mix: not enough to can, but too much to throw away.
Since bread and butter pickles are technically ready to eat right after they are made, you have a couple of options:
• Put them in the fridge and eat them as desired.
• Chop them up and make them into sweet relish.

How to Serve Bread & Butter Pickles
These sweet-and-tangy pickles are more versatile than you might think! Here are some of our favorite ways to enjoy them:
- Layered on sandwiches and burgers.
- Tucked into picnic spreads
- Serve them alongside classics like cold fried chicken, deviled eggs, or potato salad
- On a charcuterie or snack board
- Chopped into potato or egg salad
- Straight from the jar!
They also make great hostess gifts - just add a ribbon and a label to a jar, and you're good to go!
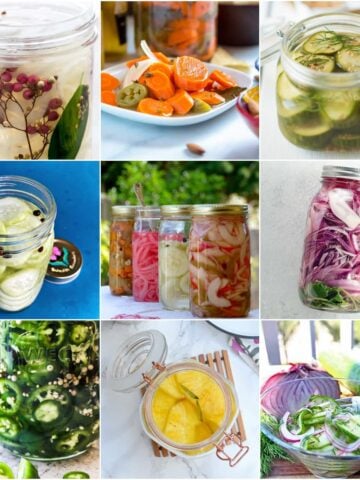
More Pickle Recipes
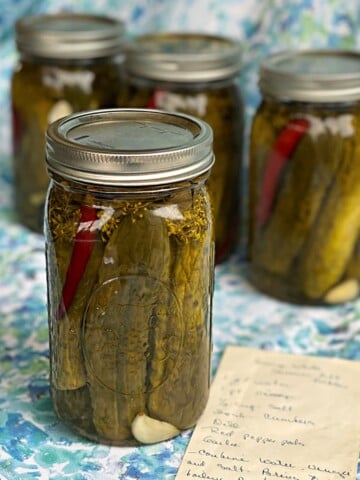
Old-fashioned Bread & Butter Pickles
Equipment
- 1 Colander
- 1 Water bath canner with a canning rack
- 6 pint jars (or 4 24-ounce jars, plus 1 half pint jar*)
- 6 sets lids & bands (new lids; bands can be reused)
- 1 canning funnel
- 1 jar lifter
- 1 Lid Lifter ;optional
Ingredients
Pickling Mix
- 4 pounds pickling cucumbers sliced into ¼" rounds
- 2½ pounds sweet onions peeled and sliced thinly root to stem end
- ½ pound small red, yellow, and/or orange sweet peppers sliced horizontally into ⅛" rounds (like a jalepeño)
- ½ cup pickling salt
- 3 pounds crushed ice
Pickling Syrup
- 2¾ cups sugar
- 2 cups apple cider vinegar 5% acidity
- 2 cups white vinegar 5% acidity
- 2 tablespoons mustard seeds
- 2 teaspoons ground turmeric
- 1½ teaspoons celery seeds
- 1 teaspoon whole cloves 16-20 cloves
Optional
- 6-12 whole fresh grape leaves
Instructions
- If this is our first experience canning, or you haven't canned in awhile, check out this article on water bath canning at the National Center for Home Food Preservation website.
- Slice cucumbers, onions, and peppers. Toss together with pickling salt and ice water in a large bowl or stockpot. Let sit 3 hours.
- Sterilize jars, lids, and rings, and prep your canner.
- Using a colander, drain and rinse the cucumber mixture thoroughly under cold water.
- Make brine: bring vinegar, sugar, and spices to boil, then simmer. Add the rinsed veggies and heat just long enough to return to a simmer, then remove from heat.
- If you are using grape leaves, line the bottom of each warm jar with one or two leaves.
- Using a canning funnel, ladle the hot pickle and syrup mix into warm, prepared jars, leaving ½-inch headspace. Make sure all of the vegetables are submerged under the pickling syrup. Finger-tighten jars.
- Carefully place jars in the canning rack, and then lower into the hot water bath. There should be at least one inch of water over the tops of the jars. Add more water if necessary.
- Return canner to high heat, cover, and quickly bring to a simmer, then reduce the heat slightly and process for 15 minutes. Start timing after the water returns to a simmer; 180° - 185°F | 82° - 85°C.
- After the processing time is over, remove the canner from the heat and remove the canner lid. Carefully raise the canning rack out of the water (use pot holders!) and then wait 5 minutes before removing the jars from the canner.
- Use the jar lifter to carefully remove the jars from the canner and place them on a towel on the counter. Allow the hot jars to rest until completely cooled before storing.
- Once the jars have cooled, test the seals. Store jars in a cool, dark location. Best after 4-6 weeks.
Notes
Never put hot liquid into a cold jar, or a cold jar into a hot water-bath. When we are canning, we usually put everything in the dishwasher on a rinse cycle (no soap!), and let them stay warm until we are ready to use them. If you don't have a dishwasher in which to keep the jars warm, put the lids on the jars (do not tighten!) and rest them on the canning rack above the water while the the water heats up. Makes roughly 6 pints.
Nutrition
This website provides approximate nutrition information for convenience and as a courtesy only. You are solely responsible for ensuring that any nutritional information provided is accurate, complete, and useful.
Love it? Pin it! For the best Bread & Butter Pickles recipe, be sure to save this recipe! Pin it to your favorite Pinterest board before you go!

Thank you for visiting the Good Hearted Woman. Remember to bookmark this site, and come back soon!


Robert L Holcomb says
I saw your recipe and wanted to try canning. Used an XL cooker with auto pressure cooking settings abilities. Pressure cooking, as I later found out speeds cooking. So, 15 minutes of pressure cooking needed 10+ minutes pressure relief, 30-40 minutes bubbly, more cooking, before cooling enough to touch and store. So you know about lemons to lemon aid, so pickles to relish. Thank you.
Renée B. says
Honestly, I've never made pickles in a pressure canner, and have been warned against doing so. We always use a water bath, as outlined in the recipe. Pressure cooking can overcook the cukes.