Appetizers, Small Bites & Snacks
Be the hit of your next party, potluck, or celebration with one of these delicious and easy appetizer, small bites, or snack recipes. Made in minutes but guaranteed to leave an impression: we got you.
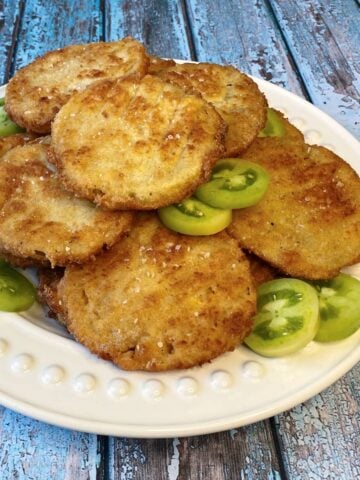
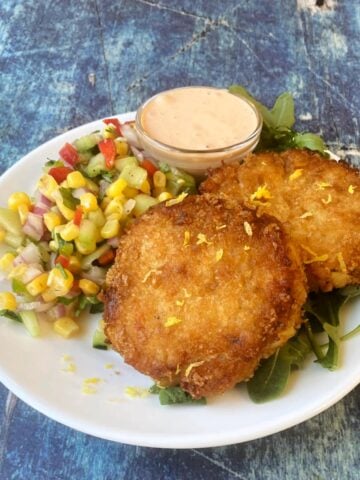
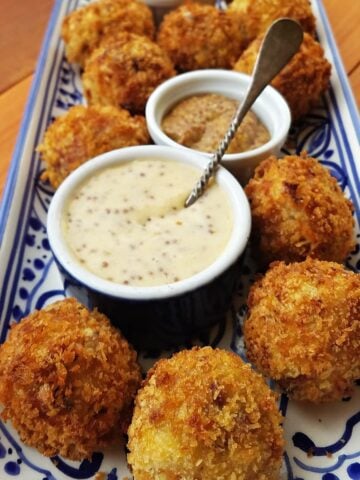
Need a suggestion? Consider the classic Fried Green Tomatoes or the Crispy Sauerkraut Fritters or make an impression with the Pacific NW Dungeness Crab Cakes
-
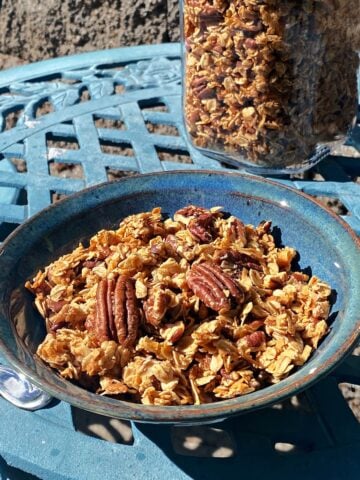
Easy Maple Nut Granola (Perfectly Crunchy, Naturally Sweetened)
-
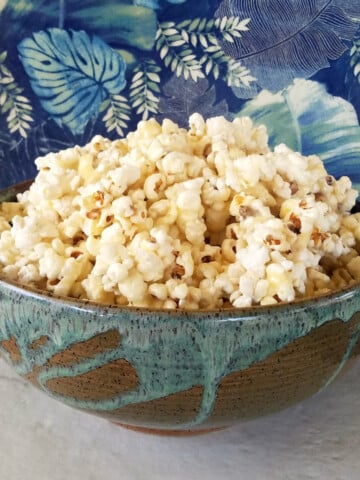
Easy Soft Caramel Corn Recipe (Mary’s Sticky Popcorn)
-
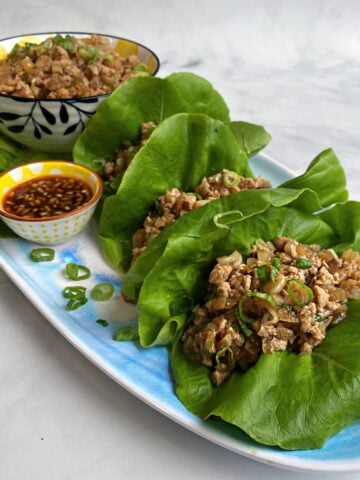
Asian Chicken Lettuce Wraps (PF Chang's Copycat)
-
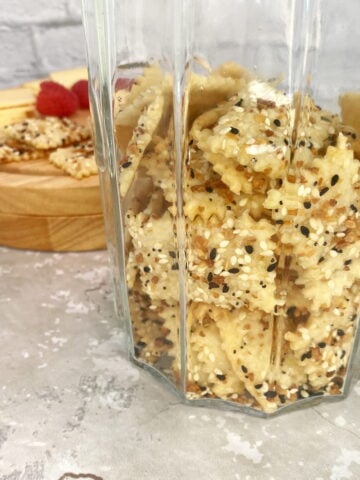
Everything Sourdough Crackers (Crispy & Buttery)
-
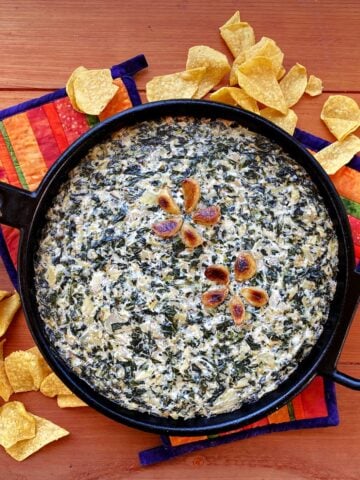
Roasted Garlic Spinach Artichoke Dip (Warm & Cheesy Party Favorite)
-
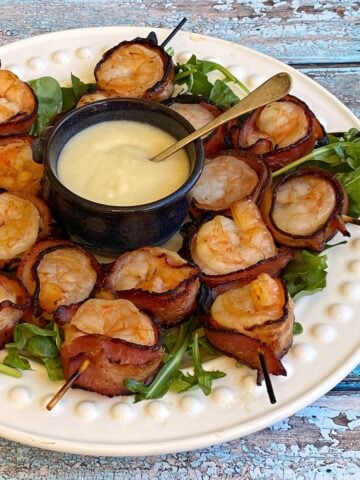
Mermaids on Horseback (Bacon-Wrapped Shrimp with Pineapple Glaze)
-
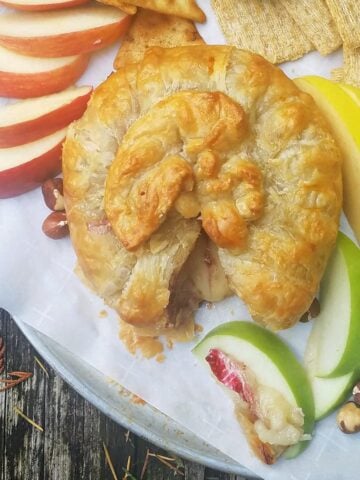
Baked Brie in Puff Pastry with Jam (Easy & Elegant Appetizer)
-
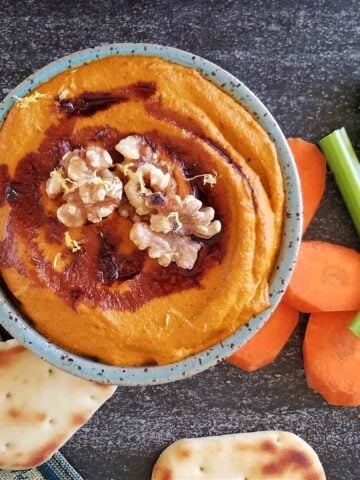
Muhammara (Roasted Red Pepper & Walnut Dip)
-
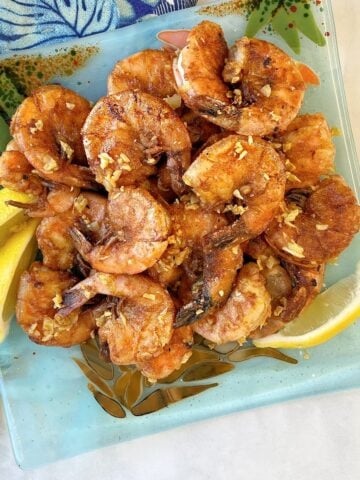
Hawaiian Garlic Shrimp (Kahuku Truck-style)
-
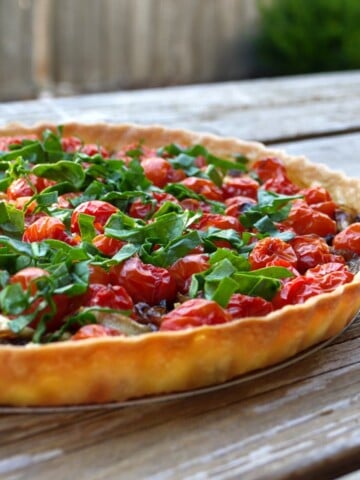
Fresh Cherry Tomato Tart
-
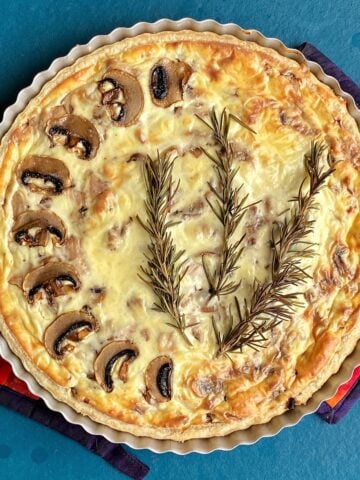
Savory Chicken Mushroom Tart
-
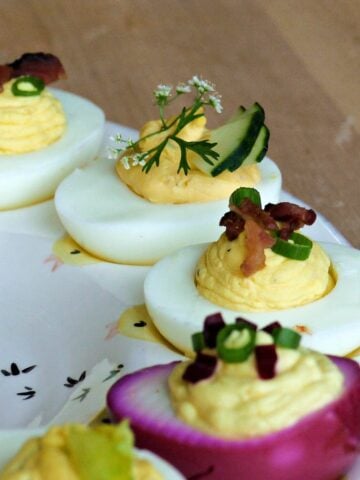
Perfect, Party-Ready Deviled Eggs
-
Rheinlander Swiss Cheese Fondue
-
Crispy Fried Green Tomatoes
-
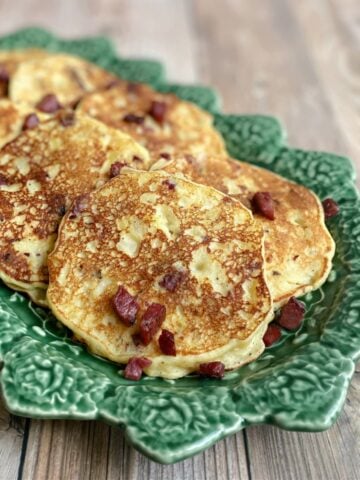
Leftover Mashed Potato Pancakes
-
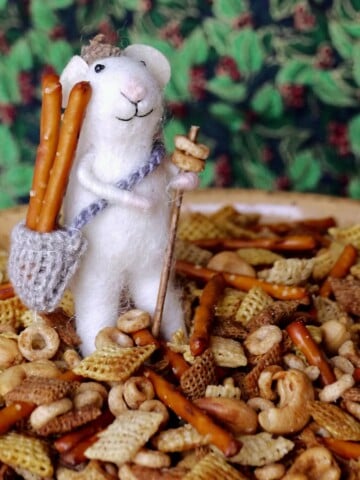
Nuts & Bolts (The Original Chex Mix Recipe)
-
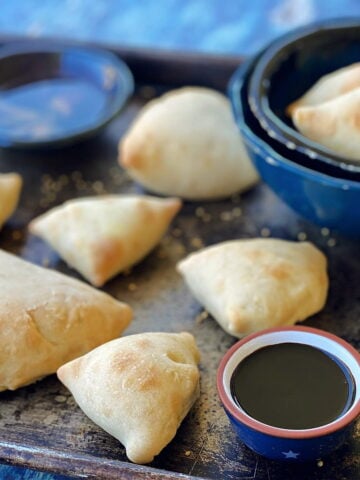
Sweet Potato & Butternut Samosas
-
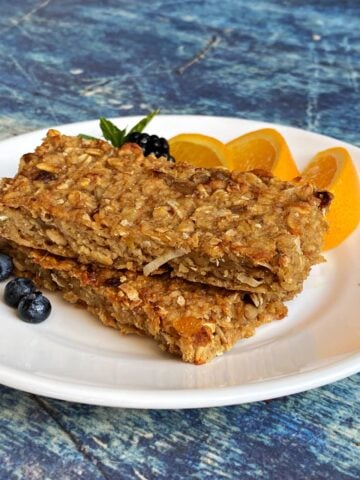
Soft Baked Oatmeal Breakfast Bars
-
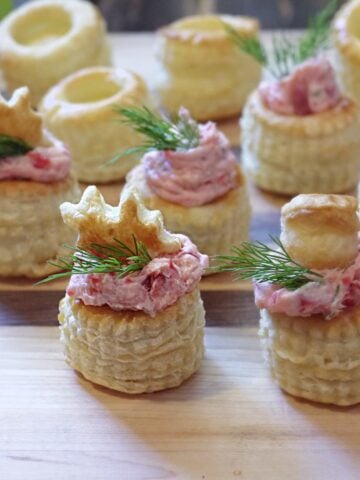
Smoked Salmon Puff Pastry Cups
-
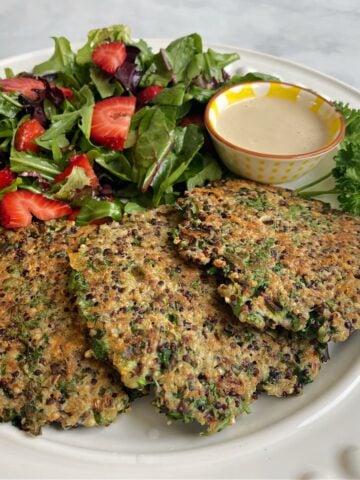
Crispy Quinoa Patties
-
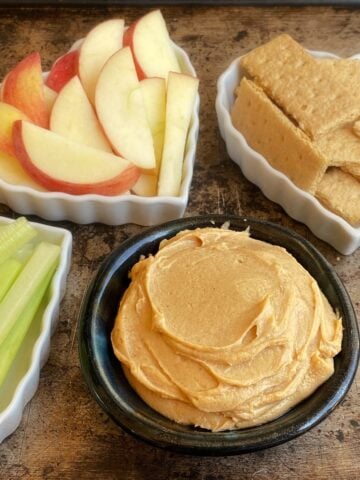
2-Ingredient Creamy Peanut Butter Dip
-
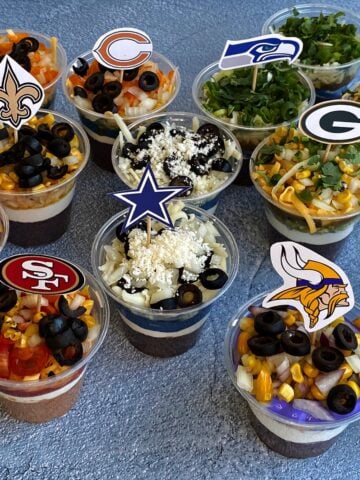
Team Colors 7 Layer Dip
-
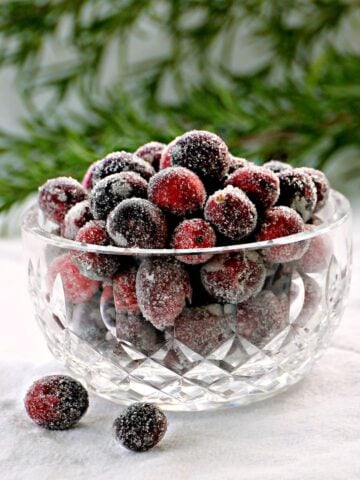
Spiced Sugared Cranberries
-
Pacific NW Dungeness Crab Cakes
-
Crispy Sauerkraut Fritters (Easy Air Fryer Recipe)
-
Banana Lumpia (Filipino Turon)
-
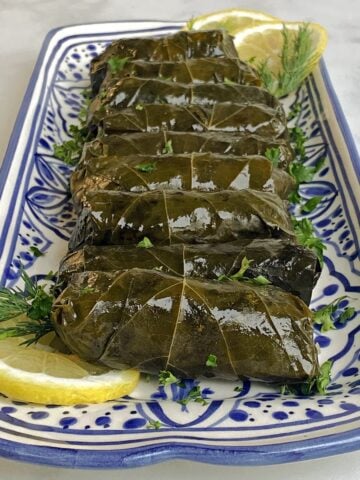
Dolma with Meat (Stuffed Grape Leaves)
-
Sweet & Spicy Grilled Buffalo Wings