Rocky Mountain States
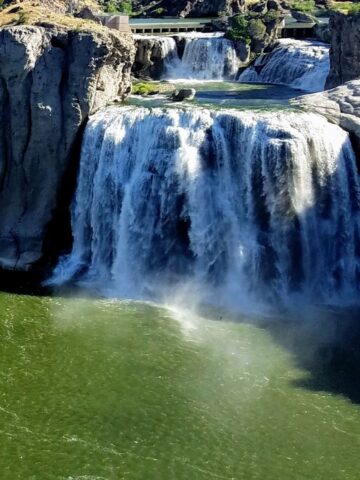
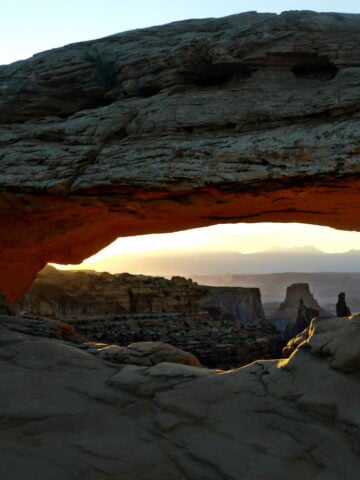
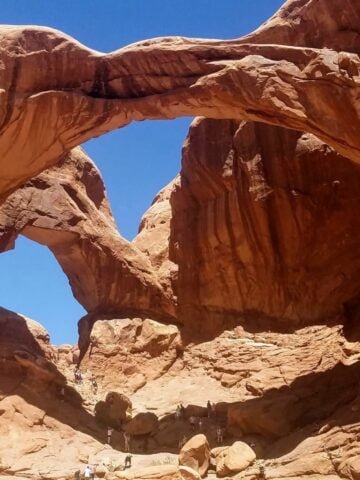
There are so many stunning destinations throughout the US Rocky Mountain States; Utah's Arches National Park, Mesa Arch at sunrise, and Shoshone Falls at sunset to name just a few.
We've also stumbled into some great out of the way places and dusty little towns throughout Idaho, Utah, Montana, and Wyoming, with festivals and food that that should not be missed.
-
How to Survive on the Delicate Arch Trail
-
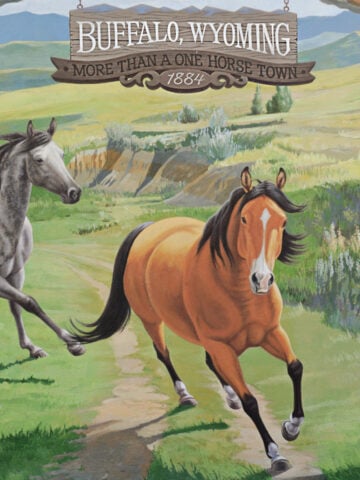
Things to Do in Buffalo, Wyoming
-
That Time We Accidentally Stumbled Into the National Basque Festival (Buffalo, Wyoming)
-
Where to Eat in Small Town Wyoming
-
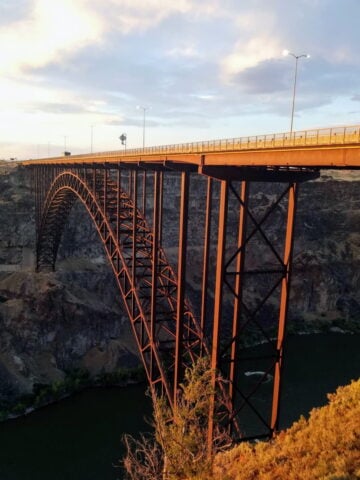
Perrine Memorial Bridge (Twin Falls, Idaho)
-
Shoshone Falls (Twin Falls, Idaho)
-
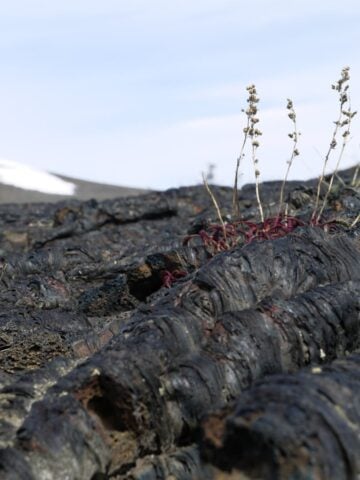
Craters of the Moon National Monument (Arco, Idaho)
-
Photographing Mesa Arch at Sunrise (Canyonlands NP)
-
7 Must See Places in Arches National Park
-
HQ Southern BBQ (Casper, Wyoming)