30-Minute Recipes
These easy-to-fix meals and sides require simple, inexpensive ingredients and take 30 minutes or less to prepare.
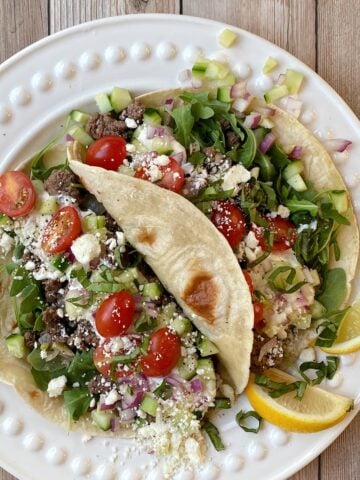
Need a suggestion? Consider some Greek tacos or Korean-style Pan-fried Fish. Both super easy and ready to serve in 30 minutes.
-
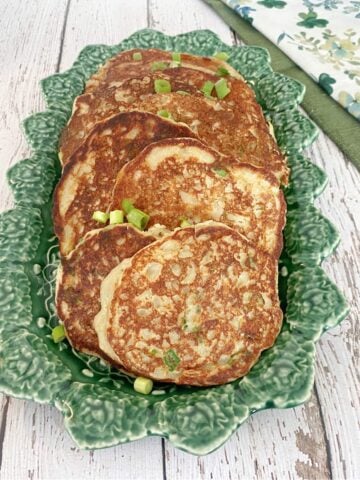
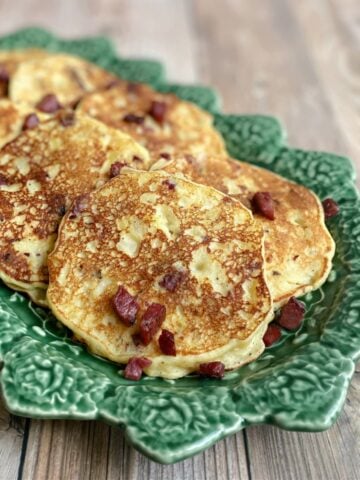
Irish Boxty Recipe (Traditional Potato Pancakes)
-
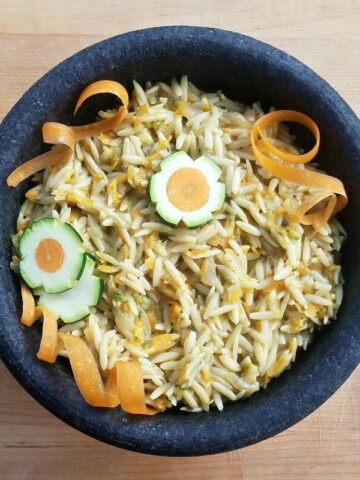
Cheesy Vegetable Orzo (Easy, Kid-Friendly Side Dish)
-
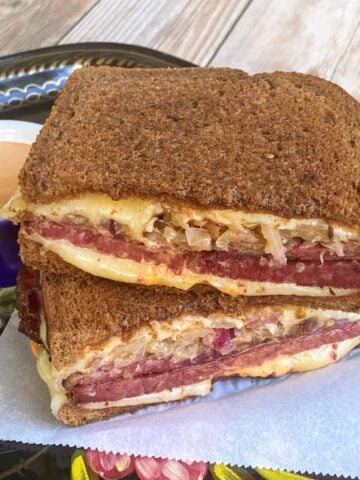
Classic Reuben Sandwich Recipe
-
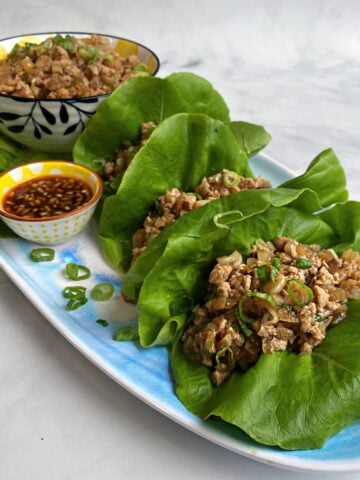
Asian Chicken Lettuce Wraps (PF Chang's Copycat)
-
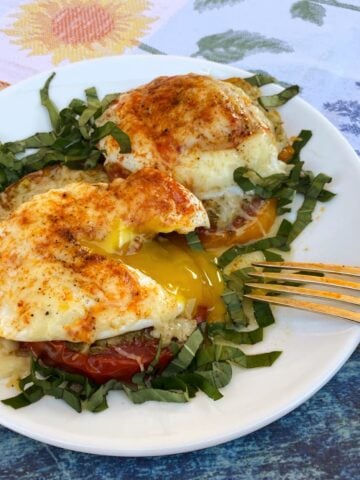
Eggs Provençal with Heirloom Tomatoes and Parmesan
-
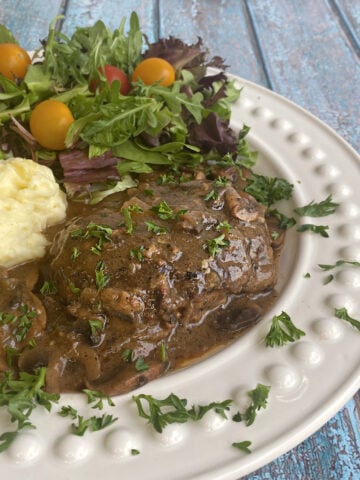
Homemade Salisbury Steak with Mushroom Gravy
-
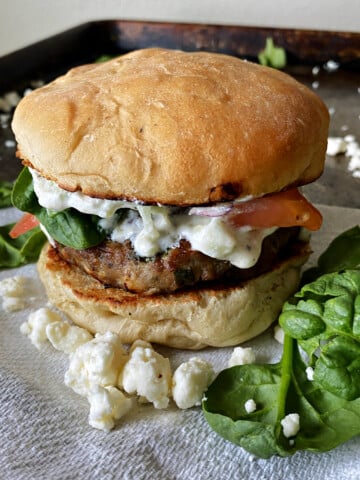
Greek Turkey Burgers with Tzadiki Sauce
-
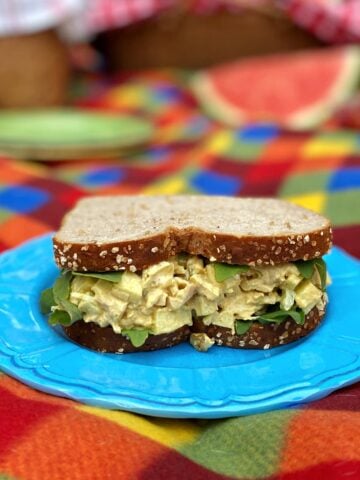
Curried Chicken Salad
-
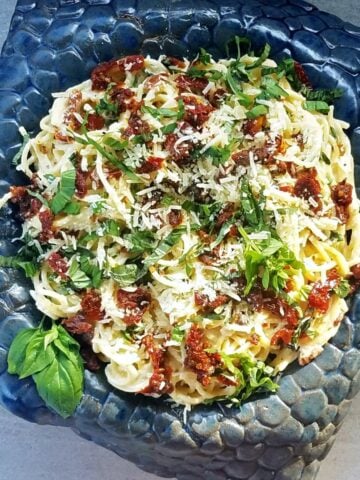
Sun-dried Tomato Carbonara
-
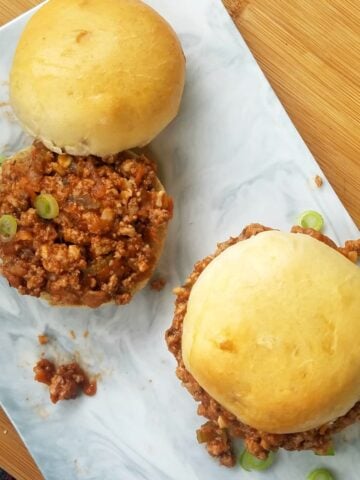
Lighter Classic Sloppy Joes
-
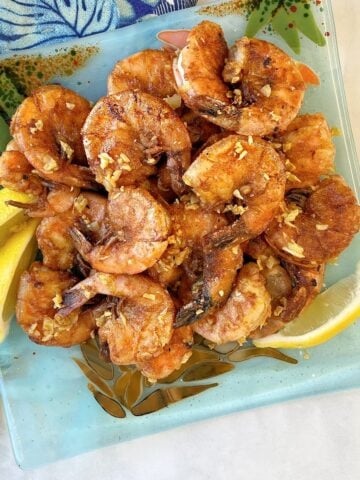
Hawaiian Garlic Shrimp (Kahuku Truck-style)
-
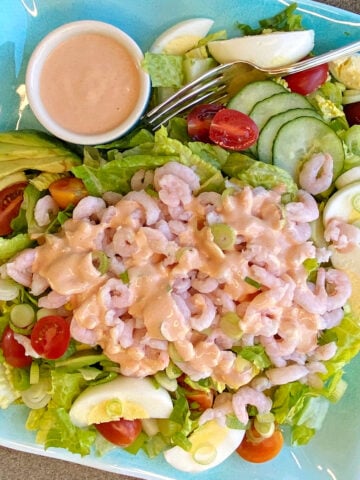
Classic Bay Shrimp Louie
-
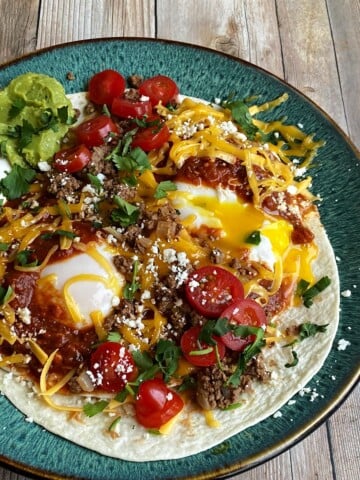
Huevos Rancheros (Mexican Rancher's Eggs)
-
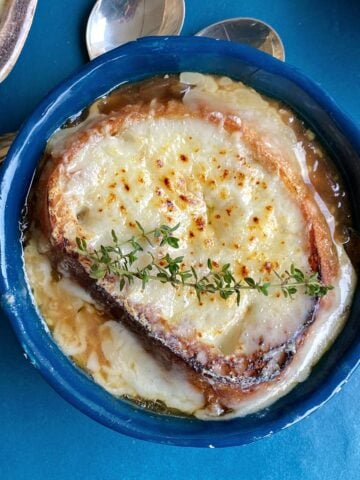
Classic French Onion Soup
-
Greek Tacos
-
Open-Faced Hot Turkey Sandwich
-
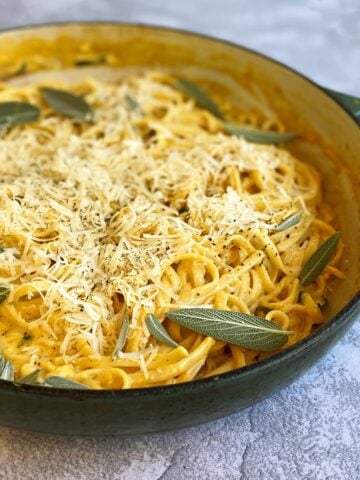
Creamy Pumpkin Pasta with Parmesan & Sage
-
Easy Salmon Patties (with Canned Salmon)
-
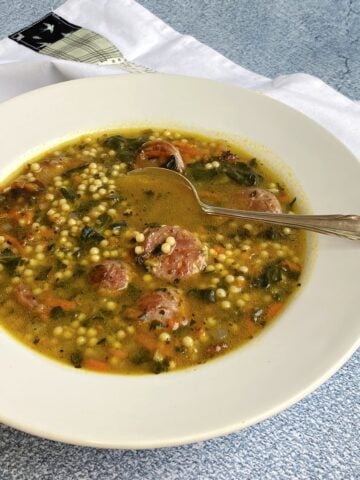
Vegas Quickie Wedding Soup
-
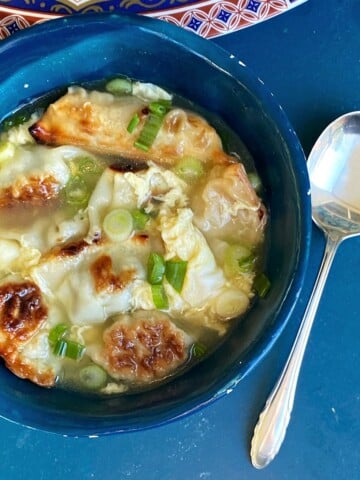
Easy Wonton Egg Drop Soup
-
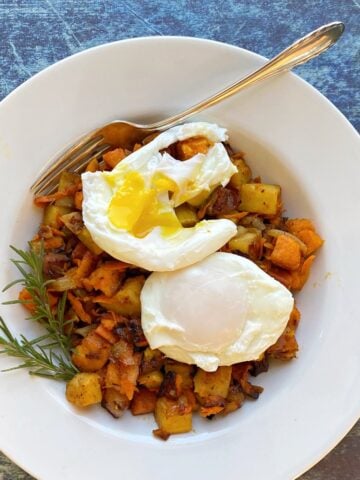
Sweet Potato Breakfast Hash
-
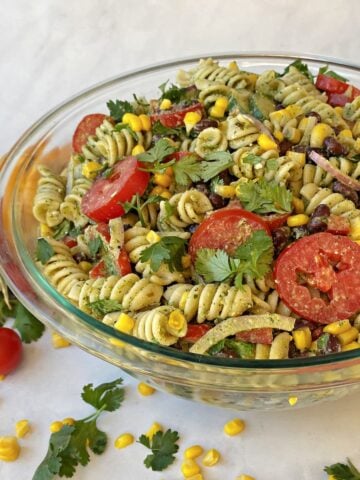
Garden-fresh Summer Pasta Salad
-
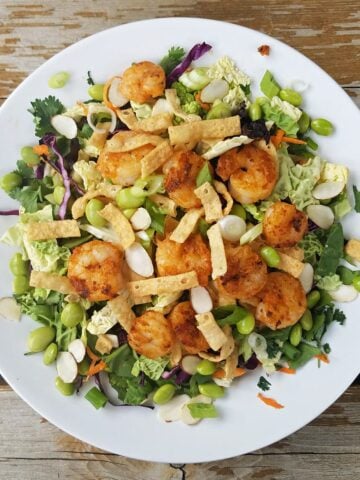
Spicy Thai Shrimp Salad
-
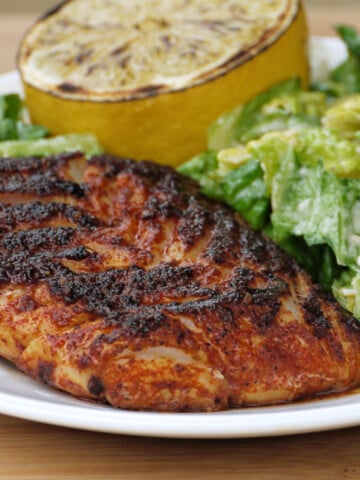
Spicy Pan-fried Blackened Rockfish
-
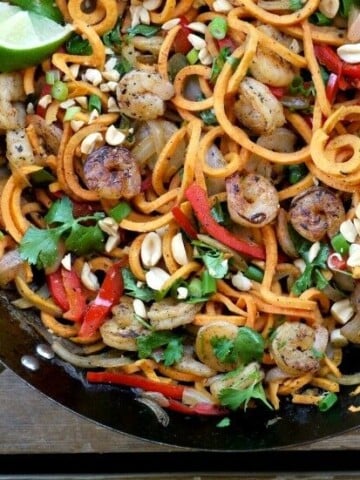
Sweet Potato Pad Thai with Shrimp
-
Leftover Mashed Potato Pancakes
-
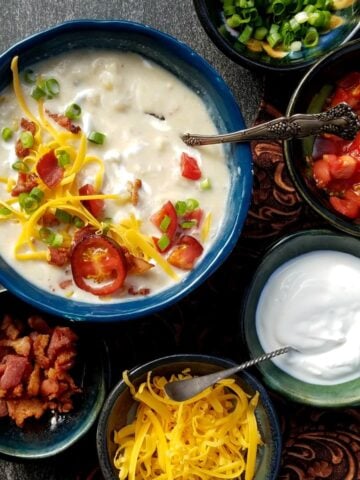
Loaded Baked Potato Soup
-
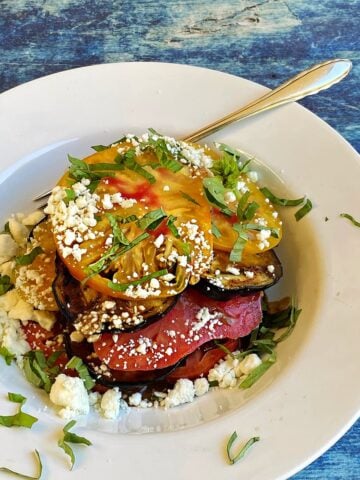
Grilled Eggplant & Tomato Stacks
-
Smoked Salmon Eggs Benedict
-
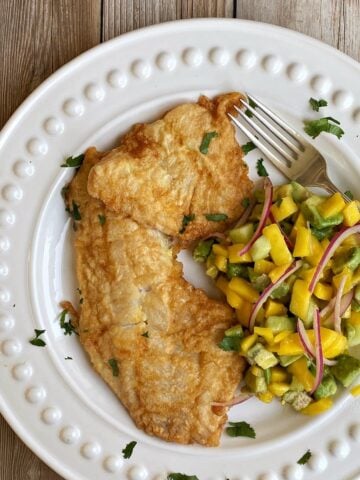
Korean-style Pan Fried Fish (Saeng Sun Jun)
-
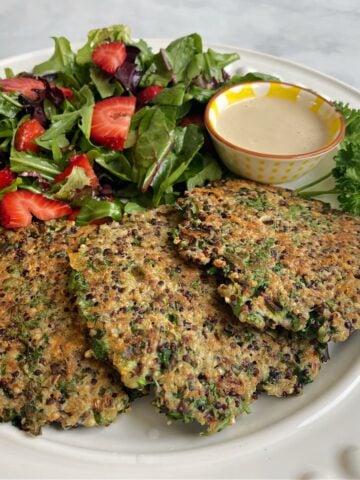
Crispy Quinoa Patties
-
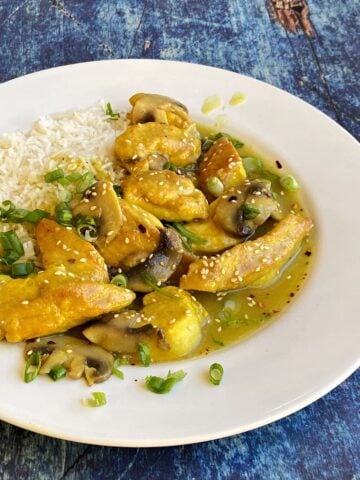
Easy Lemon Chicken with Curry
-
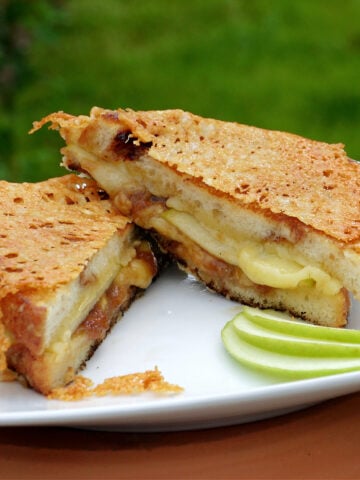
Irish Apple Pie Grilled Cheese Sandwich (Award Winner!)
-
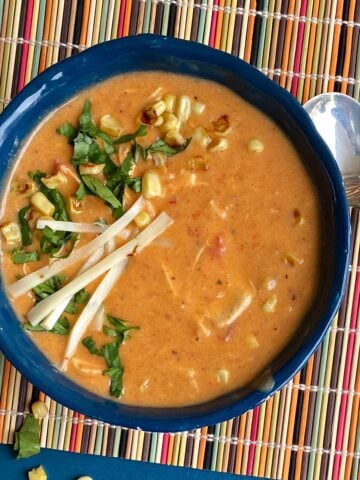
Chili's Chicken Enchilada Soup
-
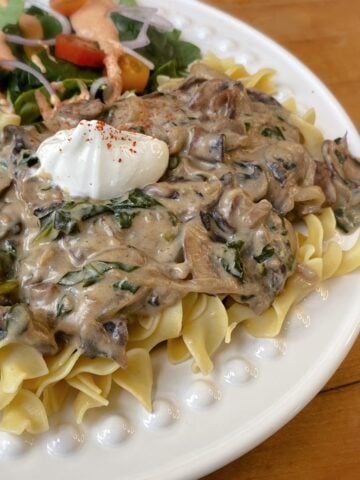
Portobello Mushroom Stroganoff
-
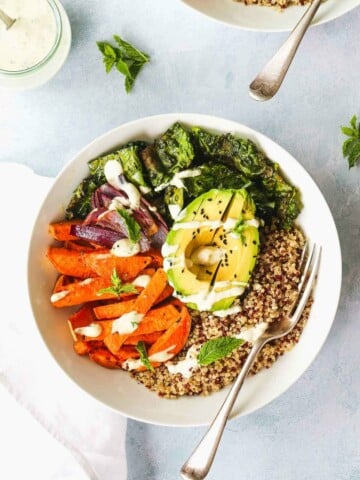
How to Make a Buddha Bowl (35+ Delicious Bowls)