Vegan Recipes
Explore our vegan recipe collection, featuring wholesome, plant-based main dishes, soups, breads, dips, appetizers, and irresistible desserts!
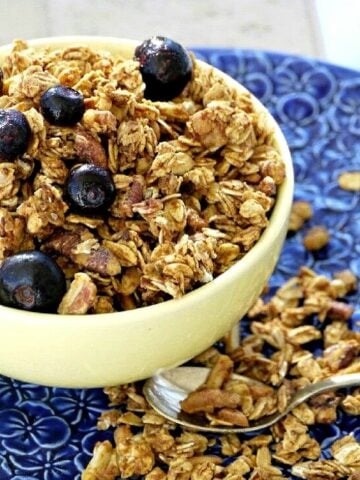
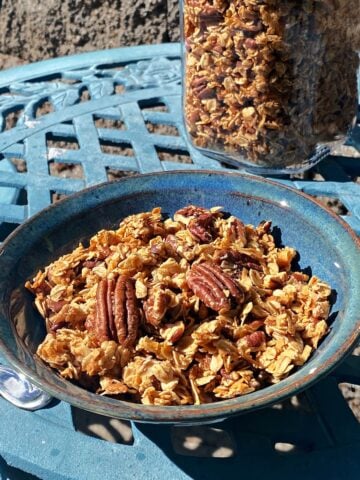
(Do not miss our Hearty Vegan Granola! It looks simple because it is; it's also some of the best vegan granola ever!)
-
Homemade Flour Tortillas with Olive Oil
-
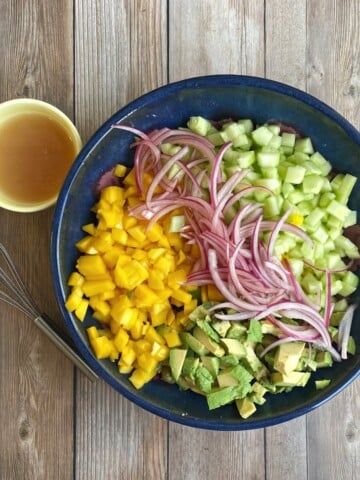
Caribbean Mango Avocado Salad (Fresh, Easy, 15-Minute Recipe)
-
Date-Sweetened Granola (No Refined Sugar, Oil-Free, Vegan)
-
Easy Maple Nut Granola (Perfectly Crunchy, Naturally Sweetened)
-
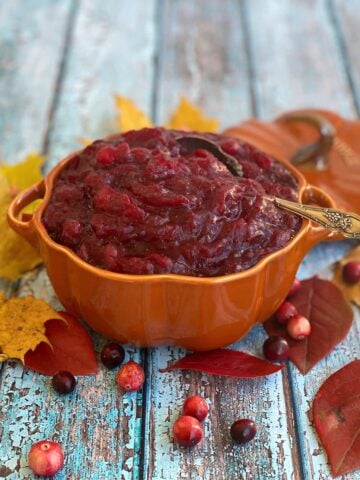
Orange Spiced Cranberry Sauce (with Grand Marnier)
-
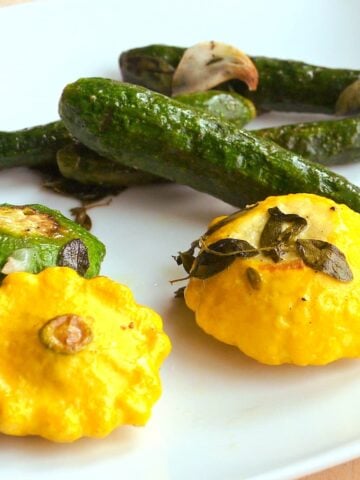
Garlic Roasted Baby Squashes (Easy Summer Side Dish)
-
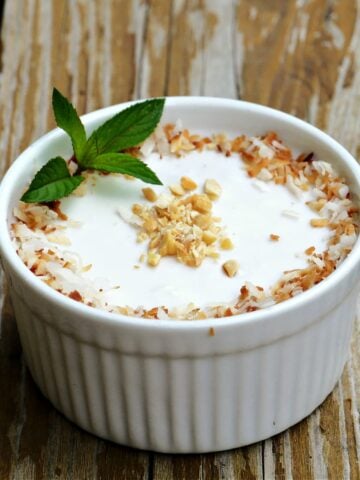
Vietnamese Banana Tapioca Pudding (Chè Chuối)
-
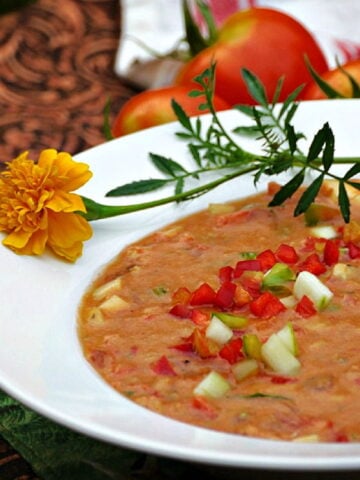
Easy Garden Fresh Gazpacho
-
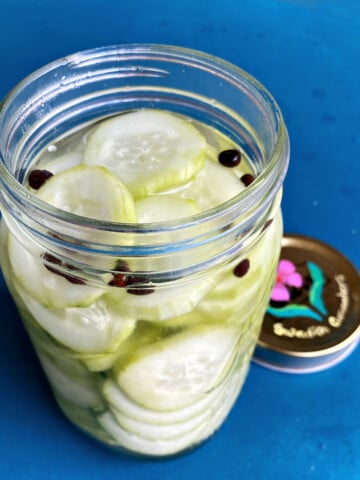
Swedish Cucumbers (Easy Quick Pickle Recipe)
-
Muhammara (Roasted Red Pepper & Walnut Dip)
-
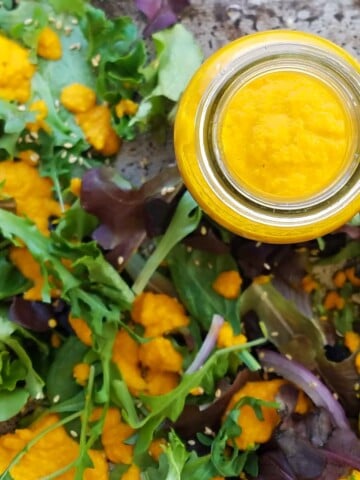
Carrot Ginger Dressing
-
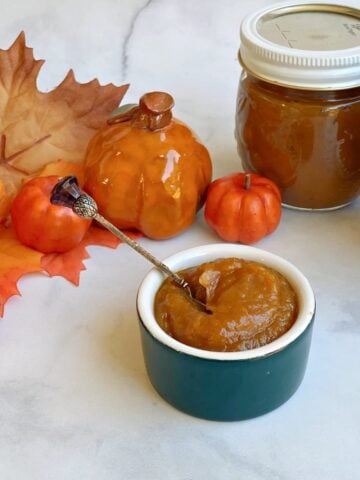
Slow Cooker Pumpkin Butter
-
Homemade Pumpkin Puree
-
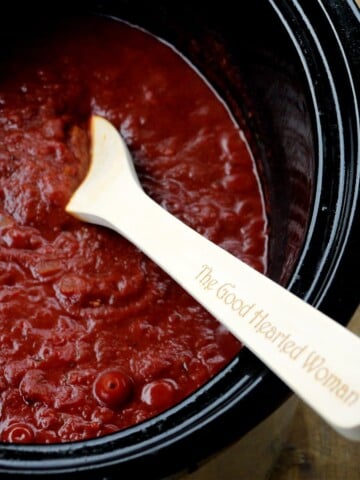
Homemade Enchilada Sauce (Slow Cooker)
-
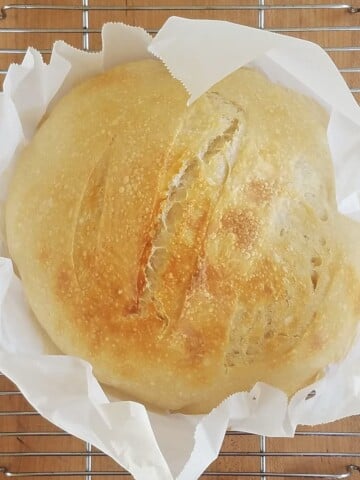
Kaylen's Bread (Easy Sourdough Bread Recipe)
-
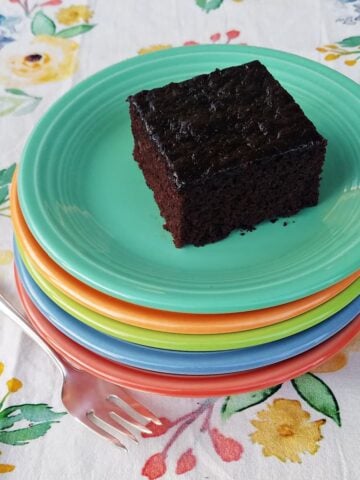
Chocolate Wacky Cake
-
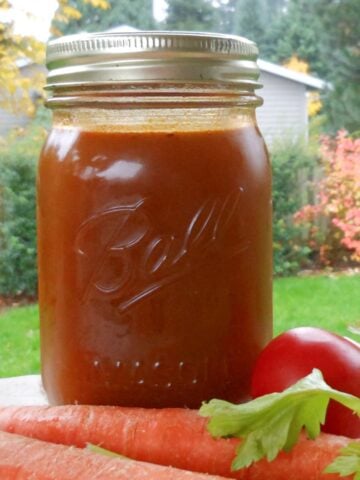
Hearty Roasted Vegetable Stock
-
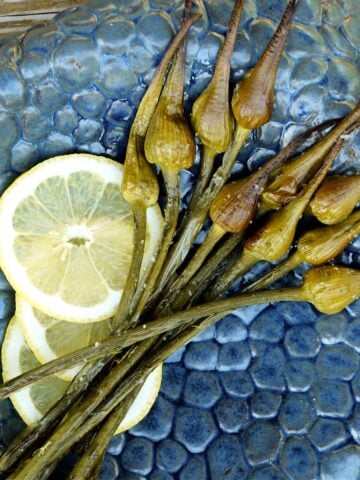
Oven-Roasted Garlic Spears (Garlic Scapes)
-
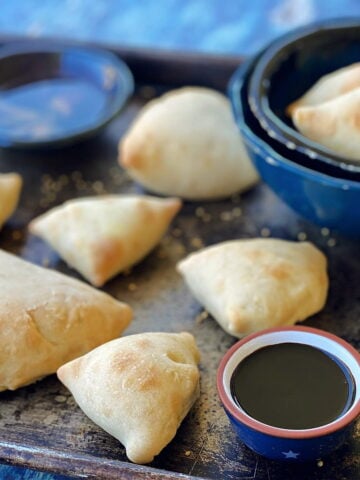
Sweet Potato & Butternut Samosas
-
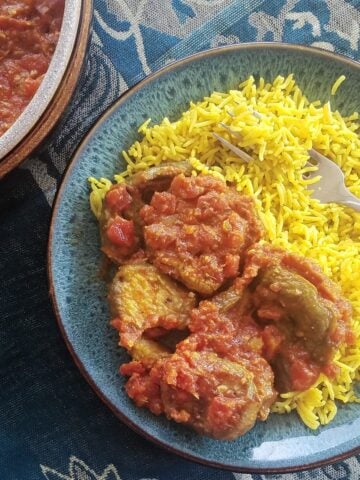
Indian Eggplant Pickling Style (Baigan Achari)
-
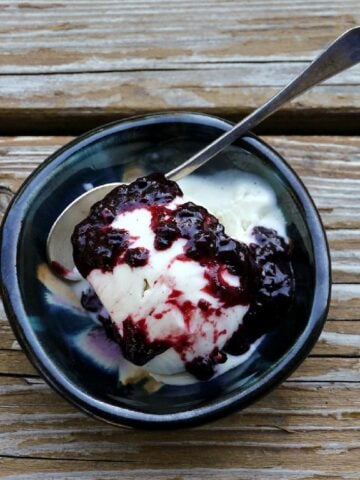
Simple Berry Compote
-
Strawberry Freezer Jam (Step-by-Step)
-
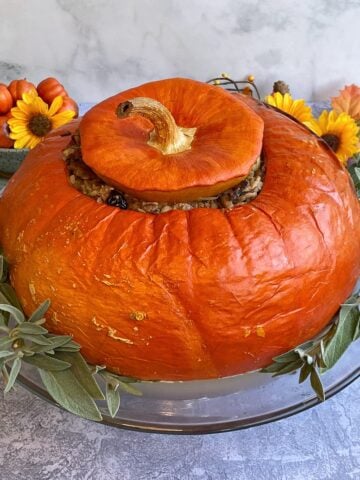
Thanksgiving Roast Stuffed Pumpkin
-
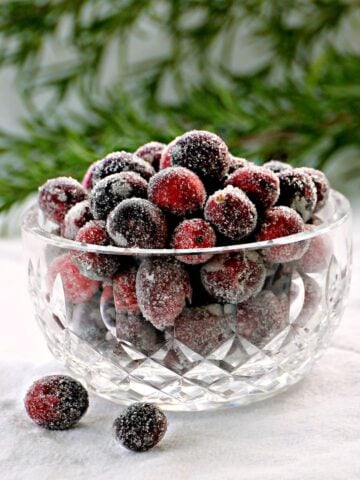
Spiced Sugared Cranberries
-
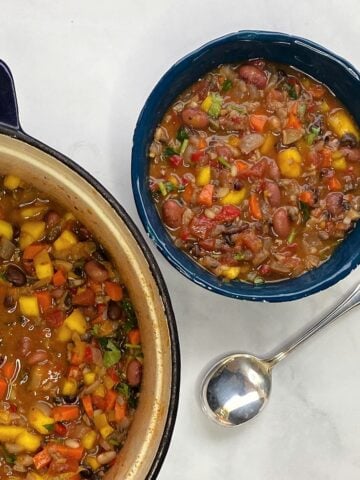
Calypso Mango Chili (Award Winner!)
-
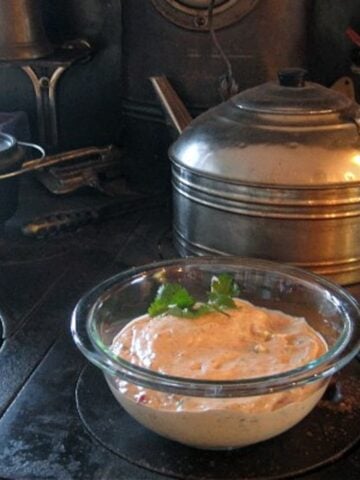
Creamy Vegan Chipotle Sauce
-
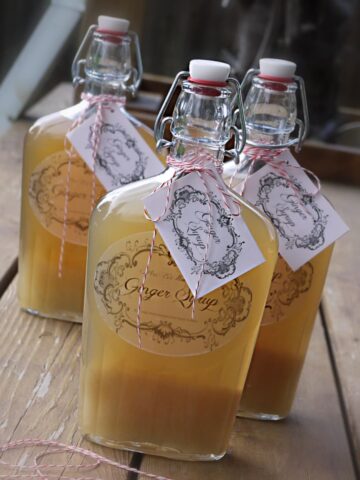
Fresh Ginger Spiced Simple Syrup
-
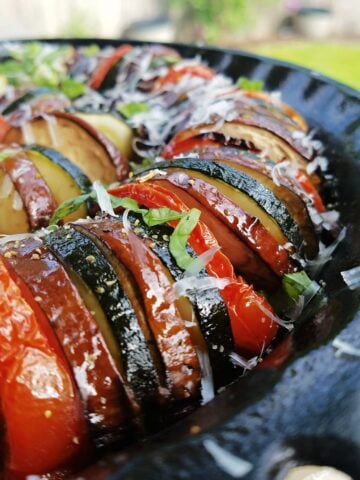
Roasted Ratatouille with Pan-fried Onions
-
Potluck-Worthy Big Cuban Salad
-
Easy 'Otai (Polynesian Watermelon Drink)
-
Banana Lumpia (Filipino Turon)
-
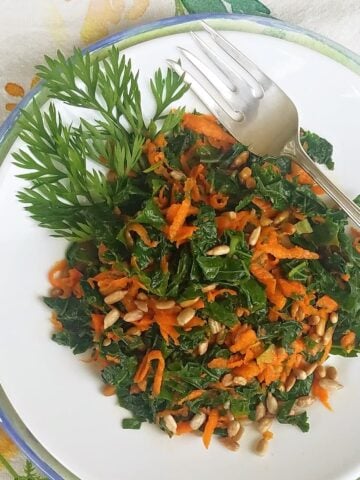
Kale & Carrot Salad (New Seasons Copycat)
-
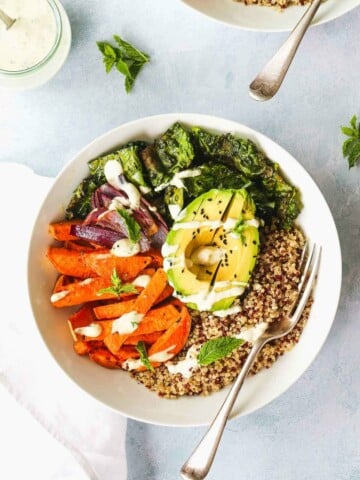
How to Make a Buddha Bowl (35+ Delicious Bowls)