Gluten-free Recipes
Discover the abundance of naturally gluten-free recipes! Here you'll find gluten-free soup and chili recipes, salad and dressing recipes, appetizer recipes, dessert recipes, and even a de-licious shrimp-n-grits pizza that will knock your gluten-free socks off!
-
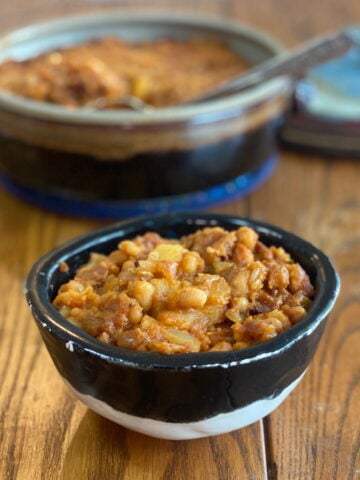
Smoky Pineapple Baked Beans from Scratch
-
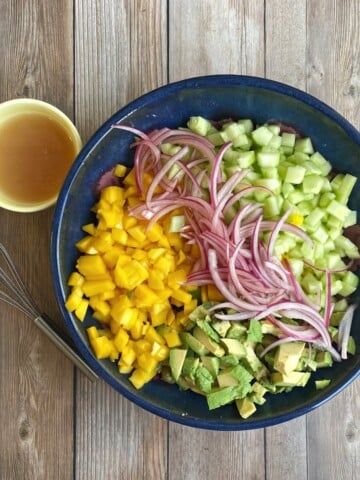
Caribbean Mango Avocado Salad (Fresh, Easy, 15-Minute Recipe)
-
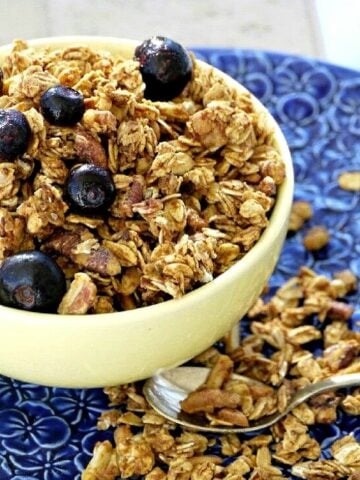
Date-Sweetened Granola (No Refined Sugar, Oil-Free, Vegan)
-
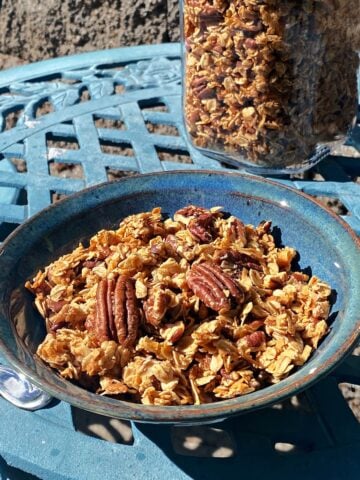
Easy Maple Nut Granola (Perfectly Crunchy, Naturally Sweetened)
-
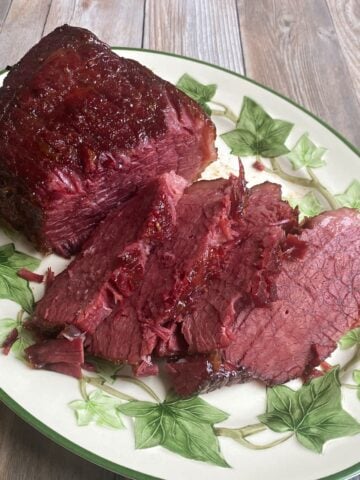
Brown Sugar & Mustard Glazed Corned Beef (Oven-Braised Brisket)
-
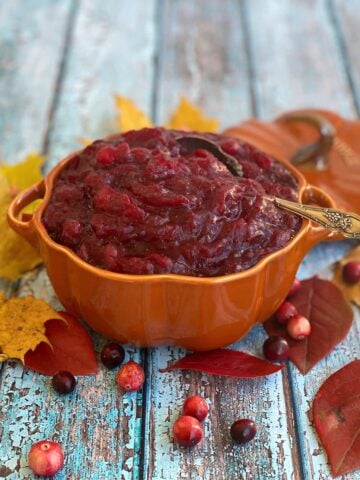
Orange Spiced Cranberry Sauce (with Grand Marnier)
-
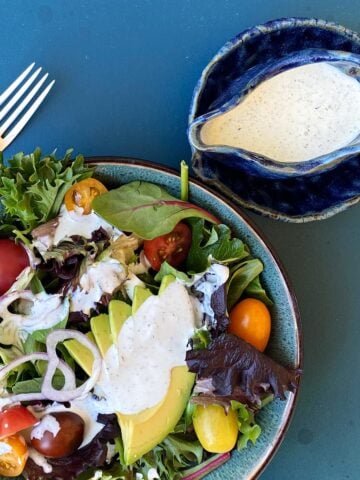
Homemade Buttermilk Ranch Dressing (Better Than Store-Bought!)
-
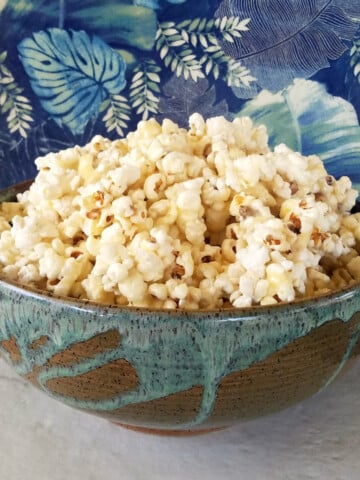
Easy Soft Caramel Corn Recipe (Mary’s Sticky Popcorn)
-
Rich Turkey Chili With Cocoa & Beer
-
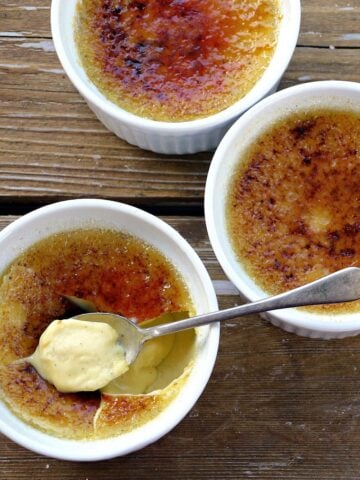
Classic Crème Brûlée
-
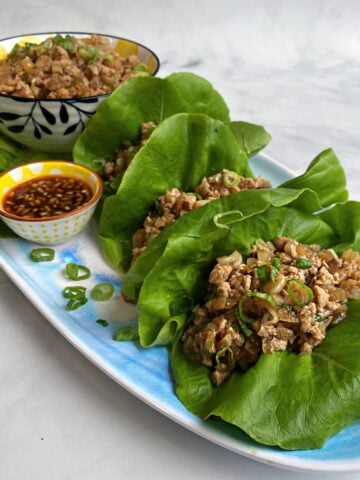
Asian Chicken Lettuce Wraps (PF Chang's Copycat)
-
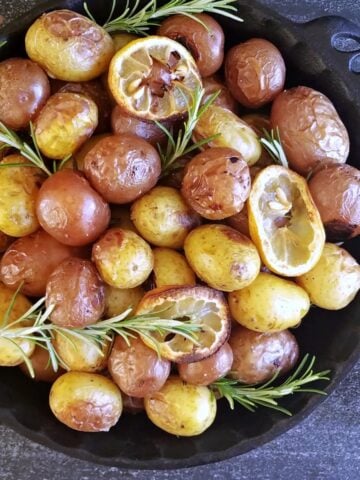
Rosemary Roasted Baby Potatoes with Garlic Honey-Lemon Butter
-
2-Minute Blender Hollandaise Sauce
-
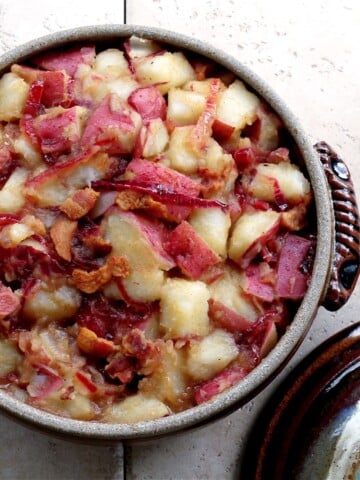
Hot German Potato Salad (Bavarian Kartoffelsalat)
-
Gluten-Free Lemon Blueberry Muffins
-
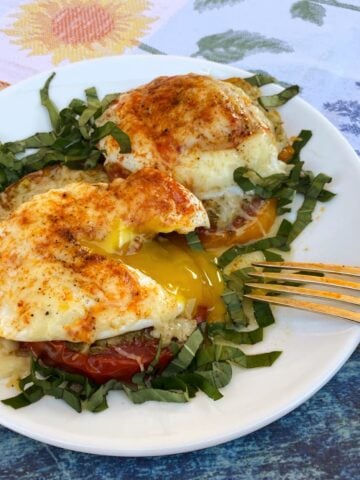
Eggs Provençal with Heirloom Tomatoes and Parmesan
-
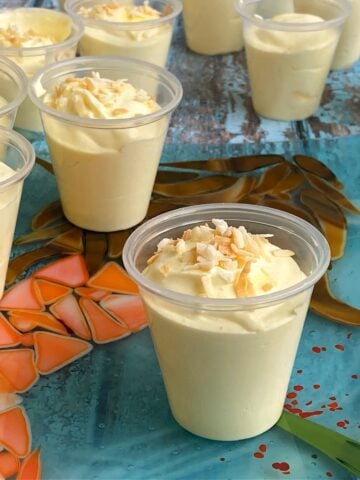
Easy Coconut Cream Pudding Shots
-
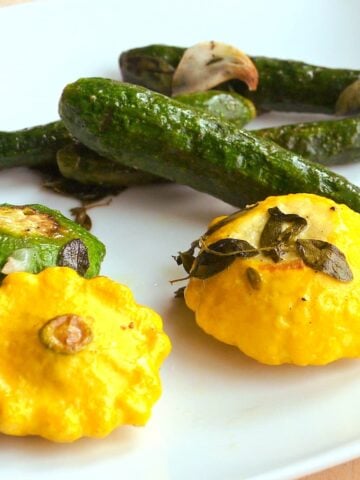
Garlic Roasted Baby Squashes (Easy Summer Side Dish)
-
Homemade Egg Bites
-
Retro Shrimp Salad with Lemon Mustard Dressing (Easy + Make Ahead)
-
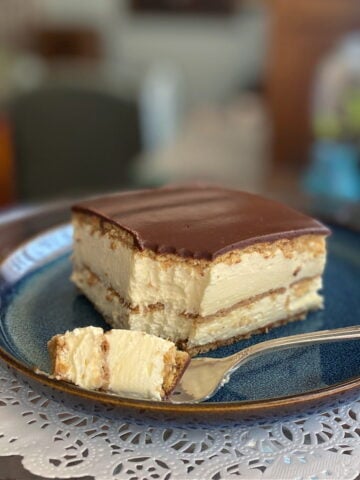
No-Bake Chocolate Eclair Cake (Old-Fashioned Icebox Dessert)
-
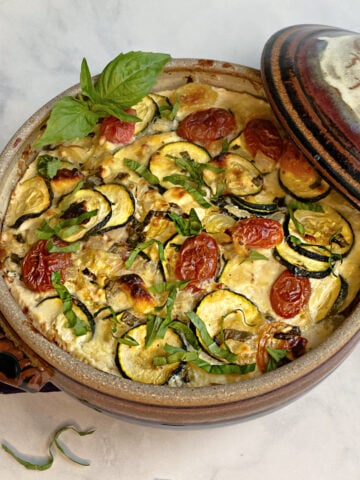
Cheesy Zucchini Casserole with Tomatoes
-
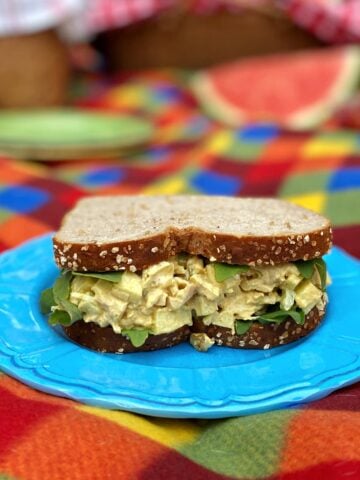
Curried Chicken Salad
-
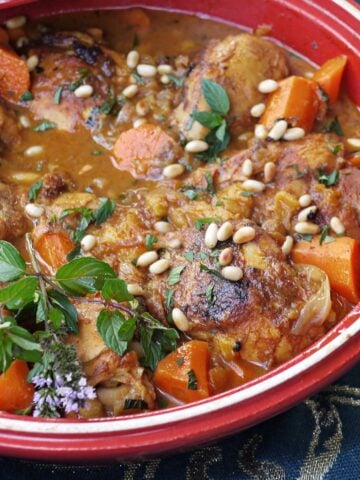
Apricot Chicken Tagine with Ginger & Mint
-
Fresh Strawberry Ice Cream
-
Caramel Raspberry Ice Cream Sundae
-
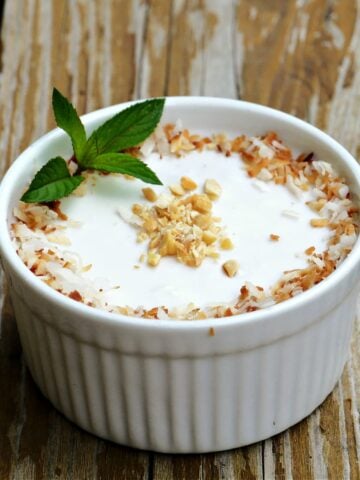
Vietnamese Banana Tapioca Pudding (Chè Chuối)
-
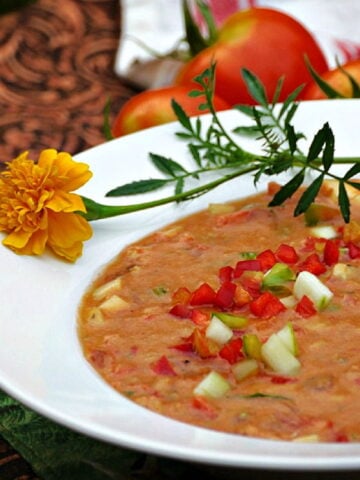
Easy Garden Fresh Gazpacho
-
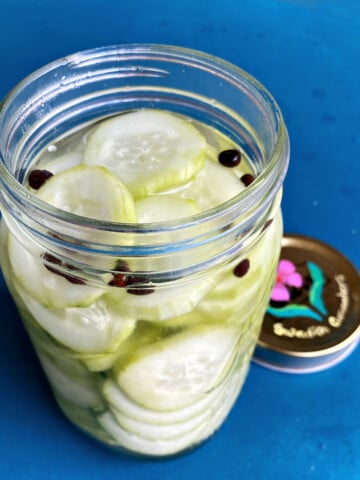
Swedish Cucumbers (Easy Quick Pickle Recipe)
-
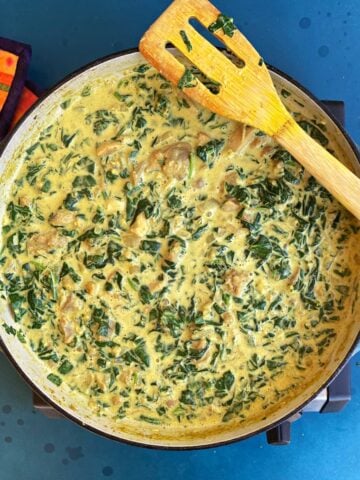
Spinach Chicken Curry (Chicken Saag)
-
Muhammara (Roasted Red Pepper & Walnut Dip)
-
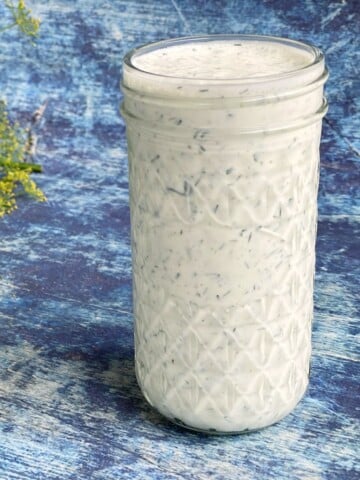
Creamy Dill Sauce with Feta
-
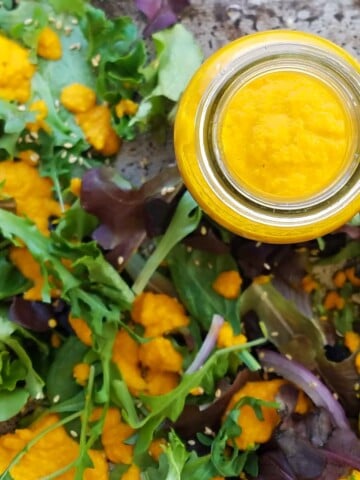
Carrot Ginger Dressing
-
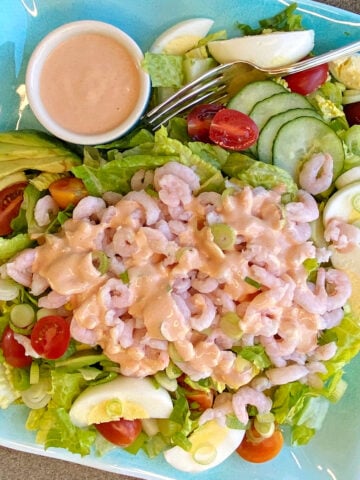
Classic Bay Shrimp Louie
-
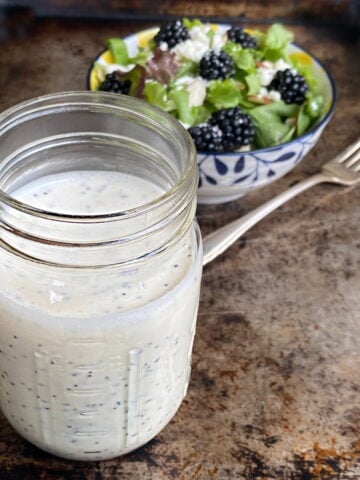
Creamy Homemade Poppy Seed Dressing
-
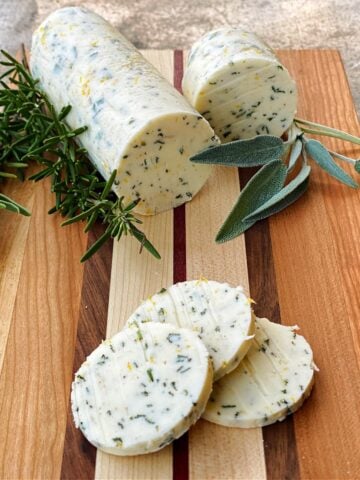
Citrus Herb Compound Butter
-
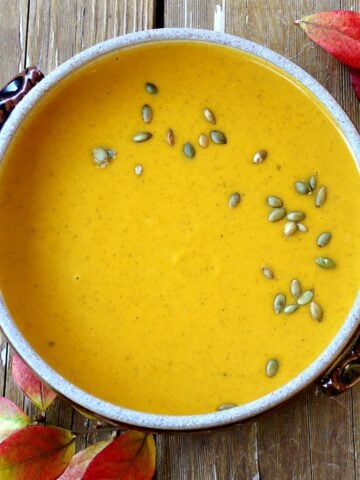
Cozy Curried Butternut Squash Soup (Panera Copycat with a Twist)
-
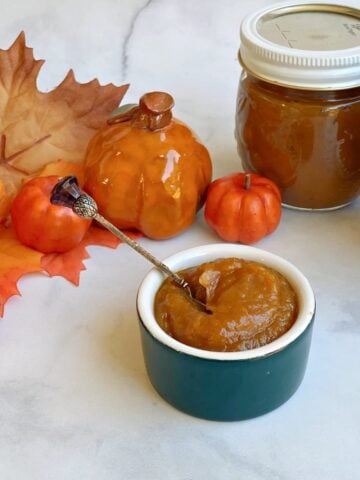
Slow Cooker Pumpkin Butter
-
Homemade Pumpkin Puree
-
Creamy Smoked Salmon Chowder
-
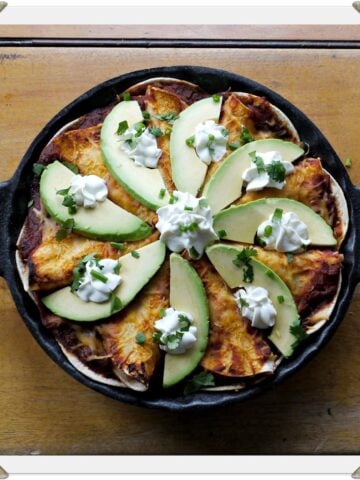
Picture Perfect Chicken Enchilada Pie
-
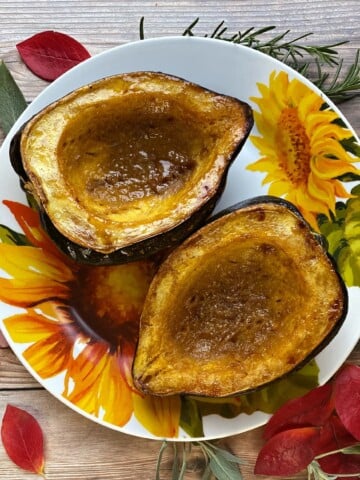
Classic Baked Acorn Squash