Vegetarian Recipes
Browse our extensive collection of vegetarian recipes, featuring wholesome, delicious main dishes, soups, breads, dips and appetizers, and of course, desserts!
Note: Vegetarian recipes may include butter, eggs, and diary products.
-
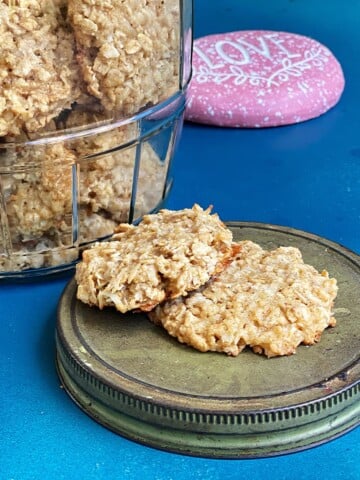
Old-Fashioned Oatmeal Coconut Cookies (Mrs. Obinger's Easy Recipe)
-
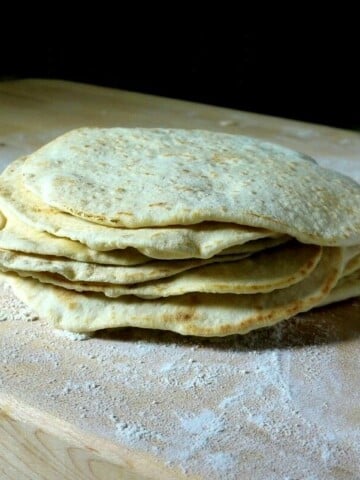
Homemade Flour Tortillas with Olive Oil
-
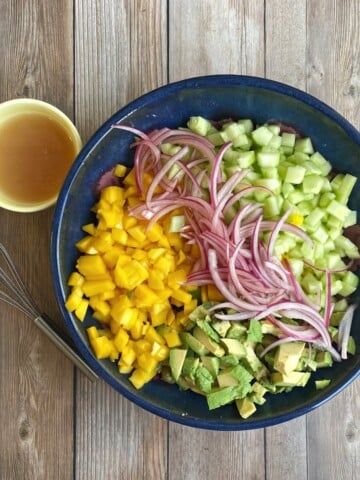
Caribbean Mango Avocado Salad (Fresh, Easy, 15-Minute Recipe)
-
Dutch Oven Pineapple Upside-Down Cake (Easy Camping Dessert Recipe)
-
Date-Sweetened Granola (No Refined Sugar, Oil-Free, Vegan)
-
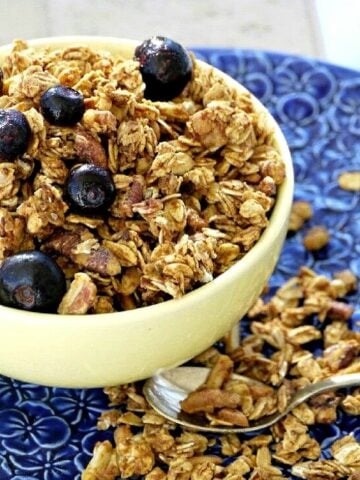
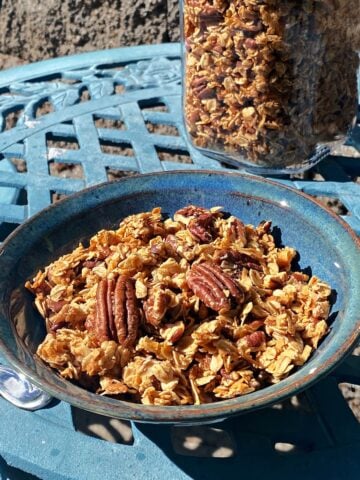
Easy Maple Nut Granola (Perfectly Crunchy, Naturally Sweetened)
-
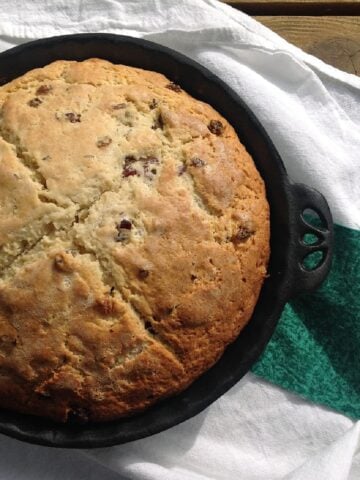
Nana’s Irish Soda Bread (Traditional, Easy No-Yeast Recipe)
-
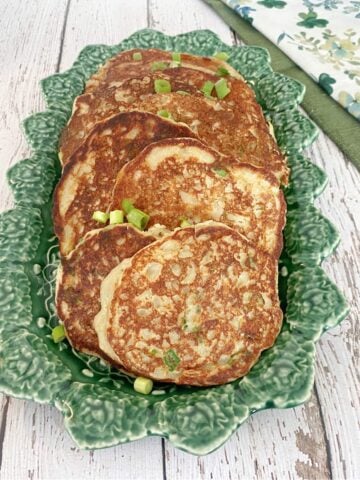
Irish Boxty Recipe (Traditional Potato Pancakes)
-
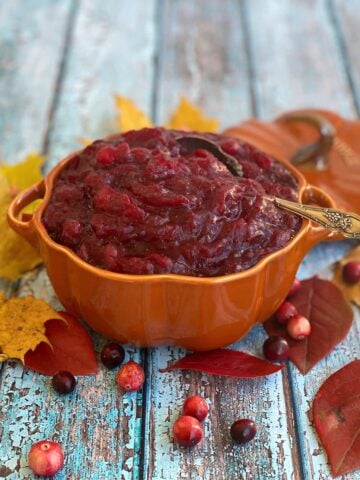
Orange Spiced Cranberry Sauce (with Grand Marnier)
-
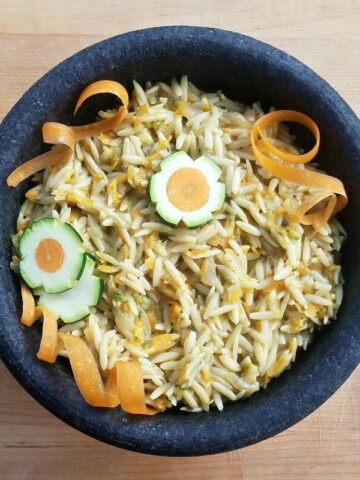
Cheesy Vegetable Orzo (Easy, Kid-Friendly Side Dish)
-
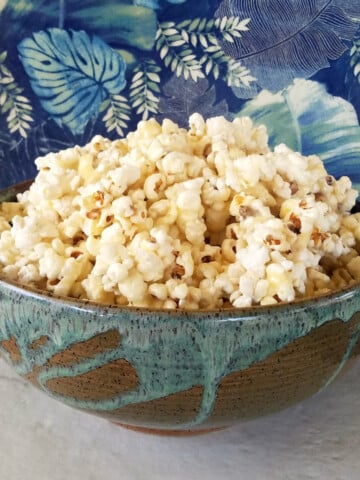
Easy Soft Caramel Corn Recipe (Mary’s Sticky Popcorn)
-
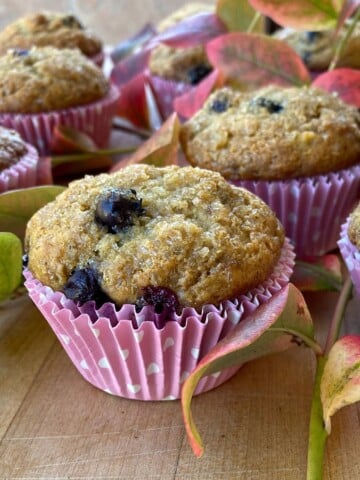
Blueberry Banana Muffins (Moist, Easy, and Naturally Low in Fat!)
-
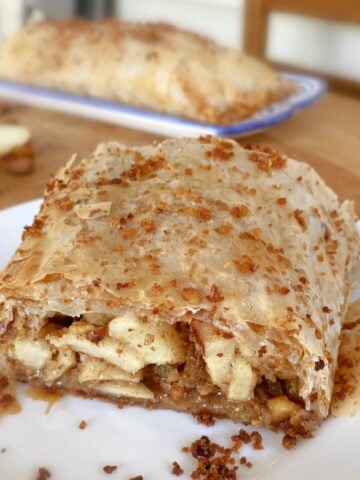
Easy Apple Strudel (Apfelstrudel) with Phyllo Dough
-
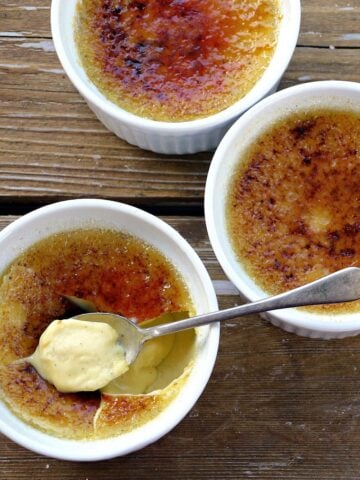
Classic Crème Brûlée
-
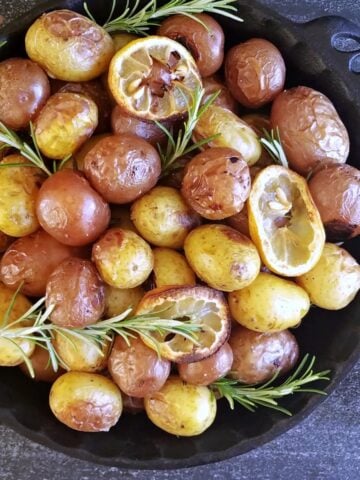
Rosemary Roasted Baby Potatoes with Garlic Honey-Lemon Butter
-
2-Minute Blender Hollandaise Sauce
-
Easy Pourable Pizza Dough (No Kneading, No Rolling!)
-
Gluten-Free Lemon Blueberry Muffins
-
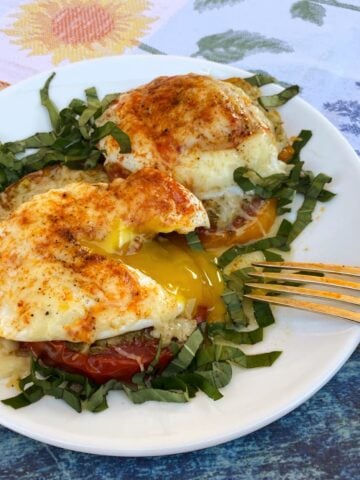
Eggs Provençal with Heirloom Tomatoes and Parmesan
-
Easy Coconut Cream Pudding Shots
-
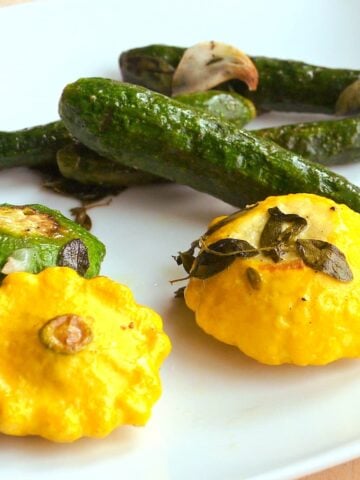
Garlic Roasted Baby Squashes (Easy Summer Side Dish)
-
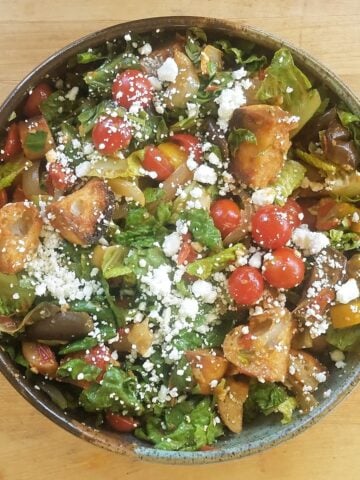
Classic Tuscan Panzanella Salad with Roasted Vegetables
-
Classic Cherry Clafoutis (Easy French Dessert)
-
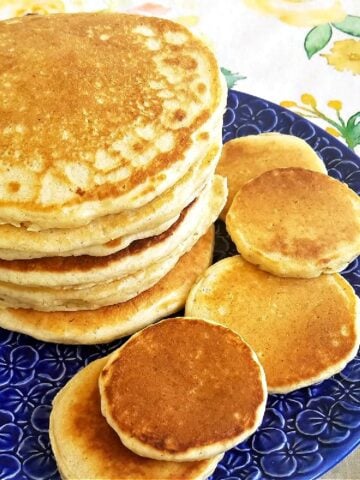
Light & Fluffy Sourdough Pancakes (Old-Fashioned Hotcakes)
-
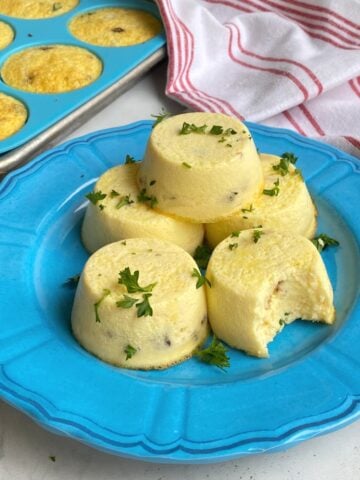
Homemade Egg Bites
-
Baked Brie in Puff Pastry with Jam (Easy & Elegant Appetizer)
-
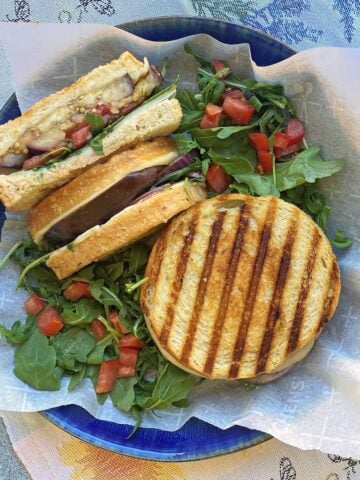
Grilled Eggplant Panini with Provolone, Tomato & Arugula
-
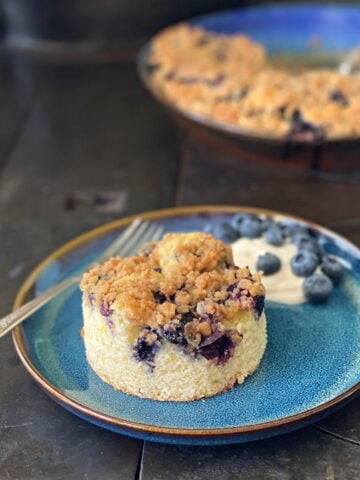
Old-fashioned Blueberry Buckle (Moist Cake with Crumb Topping)
-
Old-Fashioned Rhubarb Pie
-
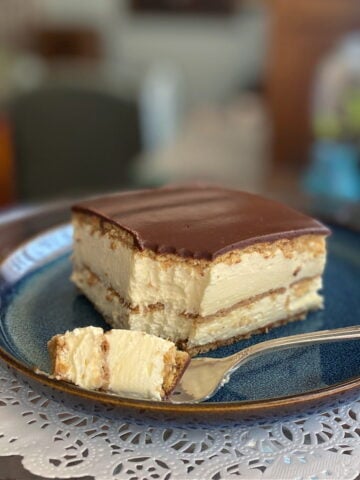
No-Bake Chocolate Eclair Cake (Old-Fashioned Icebox Dessert)
-
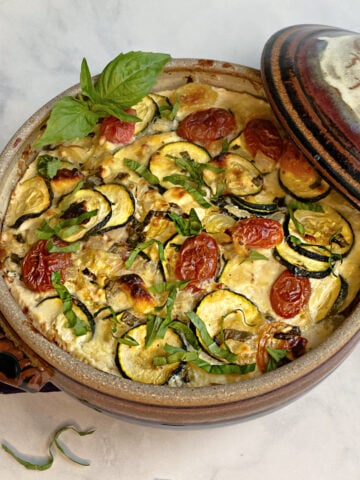
Cheesy Zucchini Casserole with Tomatoes
-
Fresh Strawberry Ice Cream
-
Leftover Chili & Cornbread Breakfast Casserole
-
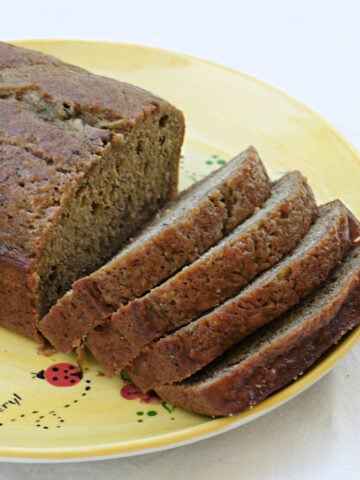
Zucchini Banana Bread
-
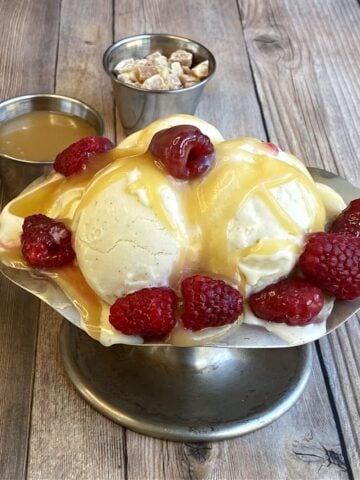
Caramel Raspberry Ice Cream Sundae
-
Vietnamese Banana Tapioca Pudding (Chè Chuối)
-
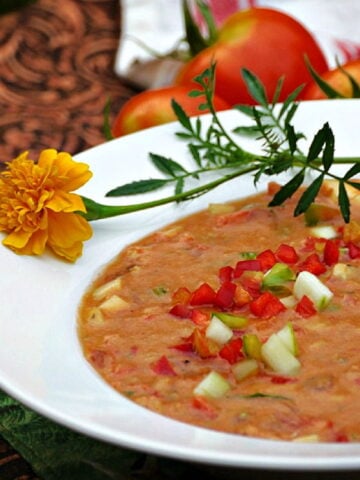
Easy Garden Fresh Gazpacho
-
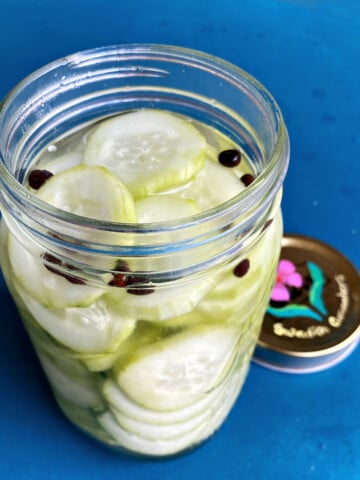
Swedish Cucumbers (Easy Quick Pickle Recipe)
-
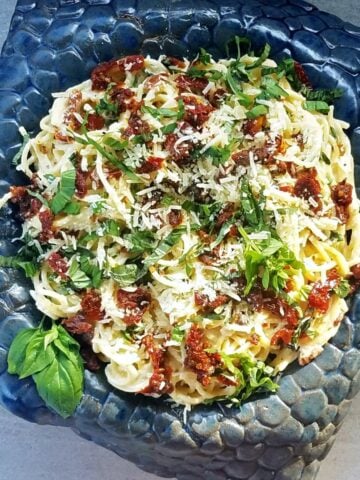
Sun-dried Tomato Carbonara
-
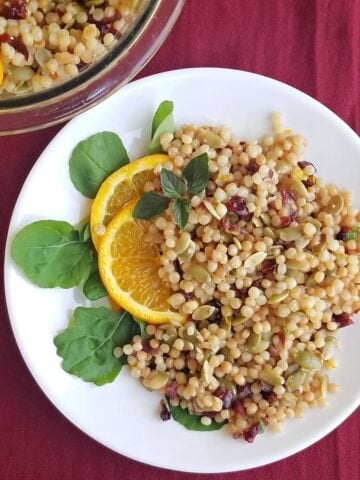
Cranberry Orange Pearl Couscous
-
Muhammara (Roasted Red Pepper & Walnut Dip)
-
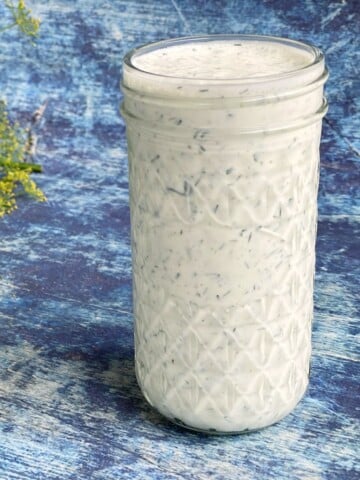
Creamy Dill Sauce with Feta